Intro:
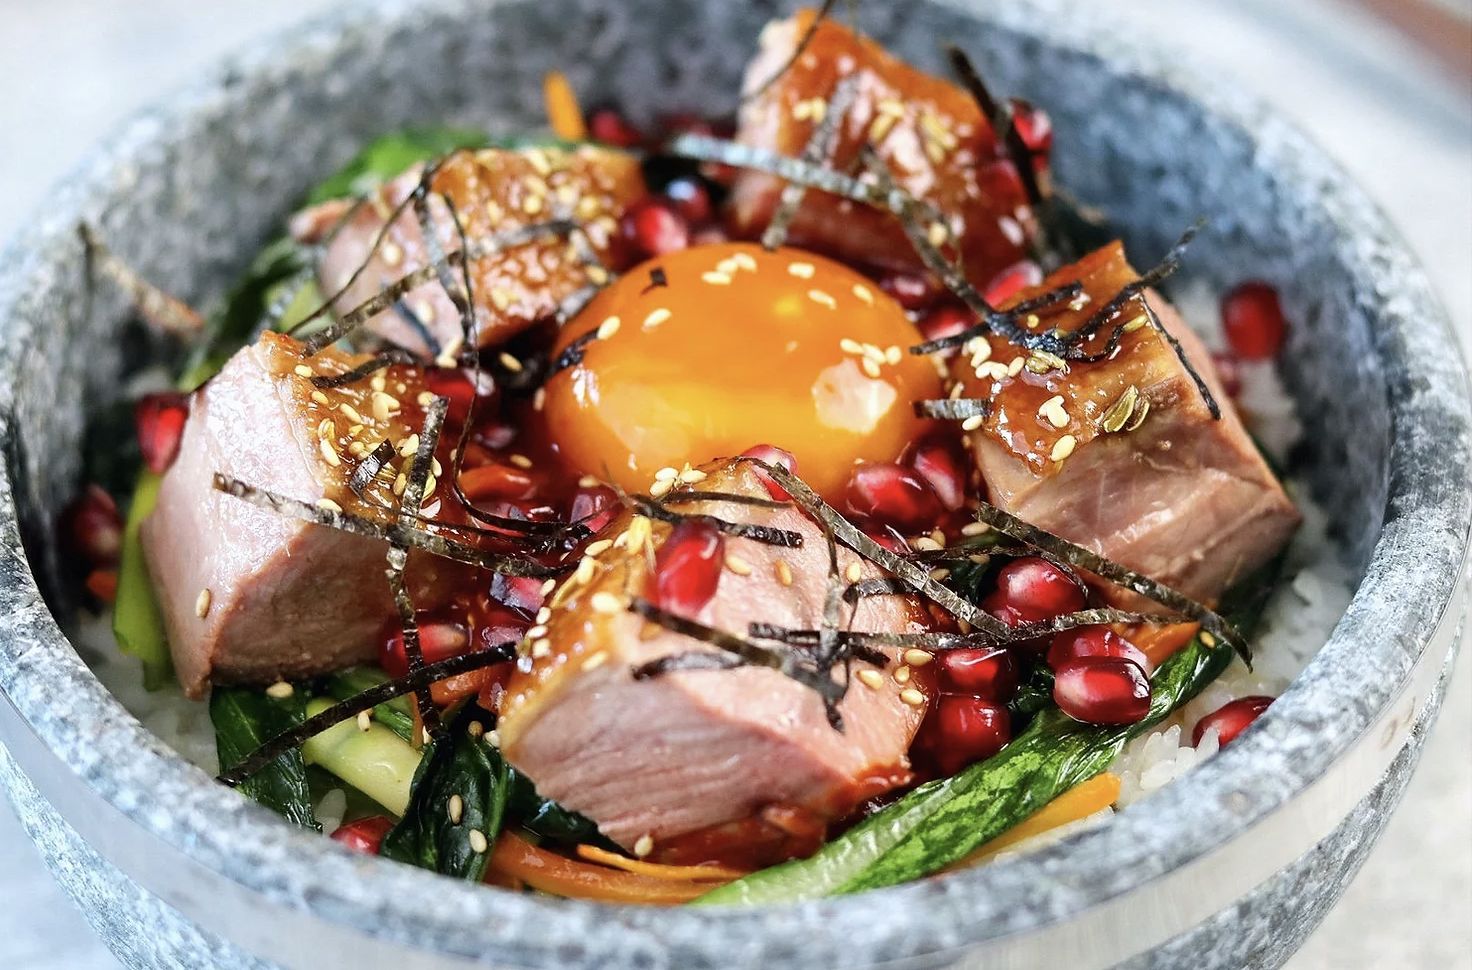
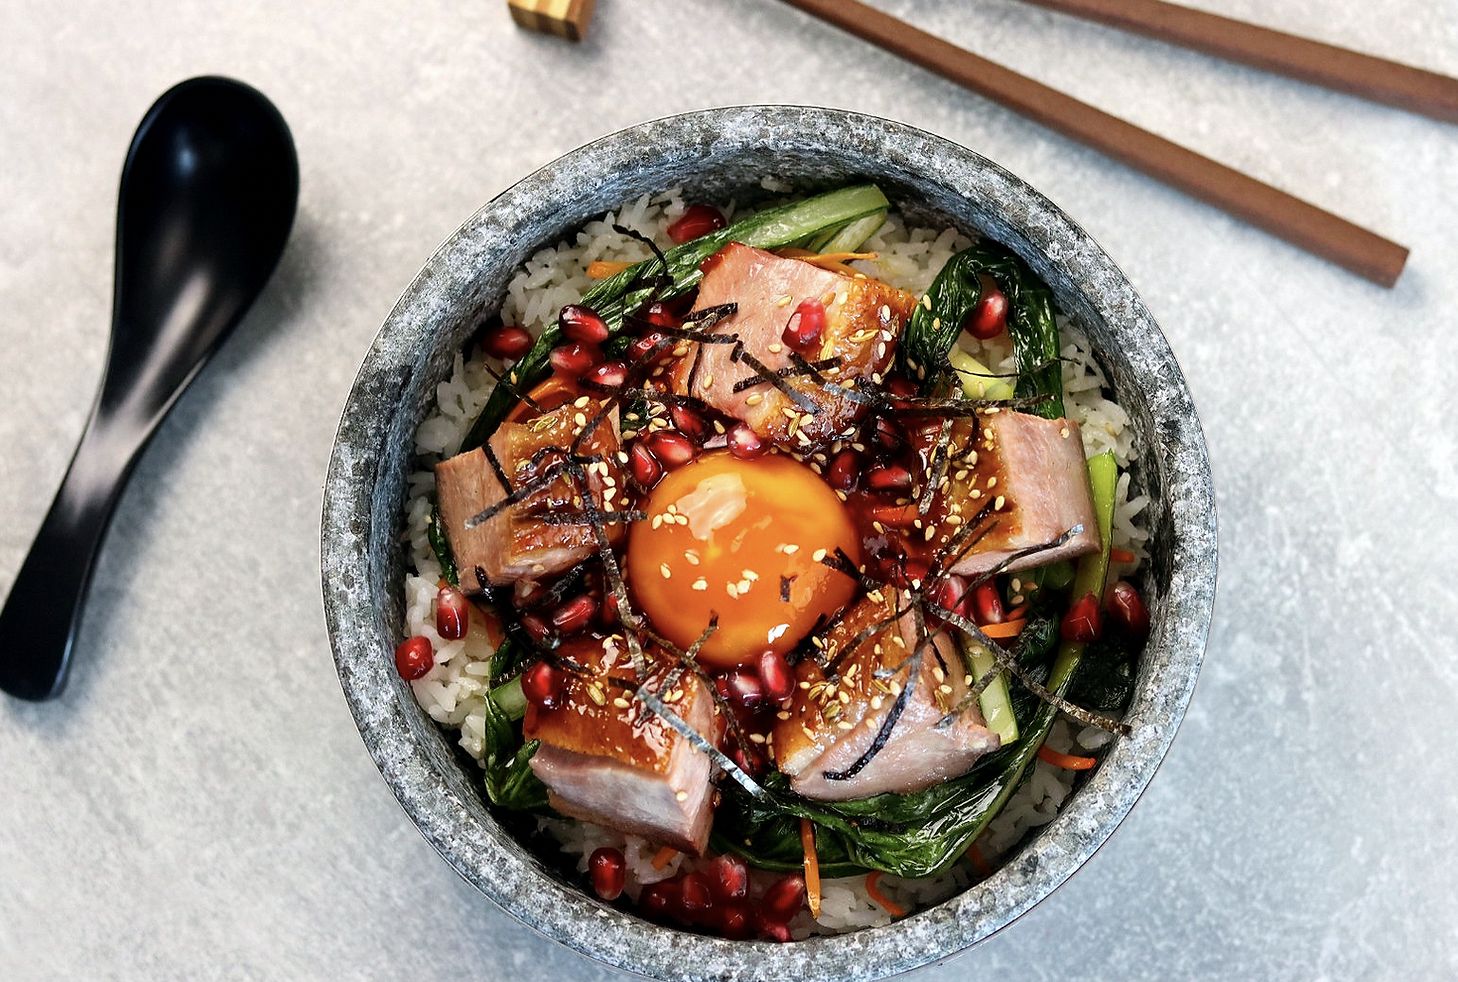
Let’s talk Bibimbap, first things first in Korean Bibim translates to mix and bap is cooked rice, therefore, we have mixed rice. As for what to add then the options are endless, however, some form of protein, vegetables, gochujang-based sauce and an egg is usually added. For this bibimbap, I wanted a combination of textures, spicy, sweet notes and an overall solid balance of flavours that would work in harmony. Adding glazed duck breast and a cured soy duck egg yolk really takes this bibimbap to that next level and a few pops of fresh pomegranate work so well with the gochujang and duck. With all, that’s said let’s make some bibimbap!
Method:
Soy Duck Eggs:

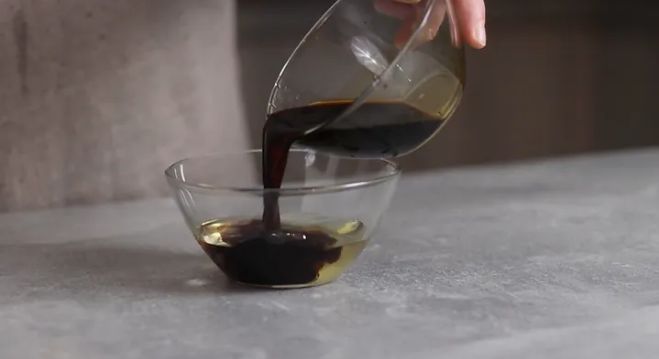
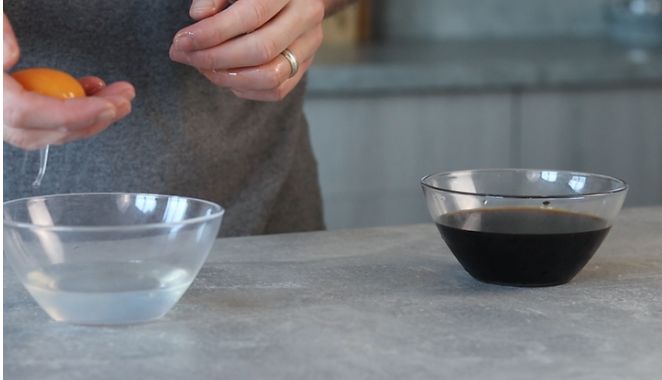
1.Let’s start by curing a few duck eggs first, I find that 2 hours of curing to be the sweet spot, however, longer will create a much more candy like egg yolk and less will give you a far runnier lighter cure. In a small mixing bowl add 50mls of mirin and 50mls of soy. Mix well then separate the yolks from 4 duck eggs then add the yolks to the curing liquid. As for the egg white we will not need these, but they make a great scrambled egg. When added, cover and store in the refrigerator until ready to serve.

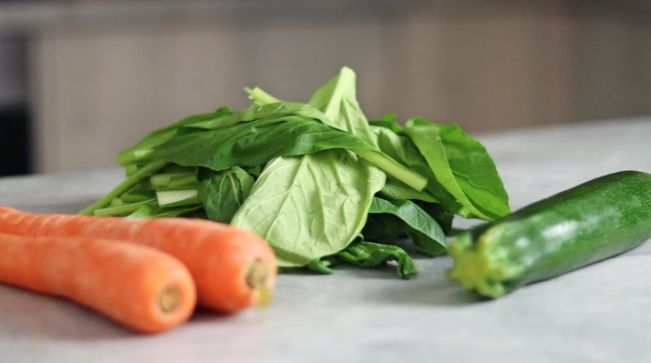
2. Now to prepare a few vegetables and a few other components before we begin to cook, in terms of what vegetables you decide to use then its pretty flexible but I found this trio of vegetables works well. Start by peeling then slicing 2 carrots into a fine julienne, use a peeler to peel 2 courgette into ribbons and wash and pick the leafy part of 300g worth of choi sum. Finally mince 2 garlic cloves then place the vegetables to one side for now and we will cook these towards the end.
Gochujang Sauce
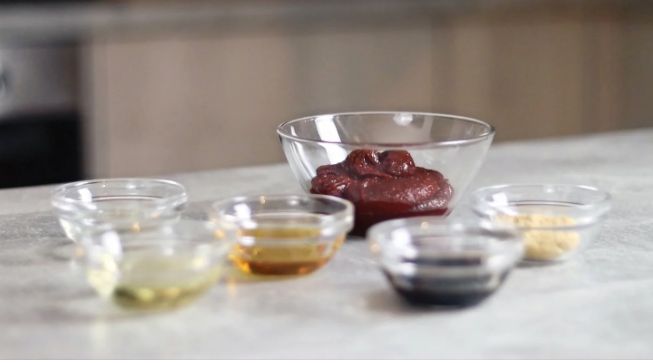
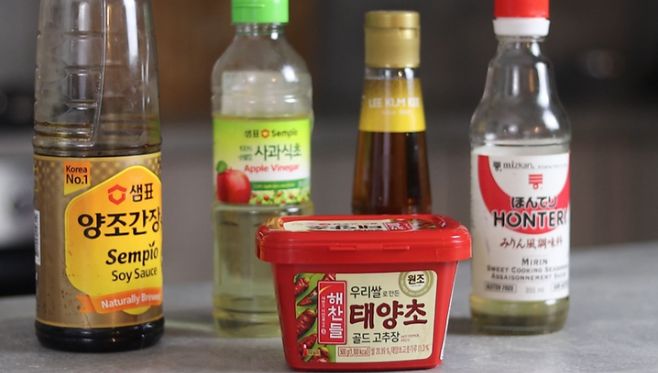
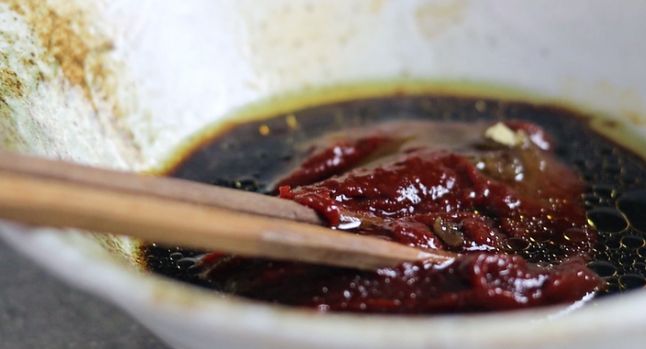
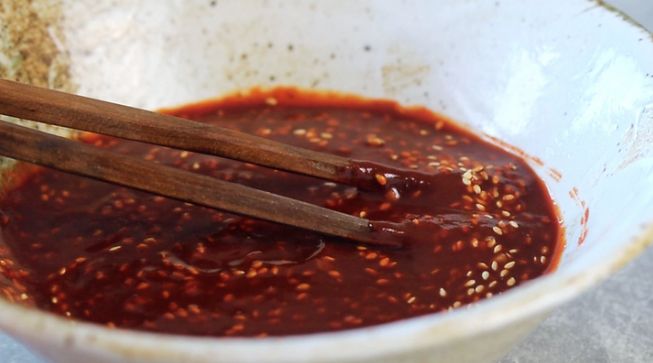
3. Moving swiftly on we now want to prepare the all important gochujang sauce. Simply in a small mixing bowl add 3 tbsps of gochujang, 1 tbsp light soy, 2 tbsps of mirin, 1 tbsp sesame oil, 1 tbsp light brown sugar and 1 tbsps of apple vinegar. Mix well until a smooth spicy sauce is made then to finish the sauce, add 2 minced cloves of garlic and 2 tbsps of toasted sesame seeds. Mix and adjust the seasoning If needed. We are looking for this sauce to be spicy, slightly sweet and a slight sour after taste coming from the apple vinegar. As for which brands of sauces I used I will leave an image down below.
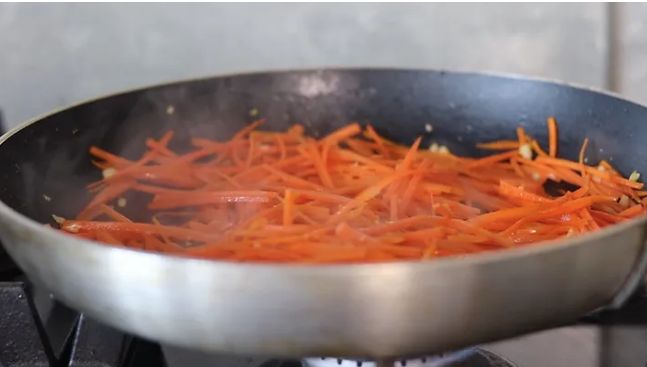
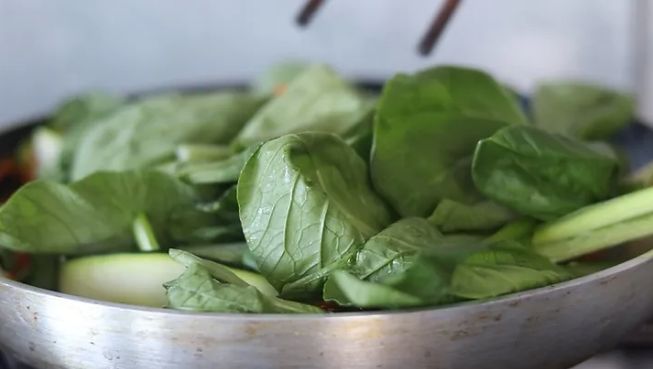
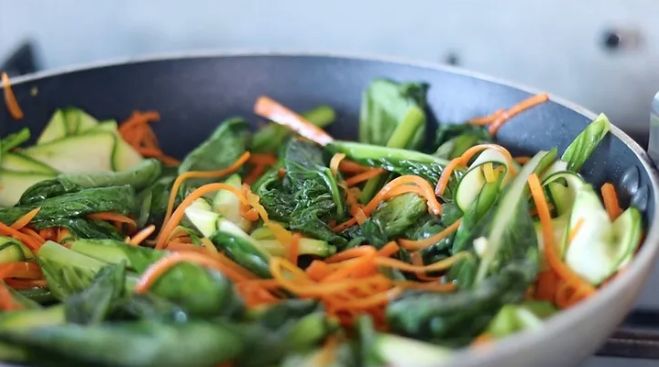
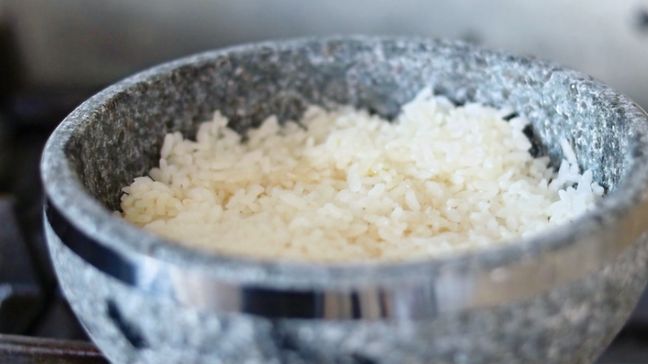
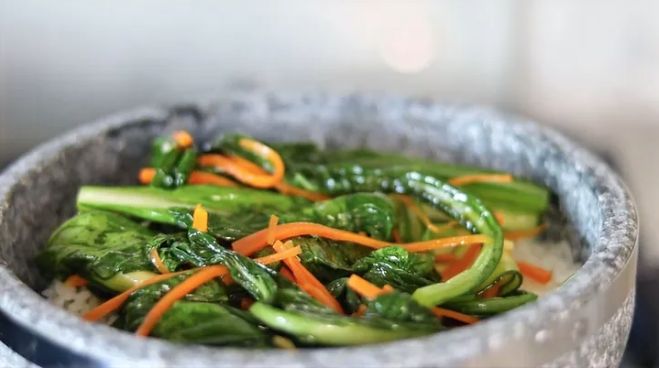
4. Time to begin cooking, before we begin wash and prepare enough shortgrain rice for 4 in usual rice cooker fashion. Now we want to pre cook the vegetables, place a large pan onto a high heat then add a drizzle of oil. When hot add 2 diced garlic cloves and all of the julienned carrot. Fry the carrot until crispy then turn the heat down to low. Next, add the courgette ribbons and the leaves of choi sum. Cook until the leaves and courgette just begin to wilt then pull from the heat and set the vegetables to one side as we will come back to these when we assemble the bibimbap.
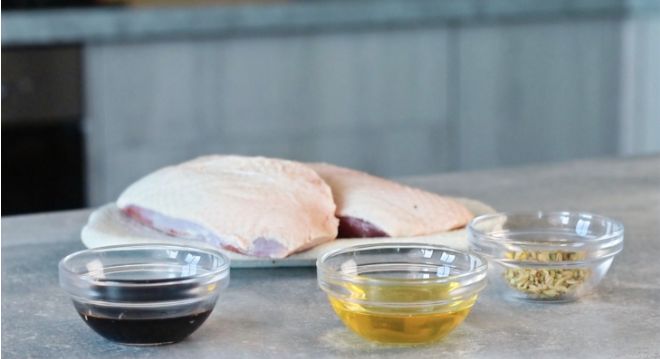
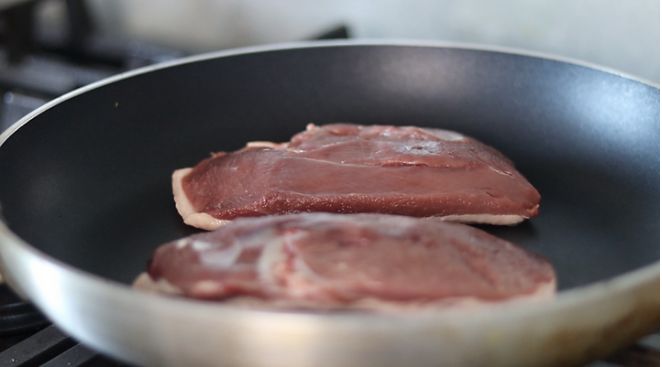


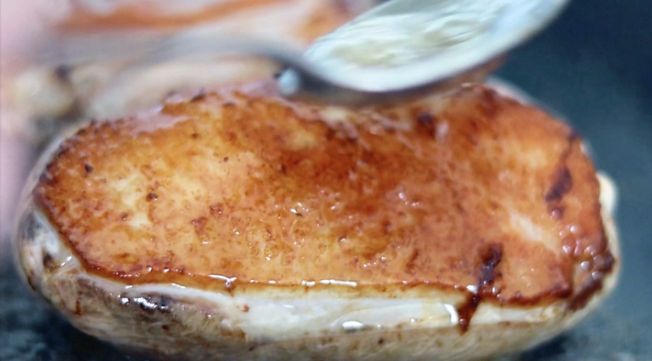

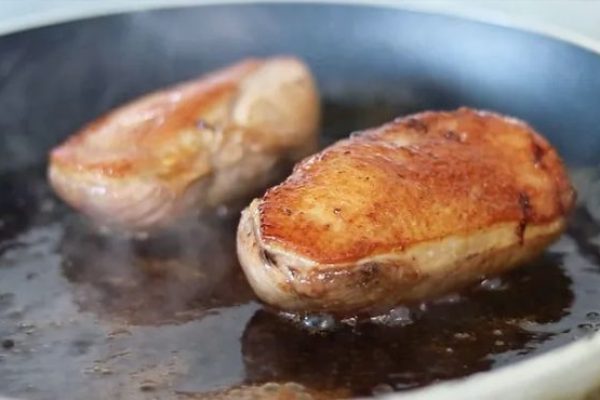
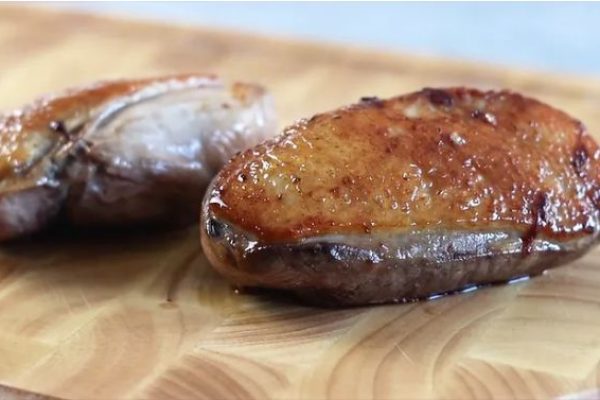
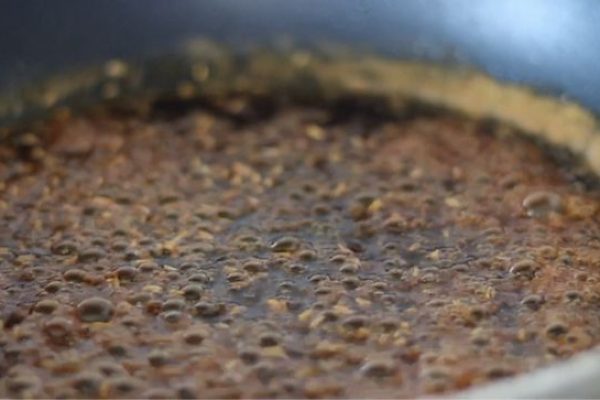
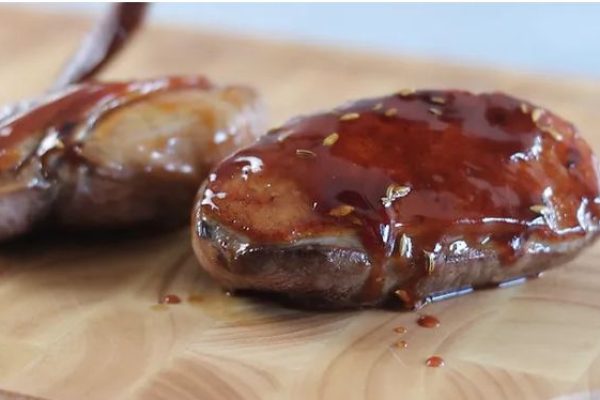
6. As soon as we flip the duck we want to protect the flesh side from overcooking and drying out. At this stage we want to deglaze the pan with 3 tbsps of light soy, 2 tbsps of mirin, 1 tbsps of honey and 1 tbsps of white sugar. Continue to cook the duck on the flesh side whilst occasionally basting for 4-5 more minutes or until the centre of the duck breast reach an internal temperature of 54°c. This temperature will achieve a rare duck breast and for medium bring the internal temperature up to 60°c. When cooked remove the duck from the pan and allow to rest to one side.
Toppings and slice the duck:
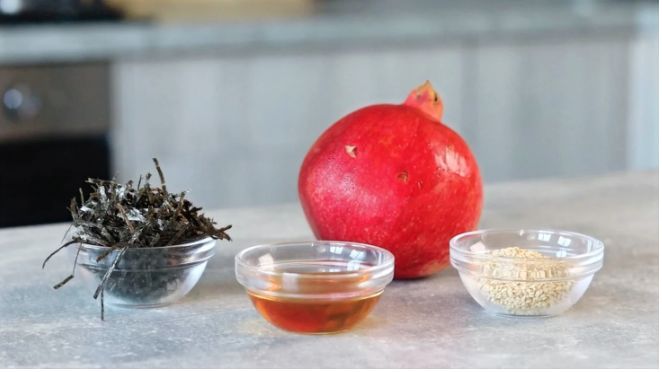
9. Just before we finish the bibimbap prepare a few toppings, I like to add a few toasted sesame seeds, sliced nori and a drizzle of sesame oil as standard. To add some sweet pops, slice a pomegranate into half then remove the seeds. Finally to finish the duck, slice into bite sized cubes and we’re ready to go.
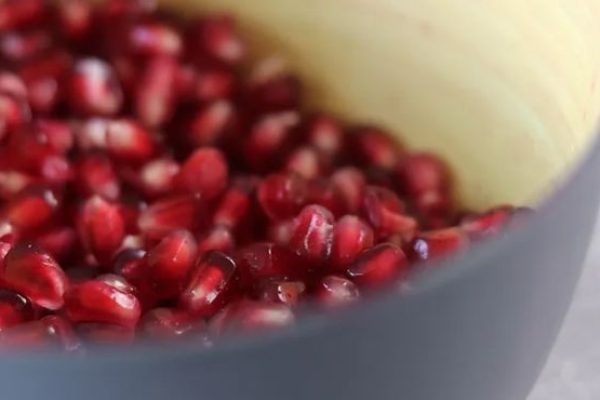
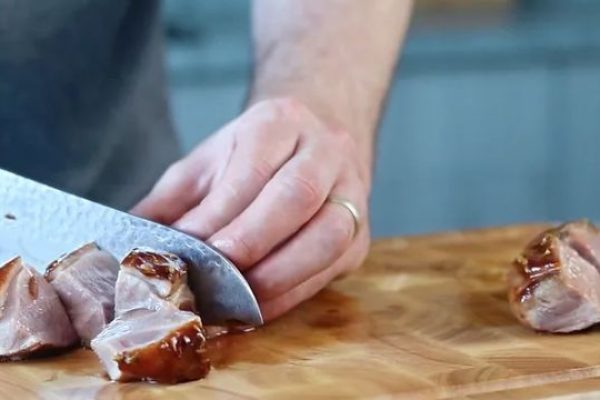
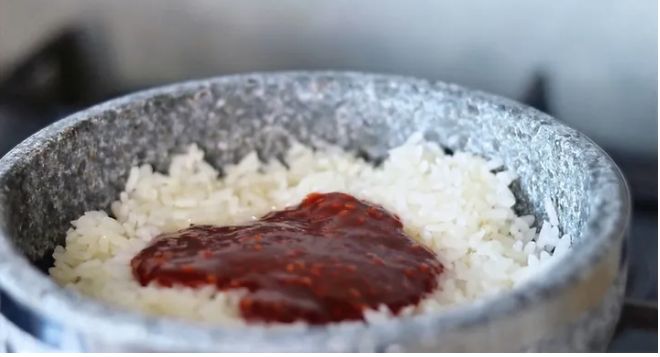
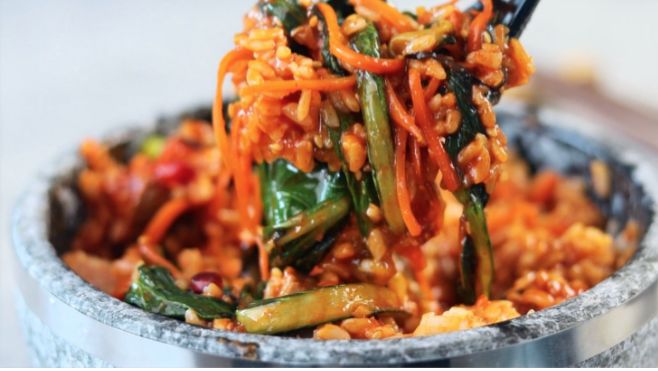
10. Time to serve, onto of the bibimbap and vegetables add another spoonful of gochujang sauce then scatter a few pieces of duck breast over the top. Place a soy duck egg into the centre then top with some toasted sesame, pomegranate, some sliced nori and finally a drizzle of sesame oil. Grab a spoon, mix everything together and this is bibimbap.
Additional notes
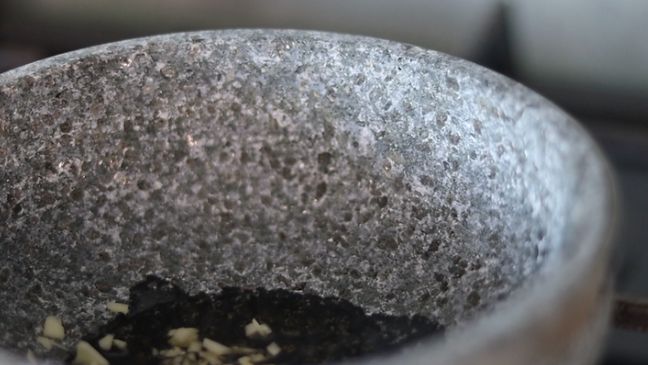
If you can’t get hold of dolsot pots then alternatively you could use claypots or even a pan to crisp up the base of the rice. The benefits of using a dolsot pot however are that it enables the heat to maintain in the pot after cooking and also ensures a good crisp base on the rice. I hope you like this recipe, have fun and peace as always!

