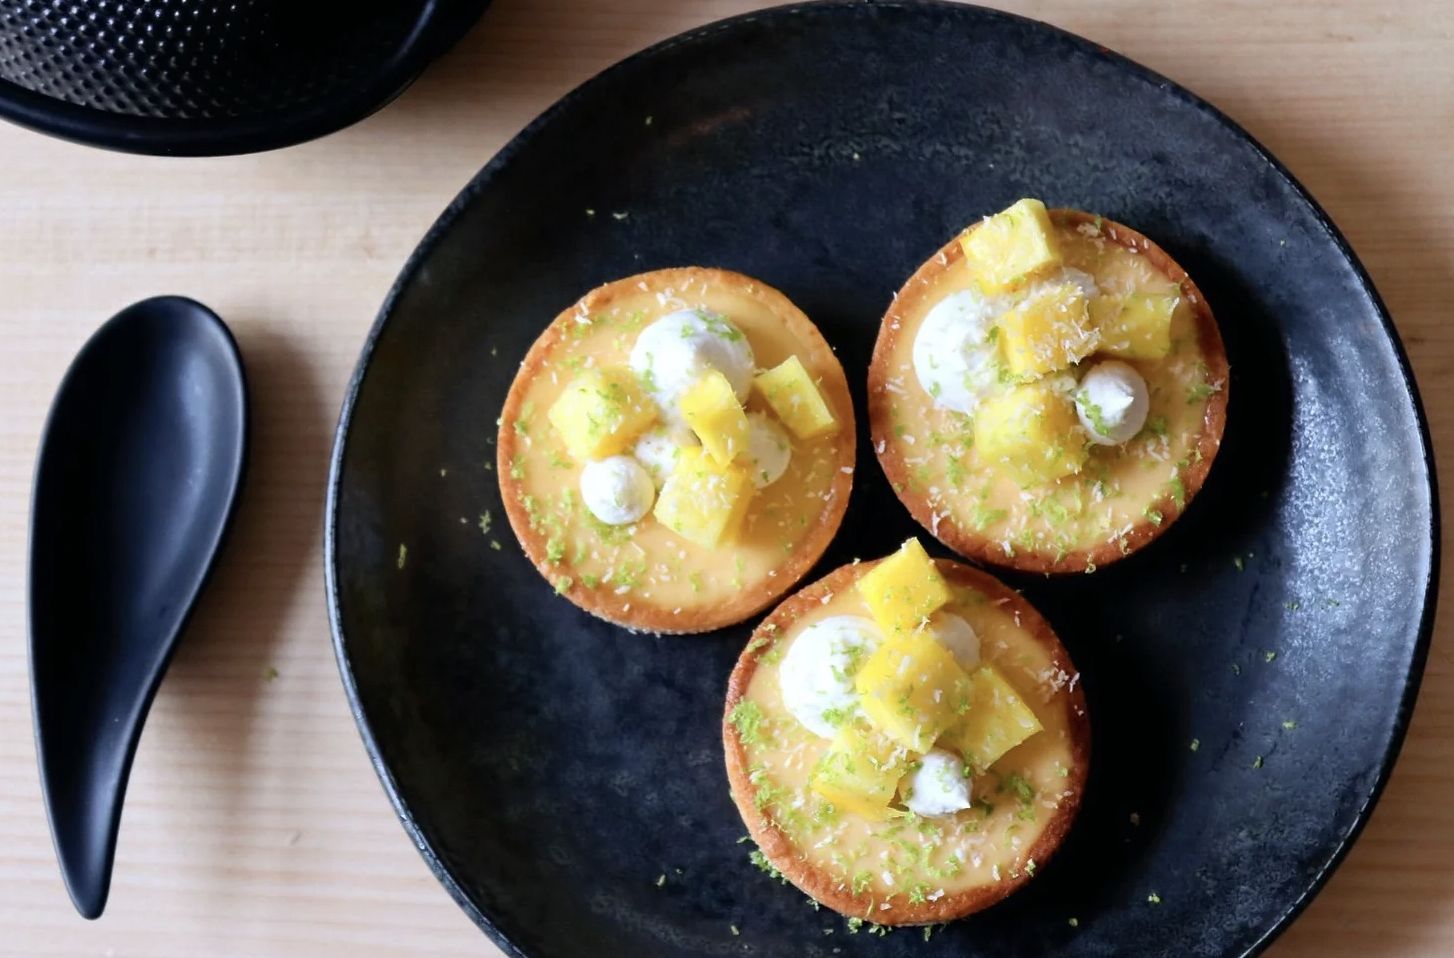
Intro:
Method:
Coconut Short Crust:
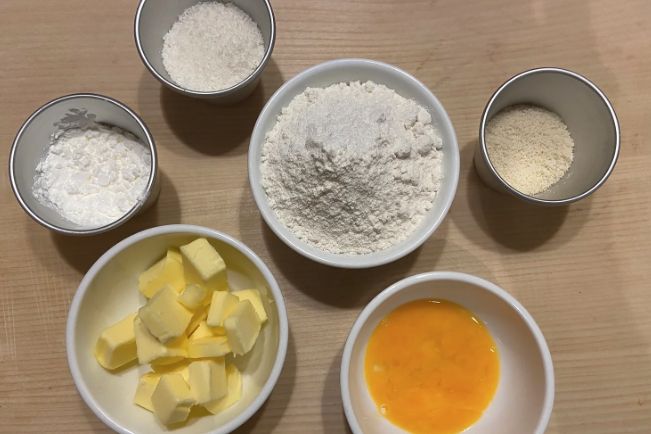
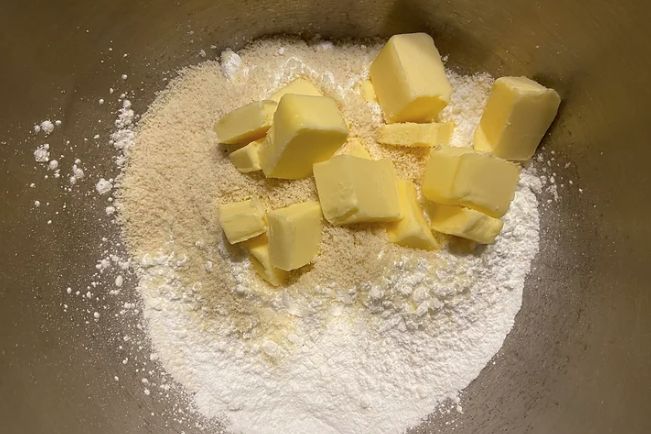
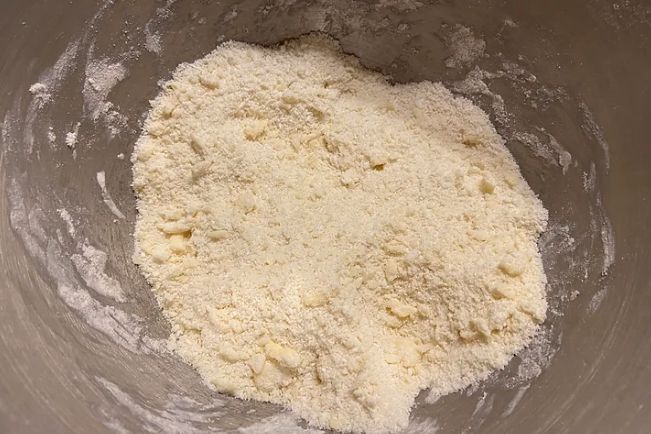
1. Let’s begin by making the coconut short crust pastry, 1 key factor to keep in mind when making short crust is to work in a cool environment, as when left in a warm environment short crust can be super difficult to work with. Now to start, in a large mixing bowl add 130g of plain flour, 30g of cornflour, 15g almond flour, 30g desiccated coconut, 55g icing sugar, a pinch of salt and finally 90g of cubed chilled unsalted butter. Either place the bowl into a stand up mixer or mix with your hands until the butter is incorporated into the flour and the flour has a crumble like consistency.
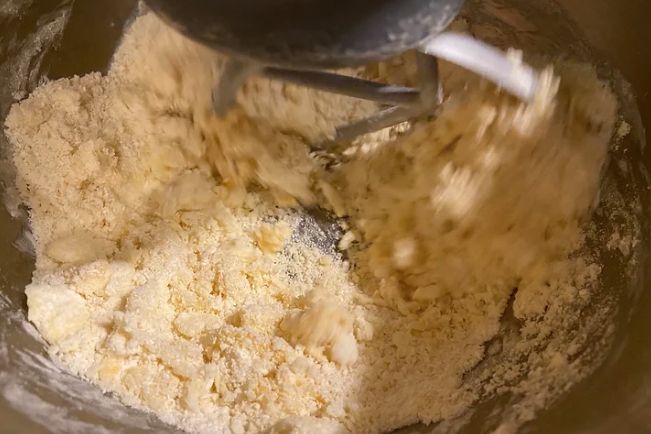
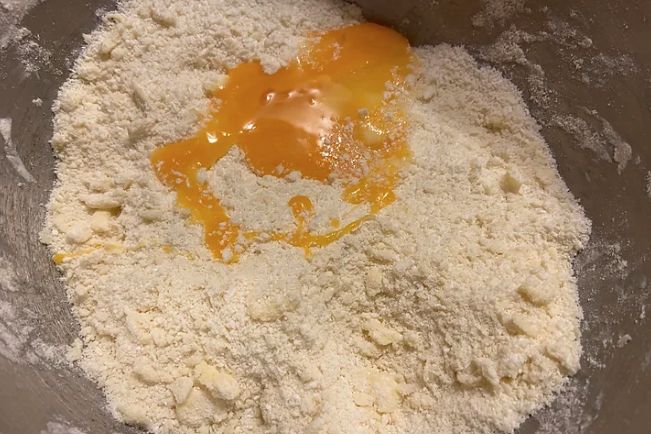
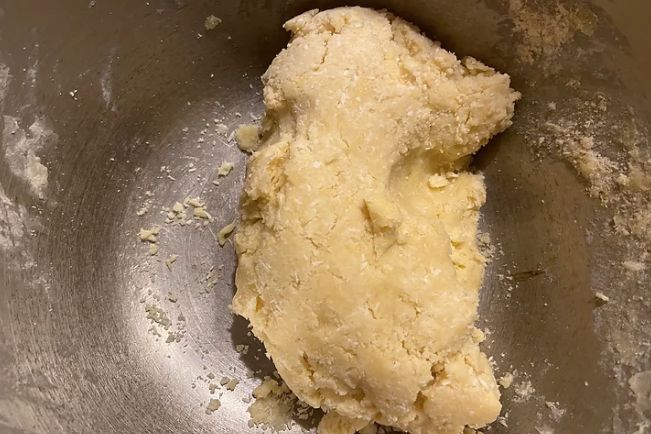
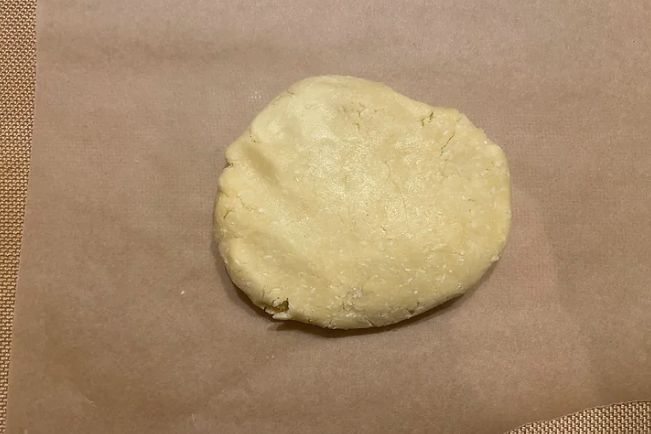
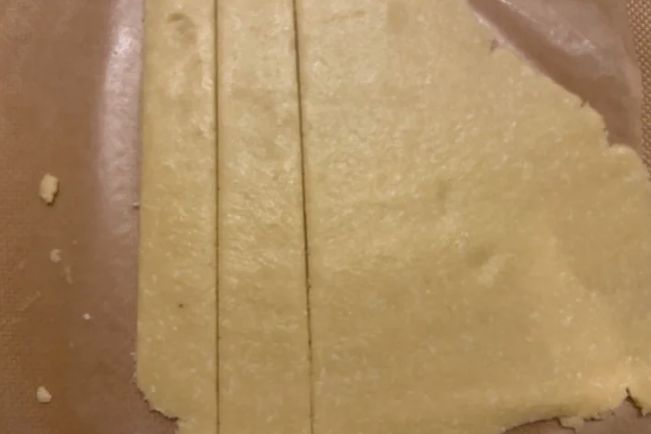
2. Next add 30g of whole egg and briefly mix again until a cohesive ball of dough is formed. When ready remove the dough from the mixing bowl and place onto a work top. Lightly dust the dough with flour then using our hands briefly knead to smoothen out the dough. Next place a sheet of parchment paper onto the work top and place the dough on top. Add another sheet of parchment paper over the dough and using a rolling pin flatten out the dough into a large rectangular sheet as thin as you can. Store the dough in the refrigerator to chill for approx 20-30 minutes as at the moment will be too difficult to work with.
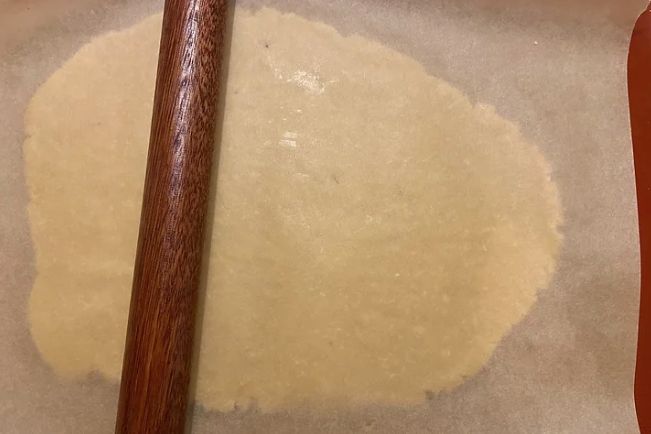
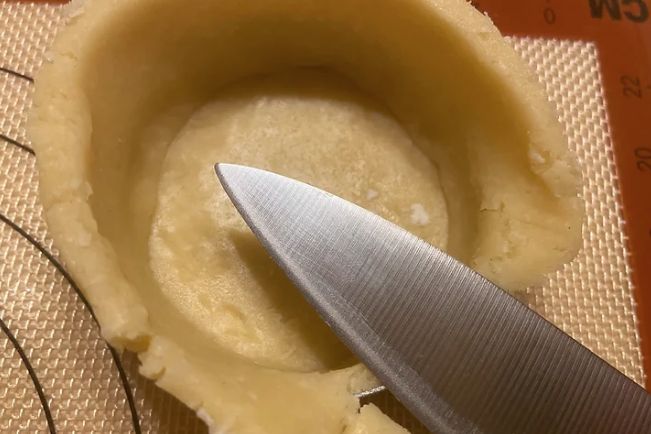
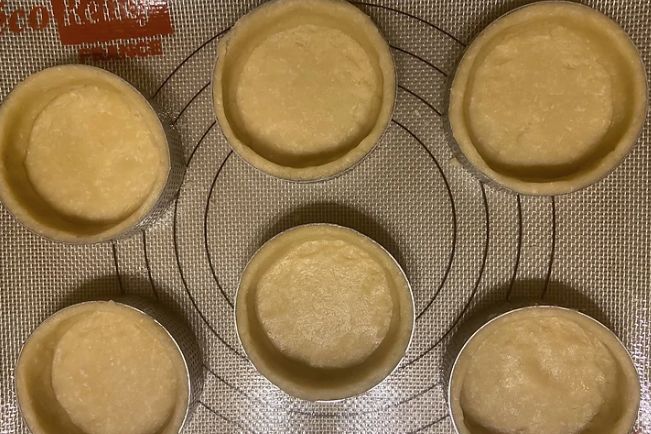
3. After 20-30 minutes of resting, the dough should be nice and cool and much easier to manage. Traditionally the dough is chilled for 2 hours then rolled but I find this method much quicker. We now want to roll out the dough as thin as possible again until the dough gets to approx 3-5mm thick. Before we cut the dough, lightly grease 6 7.5cm in diameter ring cutters with a touch of cooking oil. Now using the ring cutter cut into 1 half of the dough to make 6 rings then fill and place the rings onto a baking tray lined with a silicon mat or baking paper.
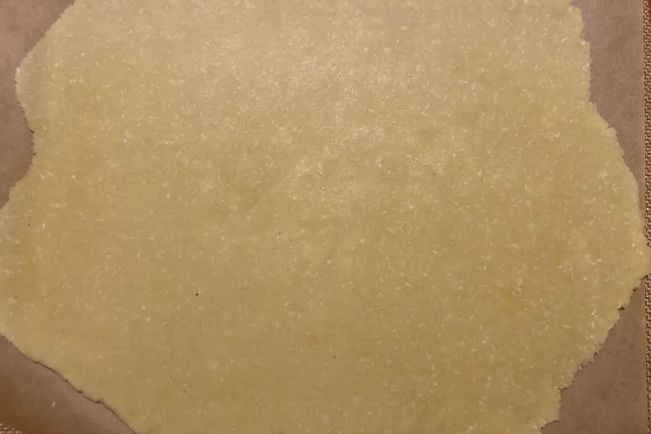
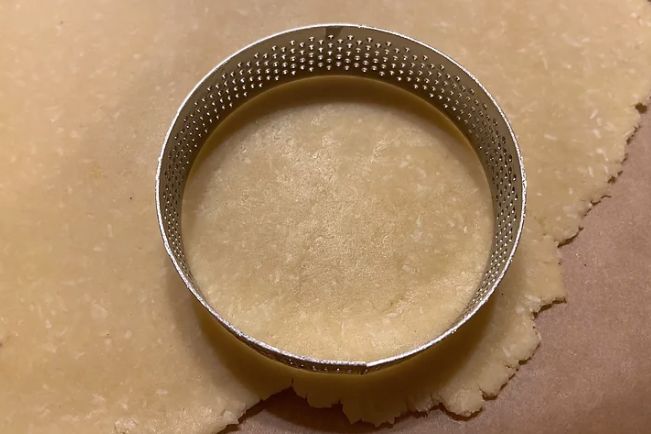
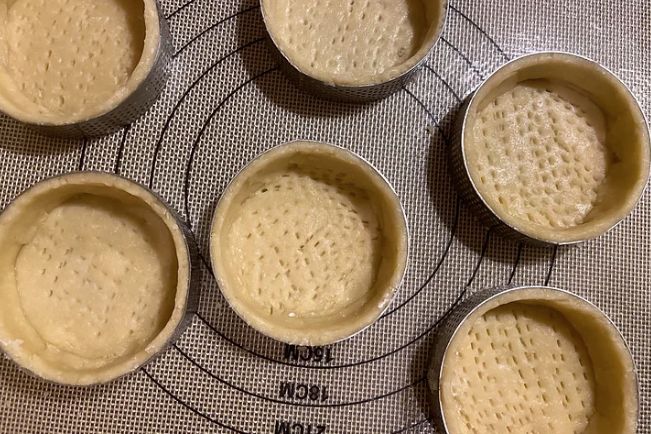
4. For the remaining half of the dough or if there is not enough dough you can re roll the scraps and roll out again to make a long rectangular piece of dough. When ready cut the dough into strips thick and long enough to cover the rim of the pastry rings. Carefully and tightly line the rings ensuring the 2 doughs are connected and the rings are tightly lined. Trim away the excess dough sticking out of the rings and lightly prick the base of the dough with a fork. When all of the rings are lined place back into the refrigerator again to chill for a further 25-30 minutes before baking.
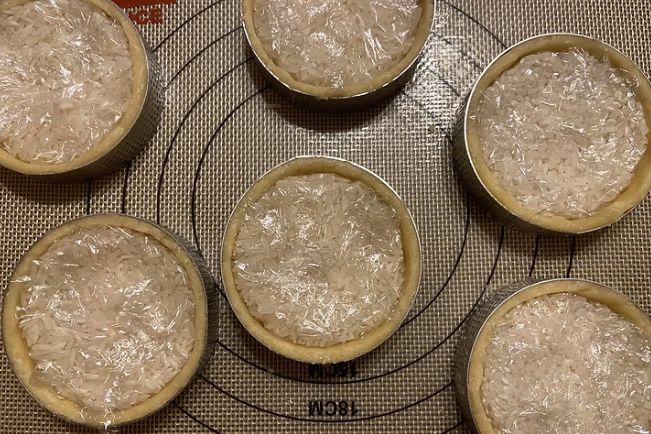
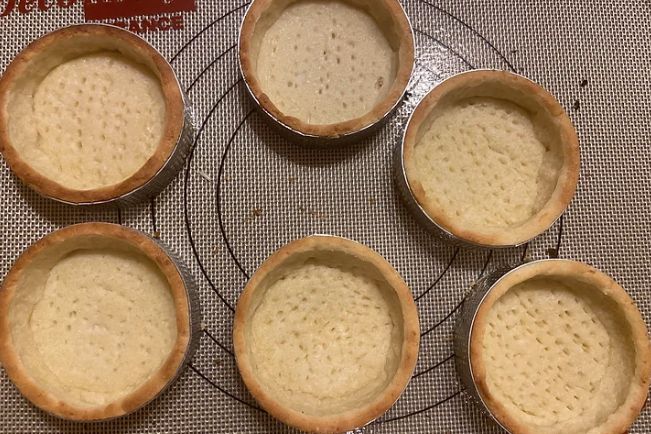
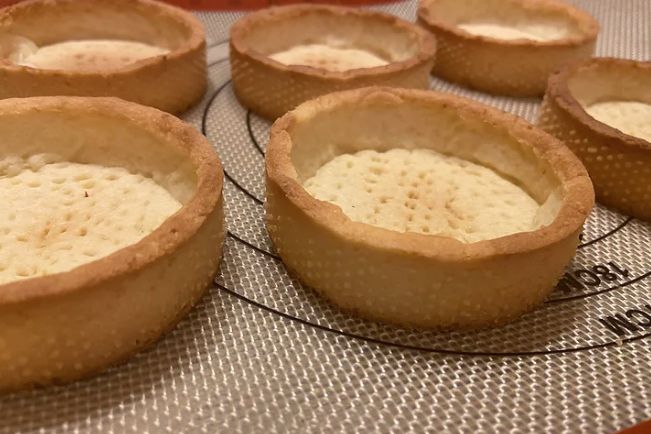
Passionfruit Lime Filling:
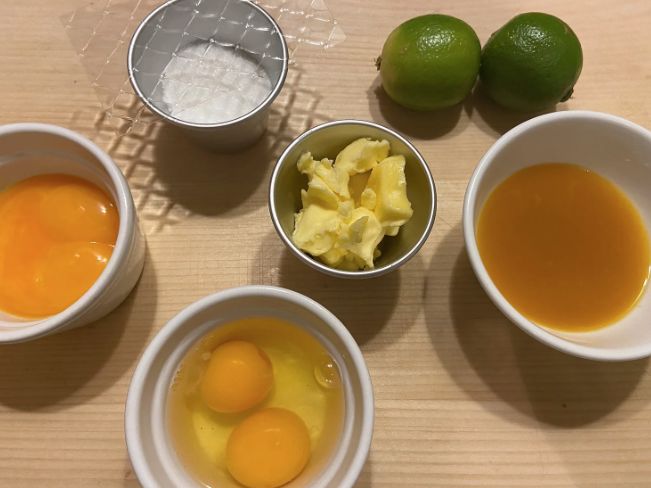
6. Now that the tartlet cases are made we can move onto making the passionfruit filling. For this filling the aim is to go for a more citrus fruity vibe opposed to being overly sweet. Start by soaking 1 gelatine leaf in ice cold water. Next in a small saucepan add 75g of passionfruit concentrate (I like to use the cocktail kind) and the juice and zest of 1 lime. Place onto a medium heat and slowly bring up to the boil. Whilst we wait for the juice to heat through in a small bowl add 125g whole egg, 75g egg yolk and 70g of white sugar. Whisk the egg yolks and sugar well until the egg becomes light and fluffy.
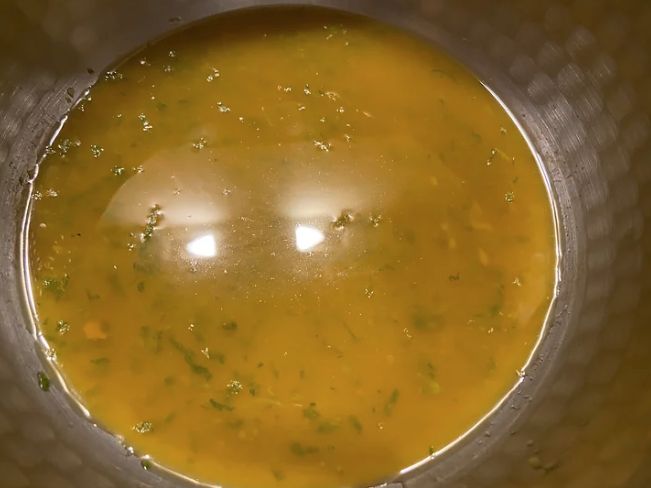
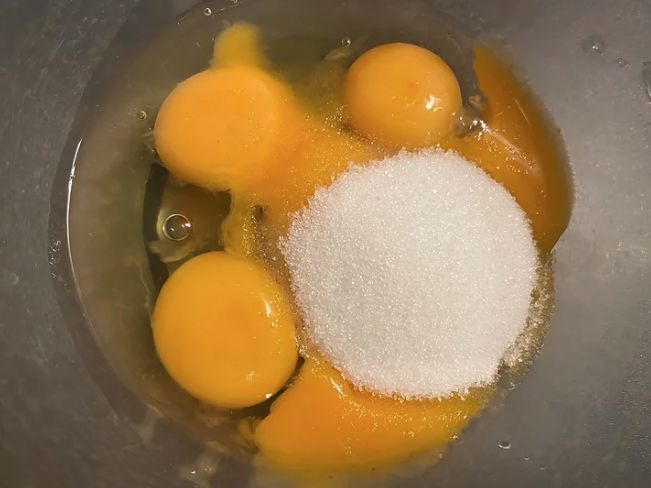
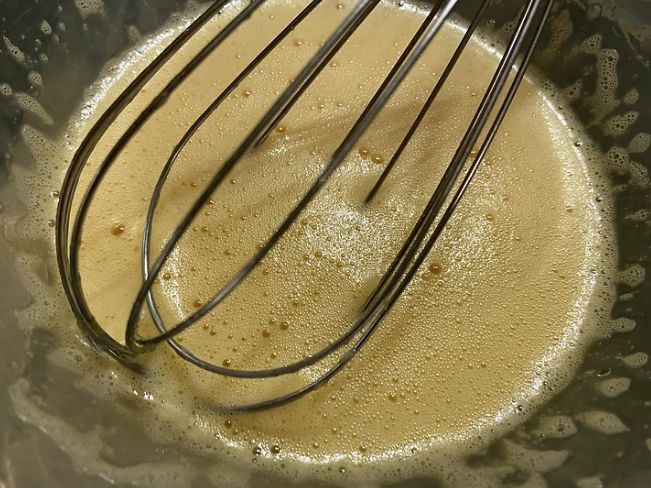
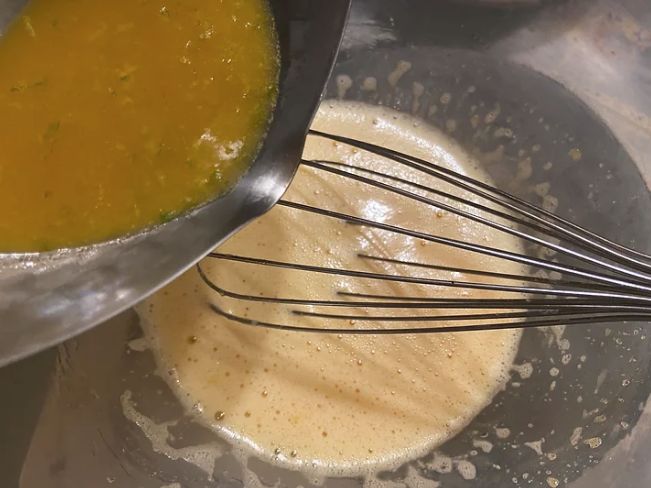
7. When the passionfruit comes up to the boil, remove from the heat then slowly add to the egg mix to temper whilst whisking constantly. When all of the passionfruit is added, add all of the mix back into the saucepan and place onto a low heat. Cook on low for 4-5 minutes whilst constantly stirring until the mix becomes like a thick custard like consistency. Take care during this stage as if the heat is too high the egg has the possibility to scramble. When ready remove from the heat then drain and add the bloomed gelatine leaf and mix well.
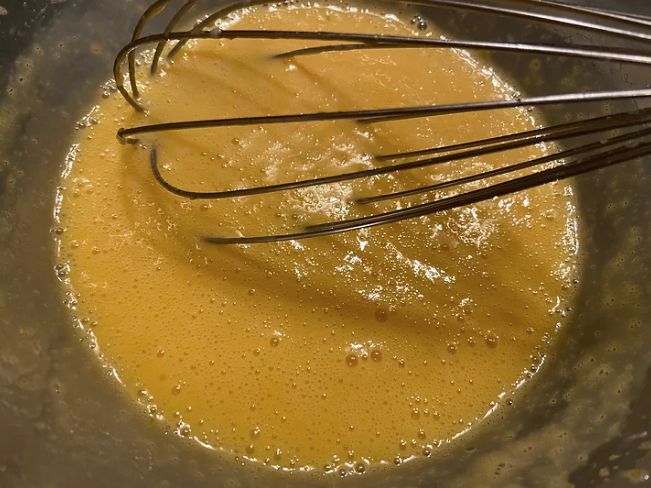
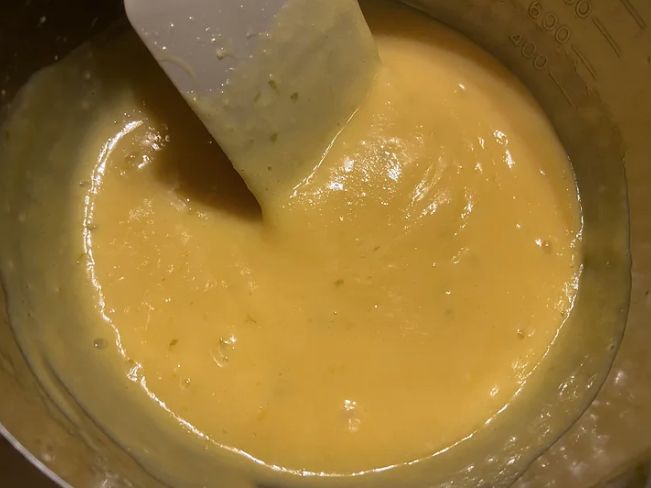
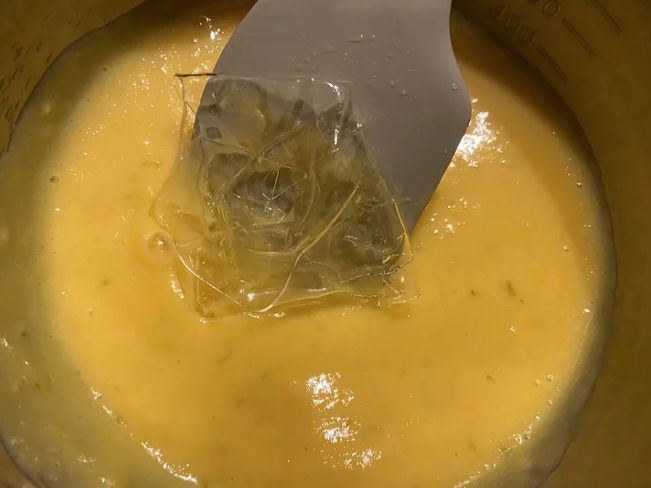
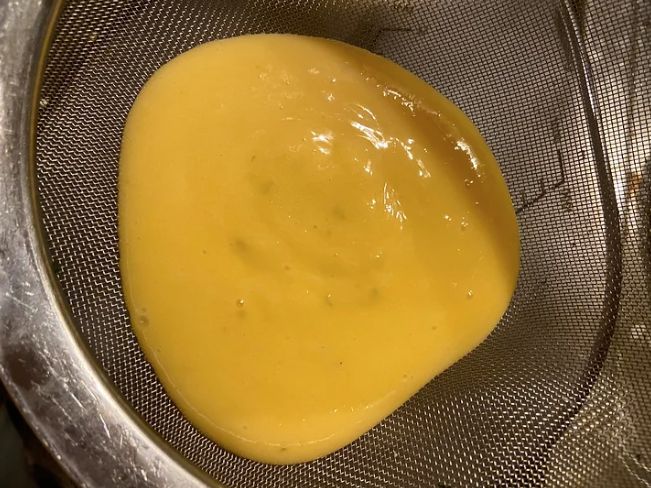
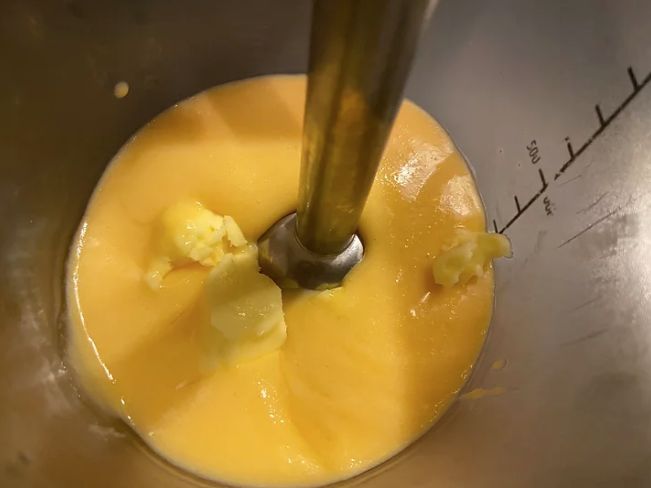
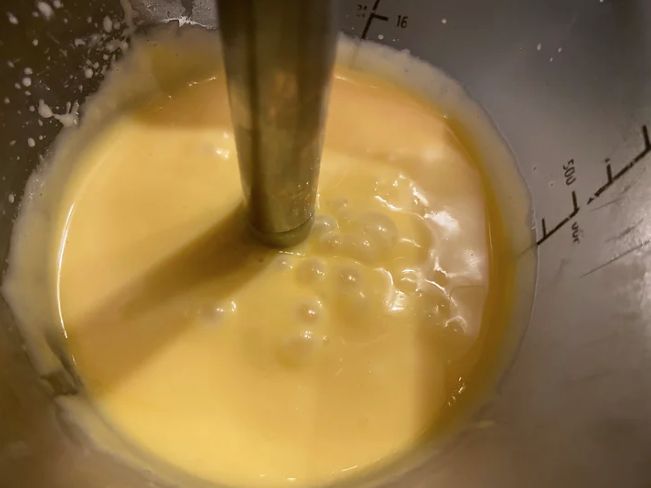
8. To finish the filling we now want to pass the mix through a fine sieve into a fresh jug. Now add 60g of unsalted softened butter and using a stick blender pulse until smooth then when ready transfer the filling into a piping bag.
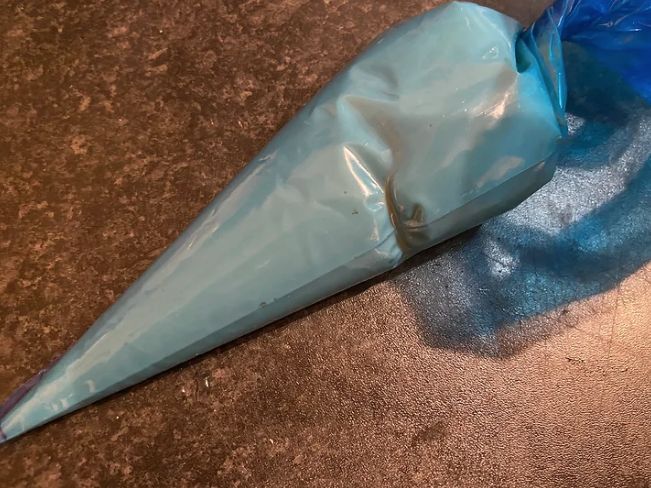
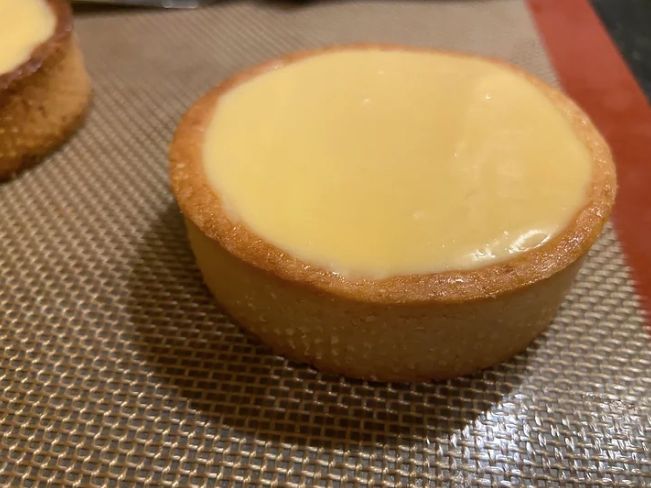
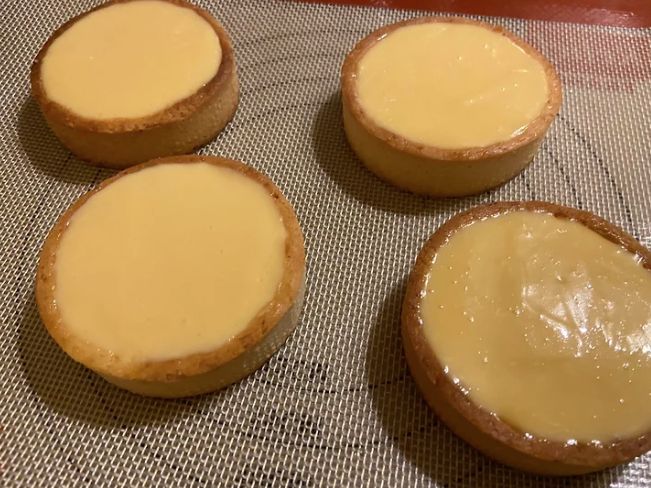
9. To finish the majority of the desert, pipe the passionfruit filling to the very top of the tartlets then use an off set spatula to even and clean the top of the tarts. When ready place the tarts onto a tray and store in the refrigerator for 2 hours or until they completely set. You can also freeze them at this point to speed up the process.
Mango and Toppings:
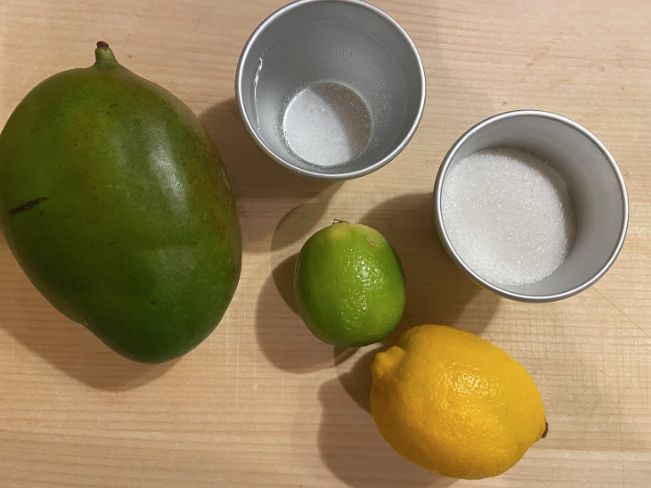
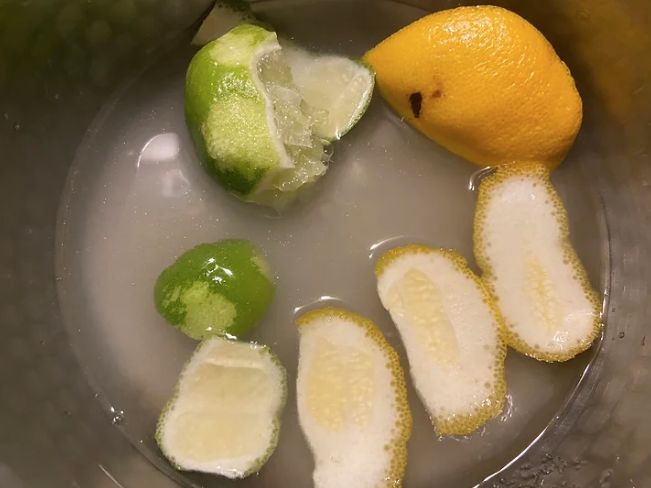
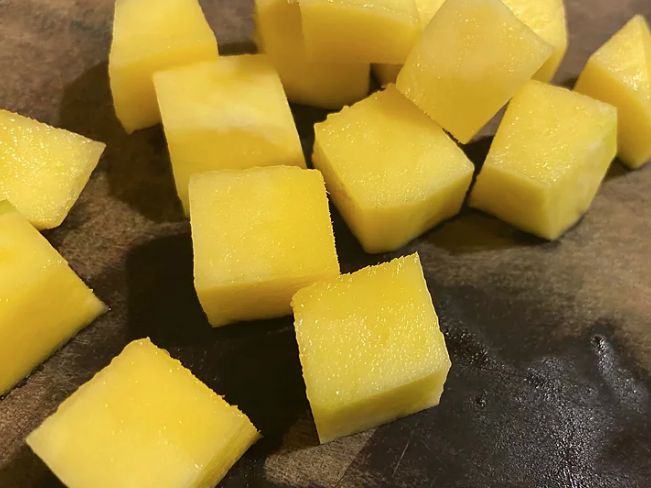
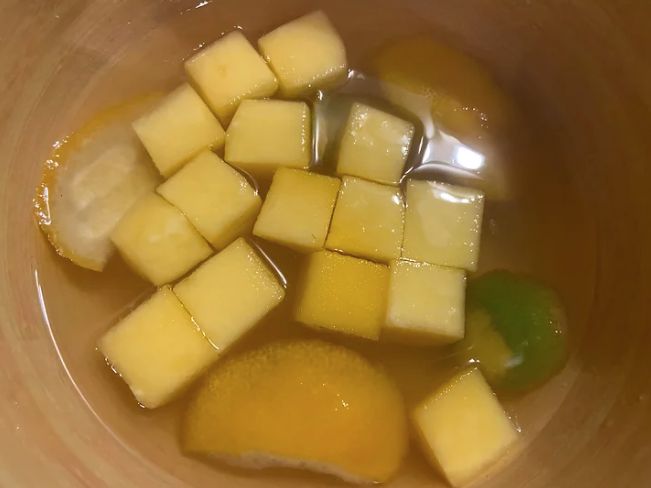
10. Whilst we wait on the tartlets to set, we now want to add even more fresh citrus flavours by soaking some diced mango in a very simple citrus stock syrup which we will add on top of the tartlets. In a small saucepan add 100ml of water, 75g of white sugar and the juice and zest of 1 lime and lemon. Bring up to a boil then when boiling, boil for a further 2 minutes to infuse and dissolve the sugar. Remove from the heat and place into a small container to completely cool. Whilst waiting to cool peel then slice 1 underripe mango into small cubes, then when the stock syrup has cooled add the diced mango and leave until ready to serve.
Coconut Cream:
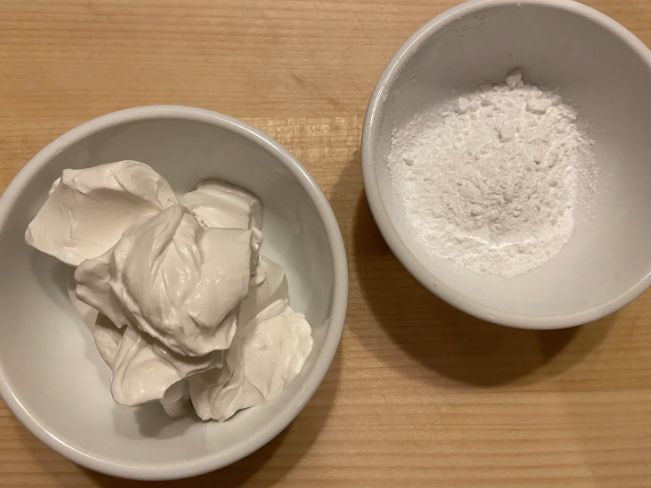
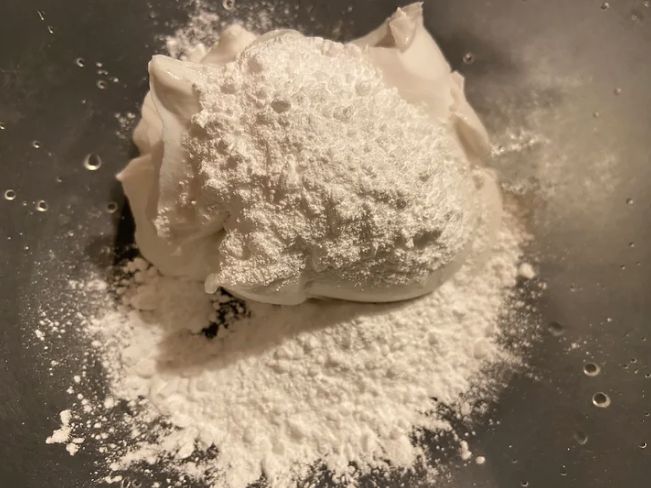
11. The last component to make is the coconut cream, traditionally you would pipe an Italian meringue over the tartlets but I quite like this hidden gem of a cream as its much lighter. To make the coconut cream you will need to source a full tin of good fat coconut milk that has been chilled prior to using. Open up the can and you will notice that the water has separated from the coconut cream, carefully remove the thick cream and place into a mixing bowl. Now add approx 30g of icing sugar and whisk until whipped. If too thick then add some of the coconut liquid from the can. Place the coconut cream into a piping bag and we are ready to serve. I feel like this coconut cream is more of a hack than a recipe, I kid you not try it and I’m sure you will make it all the time!
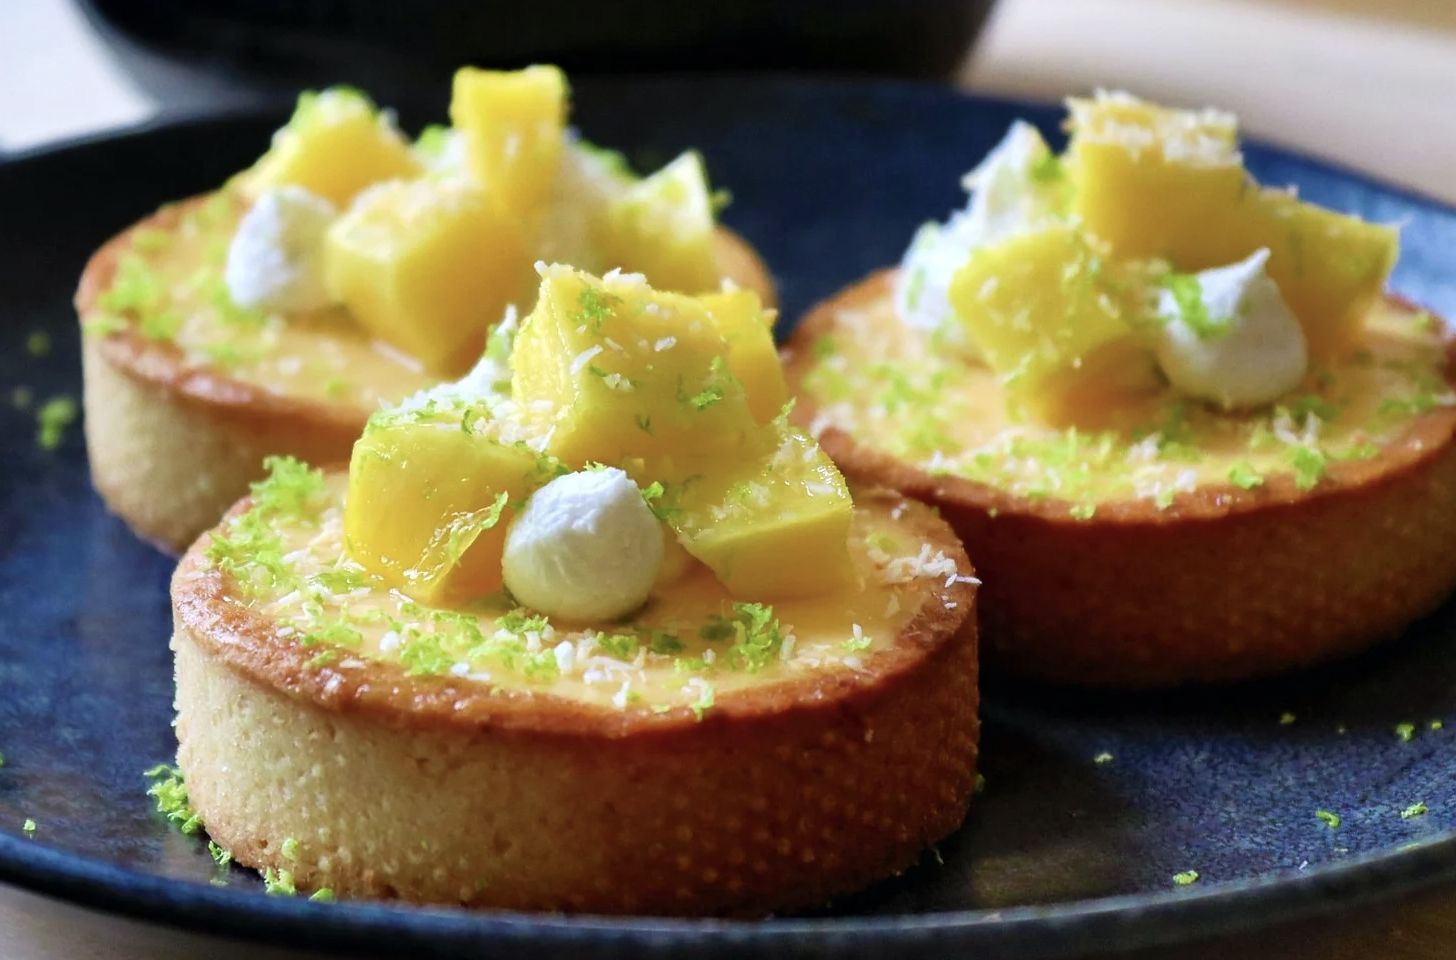
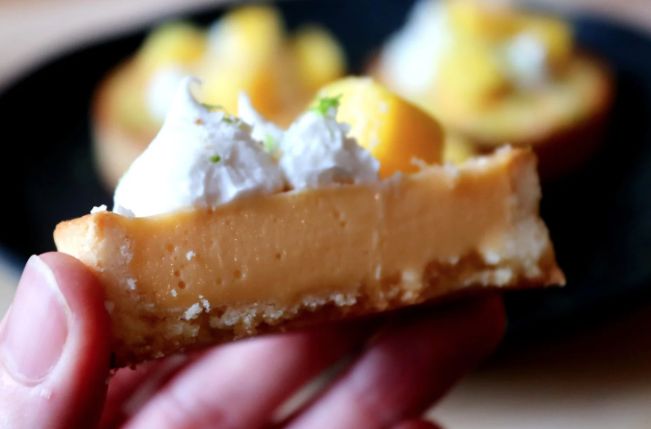
12. Now to finally build up the tartlets, when they have set, pipe a few dots of coconut cream on top then scatter over some of the diced mango. Finish the tartlets with a generous zesting of lime and some optional toasted desiccated coconut. Have fun with this recipe and I’m sure you will love them!
Additional notes
As for the filling then you could substitute the passionfruit for only citrus, mango, berries or even make a ganache filling instead. To make the whole process much easier the tartlet cases can be made a few days in advance also. When making the shortcrust pastry I must again add that it is best to be done in a cool environment, however, you can always place the pastry back into the fridge to chill continuously to make light work of it. Have fun with this recipe and as always peace!

