Intro:
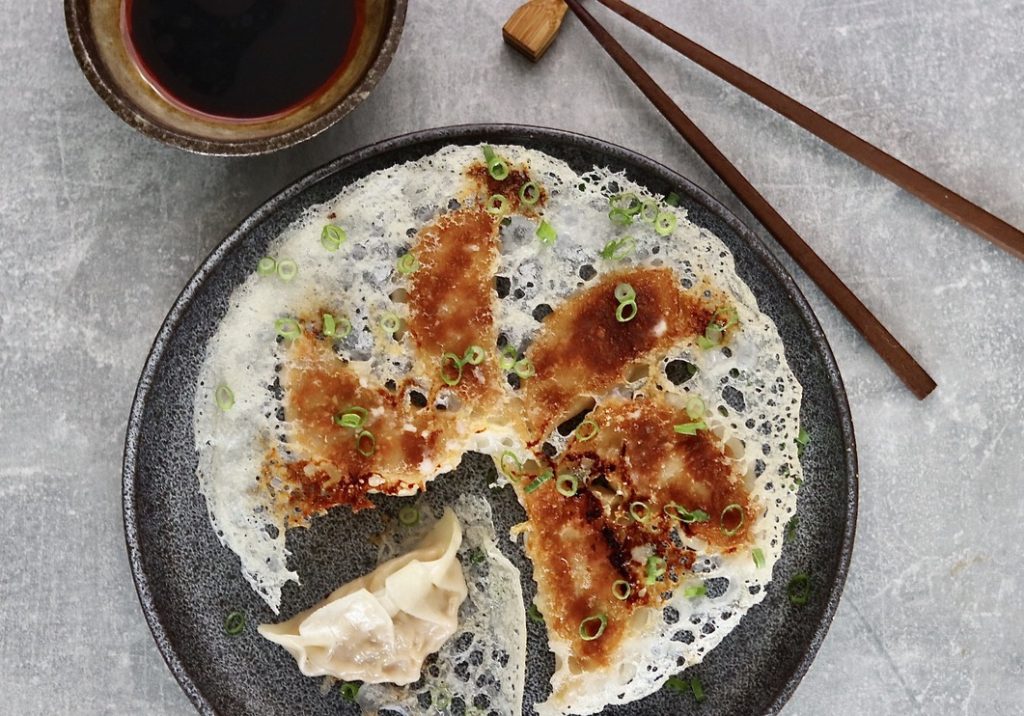
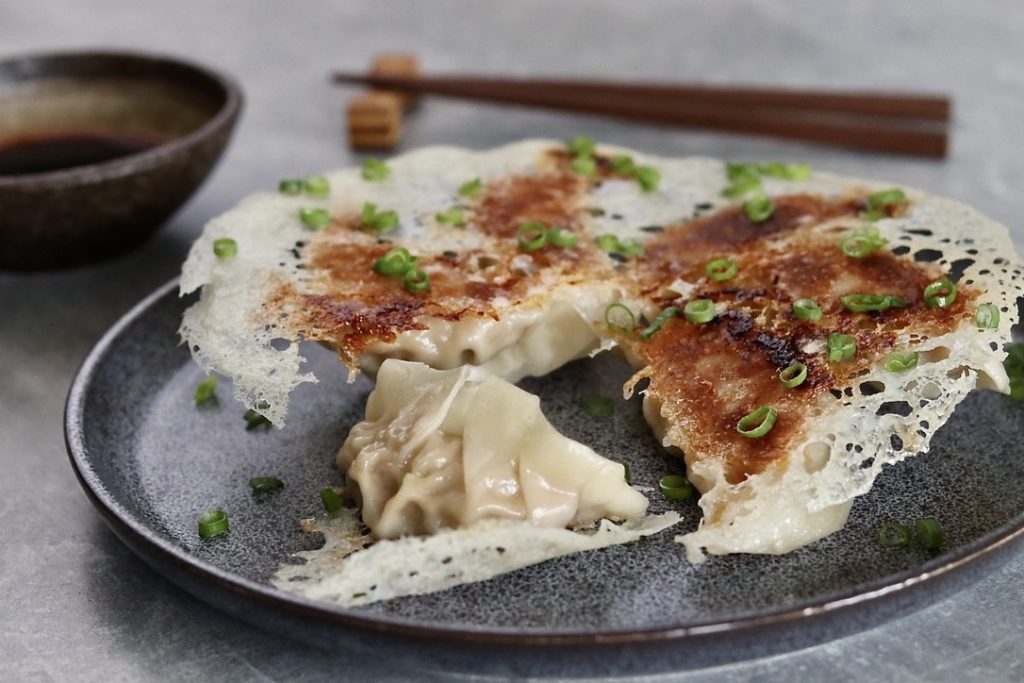
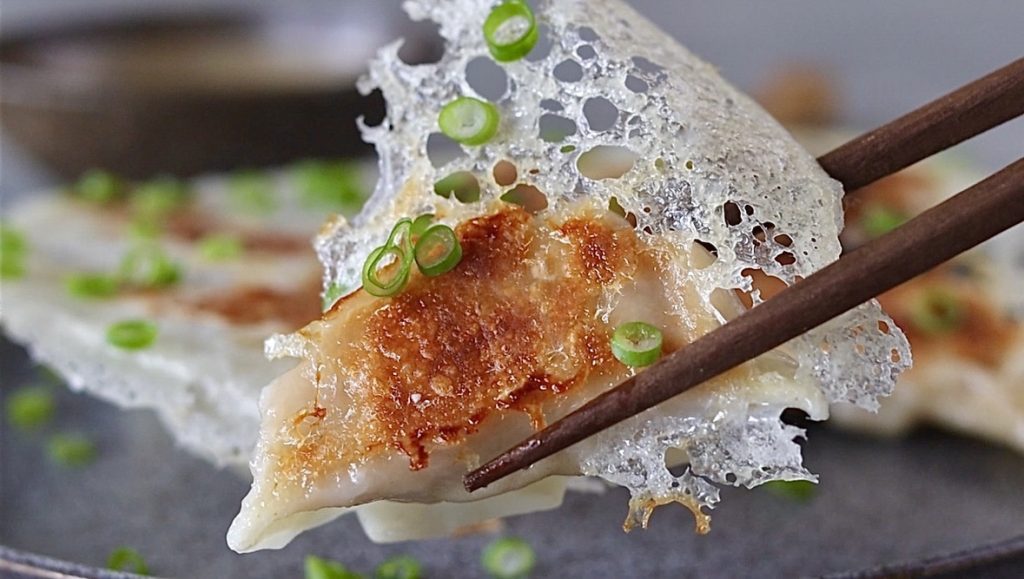
Hanetsuki Gyoza a popular version of Gyoza due to the ultra crispy base and wings. This classic Izakaya dish can also often be found in ramen shops, or vendors that specially make Gyoza as the highlight. Similar to the Chinese post sticker dumplings, Gyoza tends to focus more on the skins opposed to where post sticker dumplings focus much more on the filling. These are pretty easy to make and are incredibly delicious, therefore, let’s get straight into this!
Method
Filling:
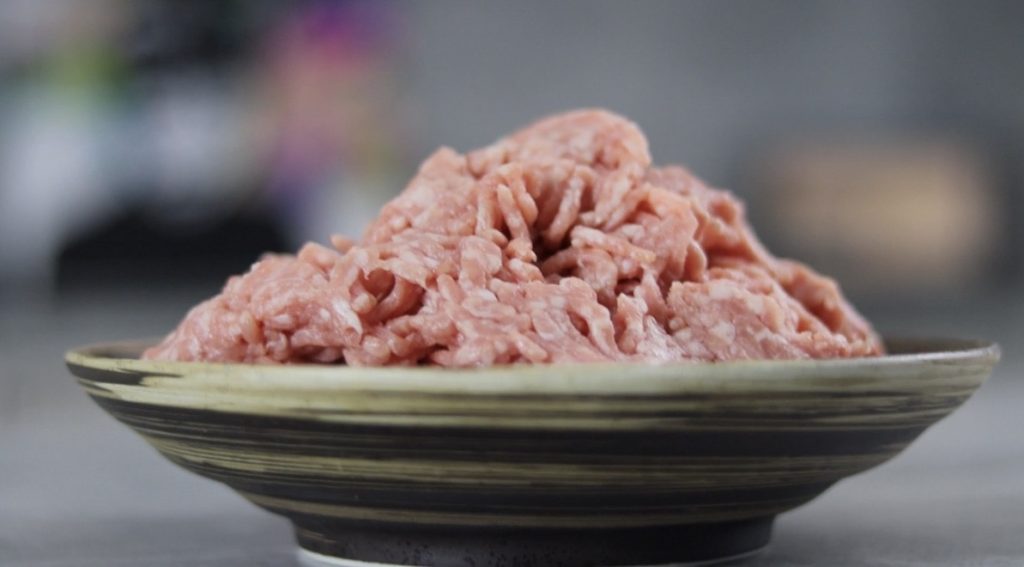
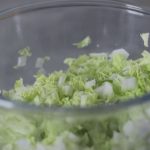
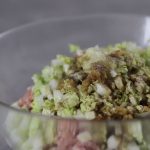
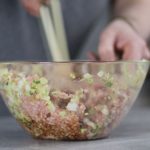
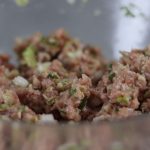
1. Let’s kick things off by making up the filling. Ideally this can be done the night before or if not then a few hours prior to making the gyoza also works. Add 500g of fatty pork mince into a large mixing bowl then set to one side. Now in a separate bowl finely dice 1/2 napa cabbage then add the diced cabbage to the bowl along with a pinch of salt. Mix then leave the cabbage to sit for 15 minutes to remove of the moisture. When ready drain off the excess liquid then add to the ground pork along with 2 finely minced green onions, 10g of grated ginger, 2-3 tbsp of light soy, 2 tbsp sesame oil, 1 tbsp of sake (optional), 1 tbsp white sugar and a pinch of white pepper. Mix the filling well going in one singular direction until the filling becomes sticky. Cover tightly and store in the refridgerator for now.
Gyoza Wrappers:
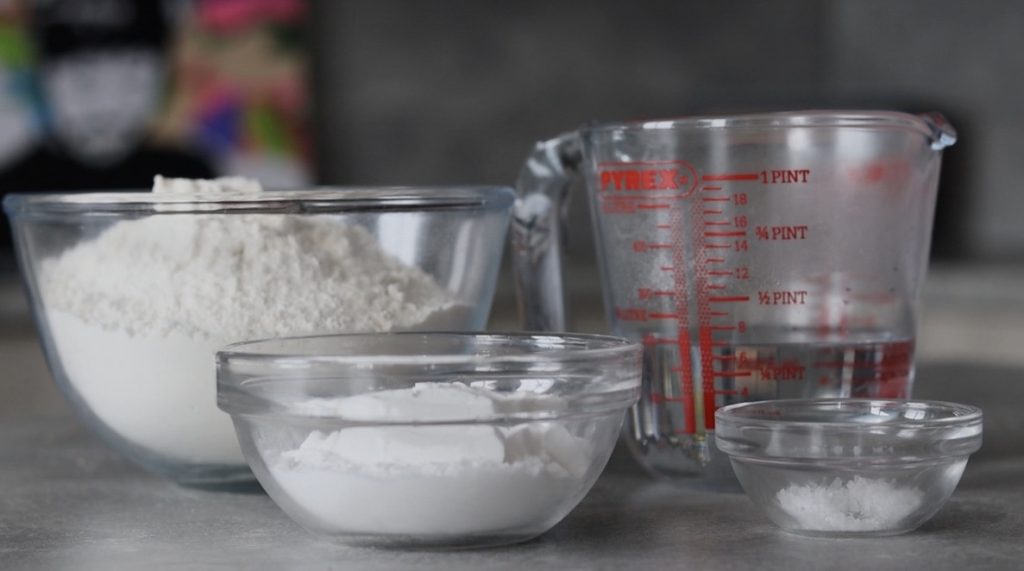
2. Now that we have our filling we can now move onto making up the Gyoza wrappers. In a small mixing jug add 210g of hot water and 1 tsp of kosher salt. Mix well until the salt dissolves then in a large mixing bowl add 400g of dumpling or plain flour. Now to the flour we can gradually add the salt water whilst constantly mixing. When all of the liquid is added we can begin to to mix together by hand until one cohesive ball of dough is formed.
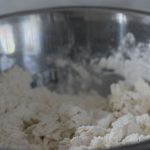
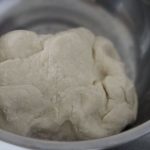
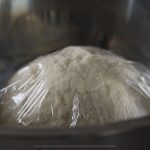
3. Now that the dough is cohesive we can remove and place onto a work top. Knead again for 10 minutes until the dough becomes slightly smoother. When smooth ish, gather the dough into a tight ball then cover with clingfilm. Place the dough to one side then allow to rest for 45-60 minutes.


Divide the dough:
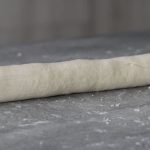
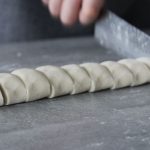
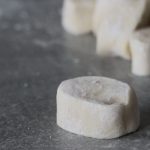
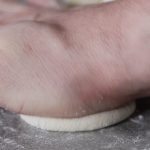
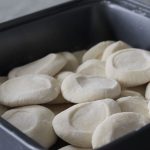
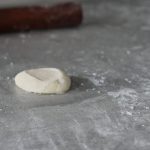
4. After a good 45-60 minute rest the dough is now ready to work with. Take out the dough then knead again for around 5 minutes until nice and smooth. Roll the dough back into a ball then divide into 2 equal sized pieces. Now, roll each piece of dough into two roughly equal sized logs. When relatively long, continue to roll each log of dough until the size is approximately 2 inches in diameter. Cut and divide the dough into a total of 24 equal sized pieces meaning each log of dough being dived into 12 pieces. When cut, dust well with cornstarch then flatten each piece with you palm to form a small flat disk. Place the disks to one side then cover to prevent them from drying out.

Roll Wrappers:
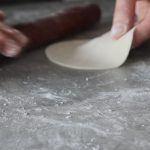
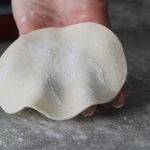
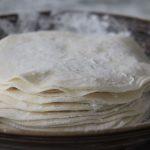
5. To make the wrappers start by dusting the work top again with with corn starch then take out one of the disks of dough. To roll, use a small rolling pin to roll from the centre outwards whist constantly rotating the dough with your off hand. Continue to roll out the disk until the we achieve a thin flat circular piece of dough that is slightly larger than your palm. Optionally you can simply roll our the dough into a flat disk, however, the benefit of rolling in this traditional way is that you end up with a slightly thicker centre making it less likely to leak during the cooking process. When rolled, place each wrapper onto a plate dusted with corn starch and repeat this method for each disk of dough. When rolled cover again and were ready to get building some dumplings.
Finish the Gyoza:
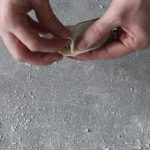
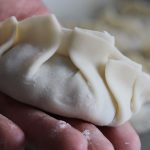
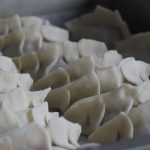
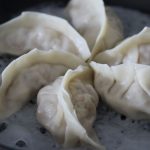
6. Now that we have the wrappers it’s time to get folding some gyoza. There are many ways to do this and a simple fold and seal to secure the filling would do just fine, however, the traditional way to fold gyoza is to pleat the dumplings. Take out one of the wrappers then dust off any excess cornstarch. Now take around 1 tbsps of the filling made earlier and place it into the centre of the wrapper. Now lightly dip your finger in water and run around the outside of the wrapper to help the dough stick. Fold the wrapper in half to form a crescent shaped dumpling that encloses the filling then using your off hand pleat the dough by starting from the centre of the crescent outwards using your index finger and thumb. This is quite tricky to explain in writing, therefore, take note of the images below on how to do this or simply just seal the crescent rather than pleating. When folded, ensure the top of the wrapper is tightly sealed then place the dumpling onto a tray to one side and reapeat for the rest of the wrappers.




Wings:
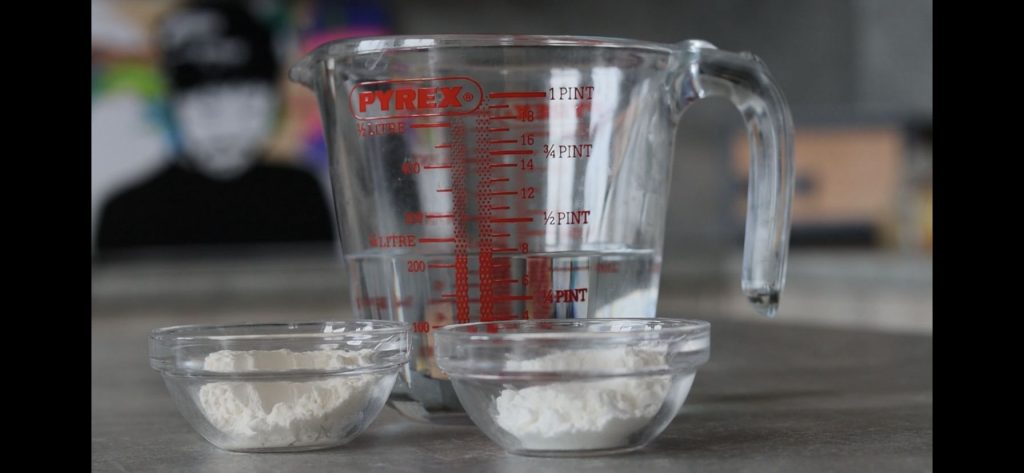
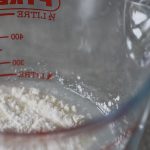
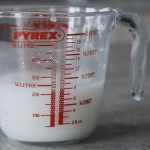
6. Just before we begin to cook and finish the gyoza we want to make up a simple batter that will replace the water during the cooking process. Instead of evaporating this batter will reduce and begin to crisp which will give our gyoza that ultra crispy base. In a small mixing jug simply add 200mls of water, 1 tbsp of potato starch and 1/2 a tbsp of plain flour. Mix this really well then we are ready to cook.
`Cook the Gyoza:
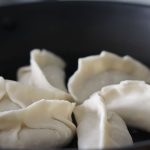
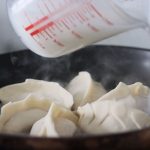
7. Place a non stick saucepan onto a hight heat then add a generous amount of cooking oil. Lay down the gyoza on the flat side into a relatively neat star pattern then fry on the base until golden brown. Now add around 1/2 cup of the batter to just submerge the base of the pan then place a lid over the top. Continue to to cook/steam on high for around 6 minutes (size depending). When cooked remove the lid then the dumplings should now we wilted and cooked, however, to crisp up the base continue to fry without a lid until the batter also begins to crisp and release itself from the pan. When ready place a serving plate over the gyoza and carefully flip the pan upside down to empty out the gyoza and we are now ready to serve!


To serve:
8. To make a super simple dipping sauce for these gyoza in a small bowl i like to add 2 tbsps of light soy, 1-2 tbsps of chilli oil and 1 tbsp of sushi vinegar or rive vinegar would also work. Top the gyoza with some fresh spring onions and nourish!
Additional notes
As for the filling you can switch up the meat to vegetable ratio however you like, I personally prefer a much lighter filling by adding more vegetables but this is entirely up to you. If making the wrappers seems a bit too much then you want to try and purchase some frozen disk shaped post sticker wrappers, however, I find the texture not quite as good as home made. Have fun making gyoza and see you on the next recipe!
To serve 3-4 (24 gyoza)
Cook Time 15 mins
Prep Time: 2hrs
Ingredients:
Pork Filling:
- 500g pork mince (20% fat)
- 2 green onions
- 10g ginger
- 1/2 napa cabbage
- 2-3 tbsp light soy
- 1/2 tbsp white sugar
- 2 tbsp sesame oil
- 1 tbsp sake (optional)
- 1 tsp white pepper
- 400g dumpling or plain flour
- 210g warm water
- 1 tsp kosher salt
- cornstarch for dusting
- 200ml water
- 1 tbsp potato starch
- 1/2 tbsp plain flour
- green onions
- 3 tbsp light soy (sauce)
- 1 tbsp black sushi vinegar
- 1-2 tbsp chilli oil
- oil for frying

