Intro:
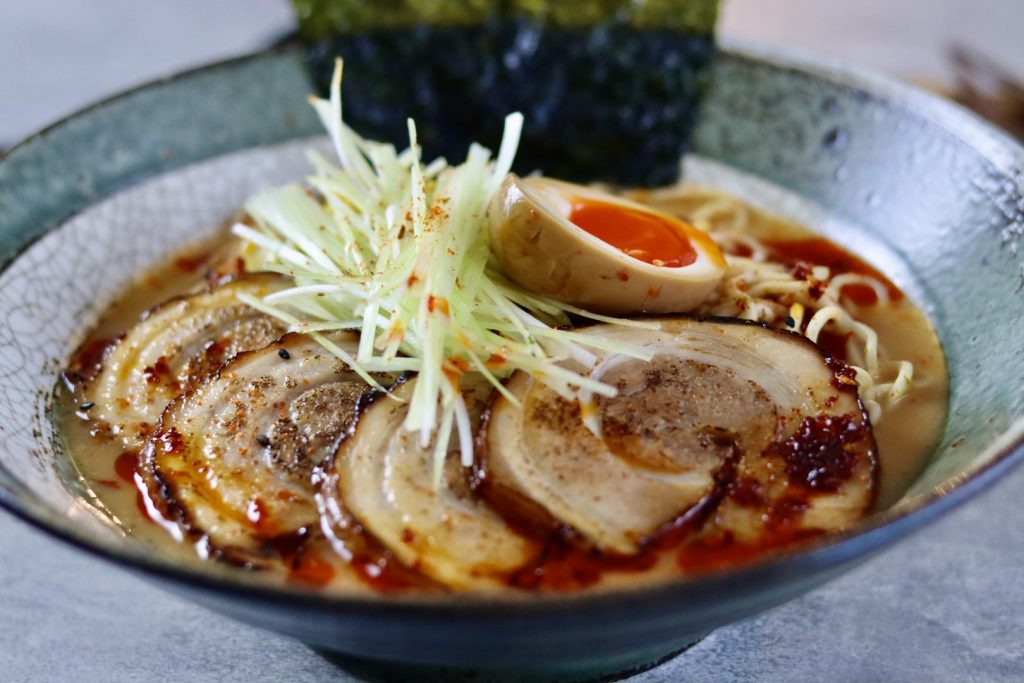
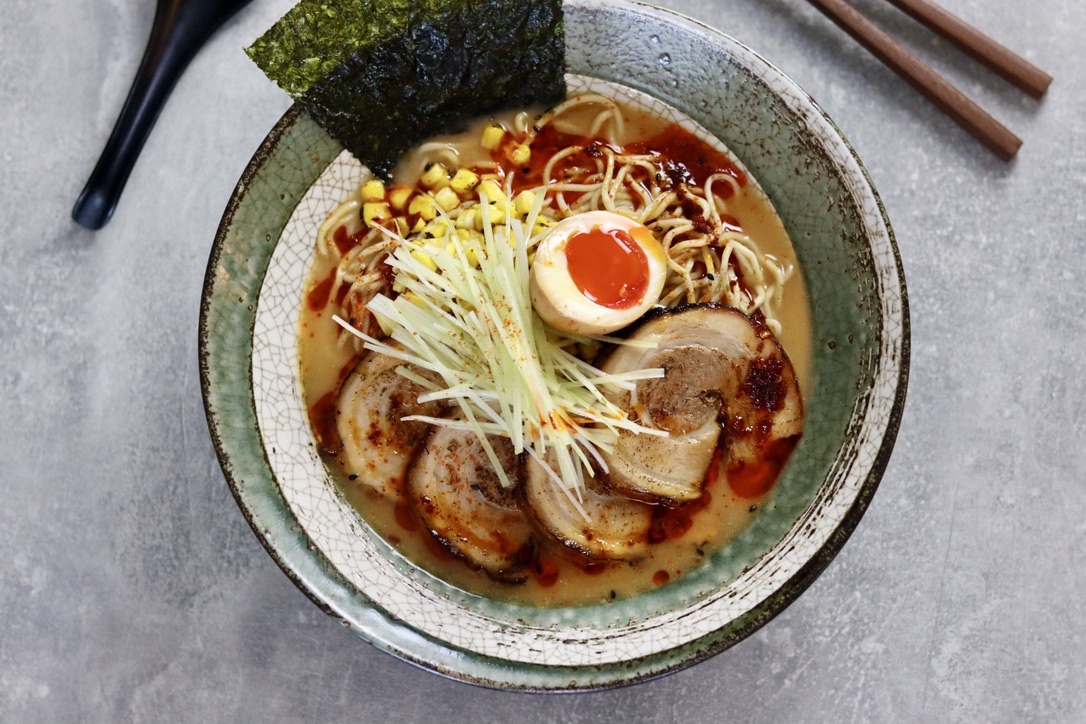
There are many ramen spots throughout Japan that solely focus on spicy Tonkotsu ramen. These places are usually decorated with bizzare demon like statues, dragons heads and black and red wallpaper which adds to the spicy ramen experience. Regardless a spicy Tonkotsu style ramen with a miso tare has to be one of my favourites and that is exactly what we are going to make in this recipe. Rich, creamy, spicy and tons of umami are the characteristics of this bowl. This recipe will take 2 days to prepare, therefore, I will break this up into day 1 and 2. Let’s get straight into it!
Method:
Day 1
Miso Tare:
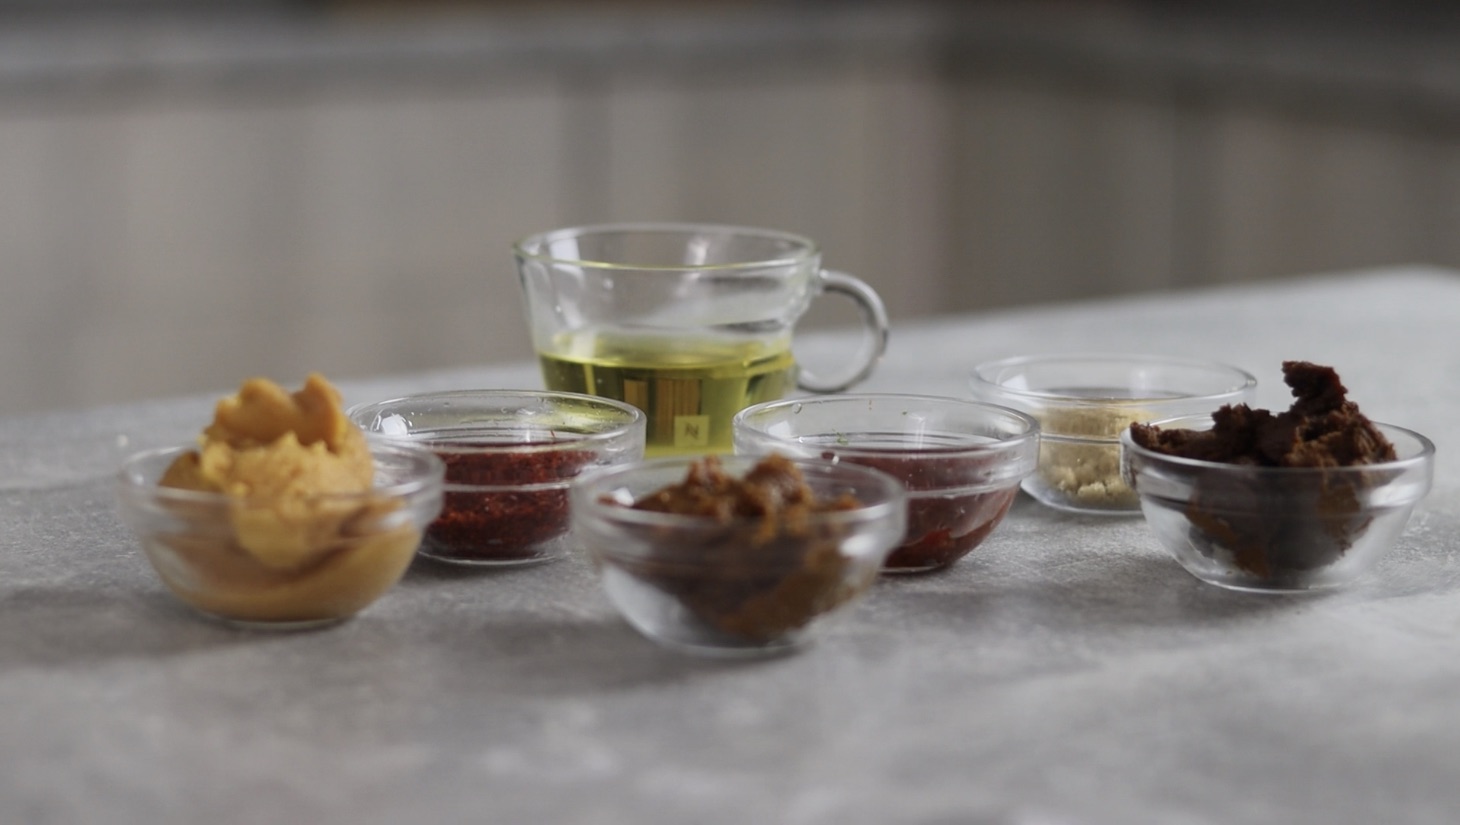
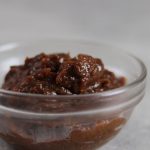
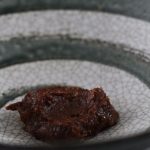
1. The day before we plan on serving up the ramen there are a few components we need to make as they will need time to develop before serving. To make the spicy miso tare, in a small saucepan add 75g white miso, 100g red miso, 50g saikyo miso (a sweet miso), 2 tbsp of Doubanjiang, 100mls of sake and 10g of light brown sugar. Place onto a medium heat and begin to cook until the aroma of alcohol cooks out from the sake and the tare comes together into a paste. When ready remove from the heat and place into a bowl and allow to cool. Store in the fridge and allow the tare to develop overnight.
Pork Chashu:
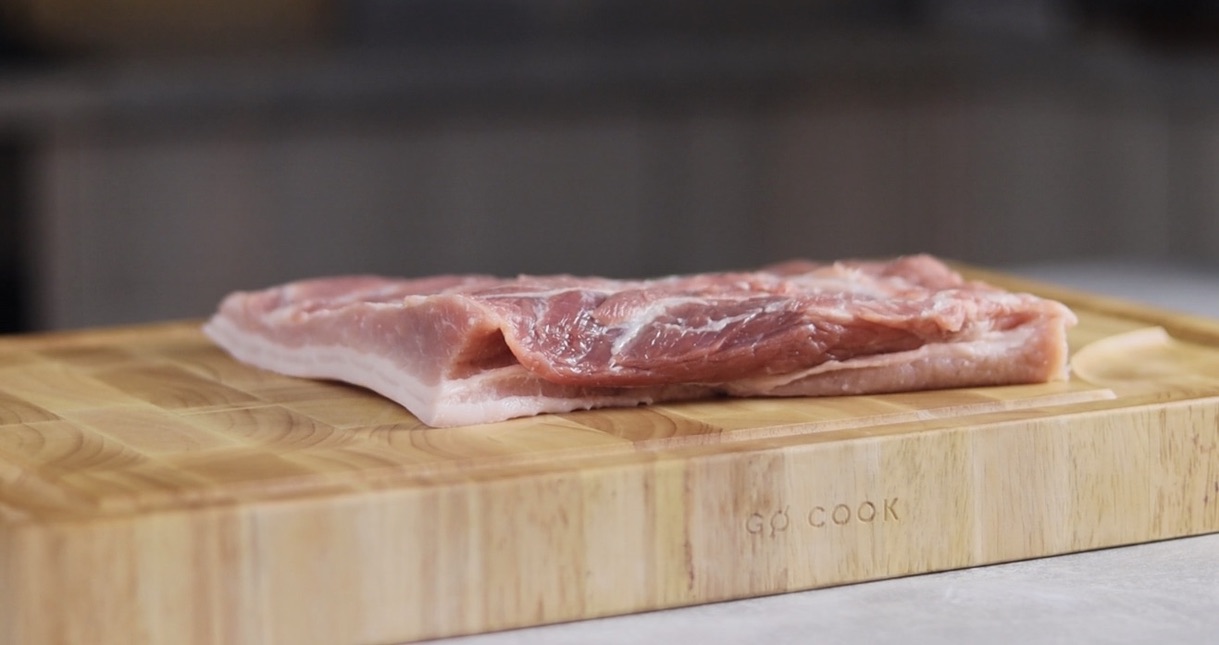
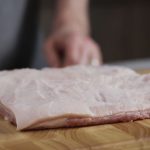
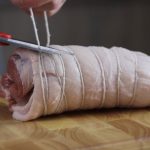
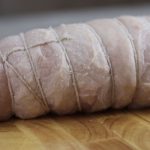
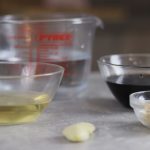
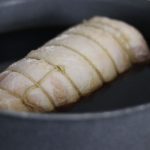
2. The next component of the ramen we can also prepare the night before is the chashu. For the pork belly we want to use a skinless slab of pork belly that is relatively thin in size. Place onto a chopping board skin side down then roll the pork lengthways into a tight roll. Now take a long piece of kitchen string and roll around the pork belly nice and tightly. When rolled add to a large enough sauce pan then add 1.5 litres of water, 200mls light soy, 100mls mirin, 2 crushed garlic cloves and 2-3 tbsps of light brown sugar. Place onto a high heat, bring the liquid up to a boil then when boiling turn down to a simmer and place a lid over the top. Braise the pork for 1.5-2 hrs whilst trning every 20-30 minutes to ensure an even cook.
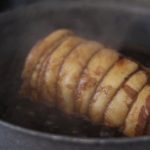
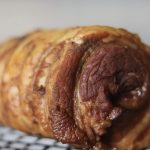
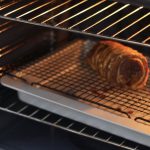
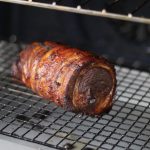
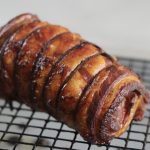
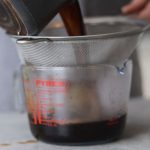
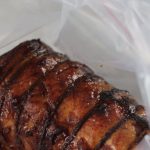
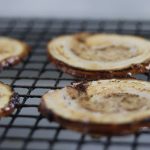
3. When the pork is cooked remove from the heat then place the pork belly onto a wire rack to cool and slightly dry. As for the liquid, pass through a fine sieve into a fresh container to cool and we will use this to cure our soy eggs also. When the pork has cooled, finish in a pre heated oven set at 180 degrees centigrade then add the pork belly. Roast for 20-25 minutes until nicely caramelized then remove and allow to rest until chilled. Place into a ziplock bag with a drizzle of the cooking liquid and store in the fridge until tomorrow.
Soy Eggs:
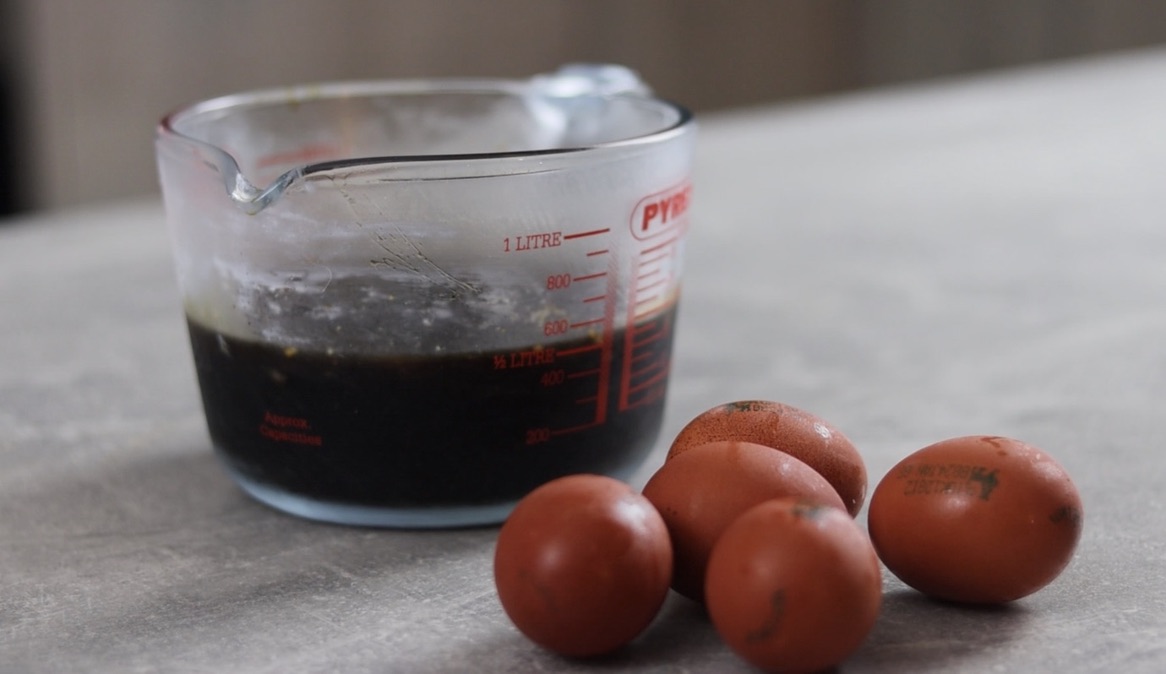
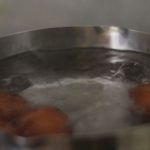
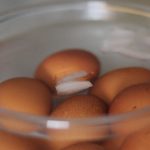
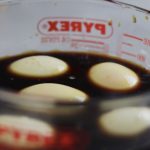
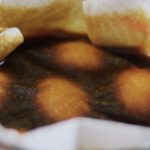
4. Making use of the braising liquid that we cooked the pork in we can move onto making the soy eggs. Add 4-5 room temperature eggs to a pot of boiling water and cook for 6 1/2 minutes on the dot. When ready, immediately chill the eggs in ice cold water to chill and to stop the cooking process. Next, peel the eggs and add to the chilled braising liquid and cover with kitchen paper to help submerge the eggs in the liquid. Place into the fridge and keep chilled until ready to serve. A quick tip before adding the eggs to the liquid is to run a piece of kitchen paper over the liquid a few times to remove the fat.
Dashi:
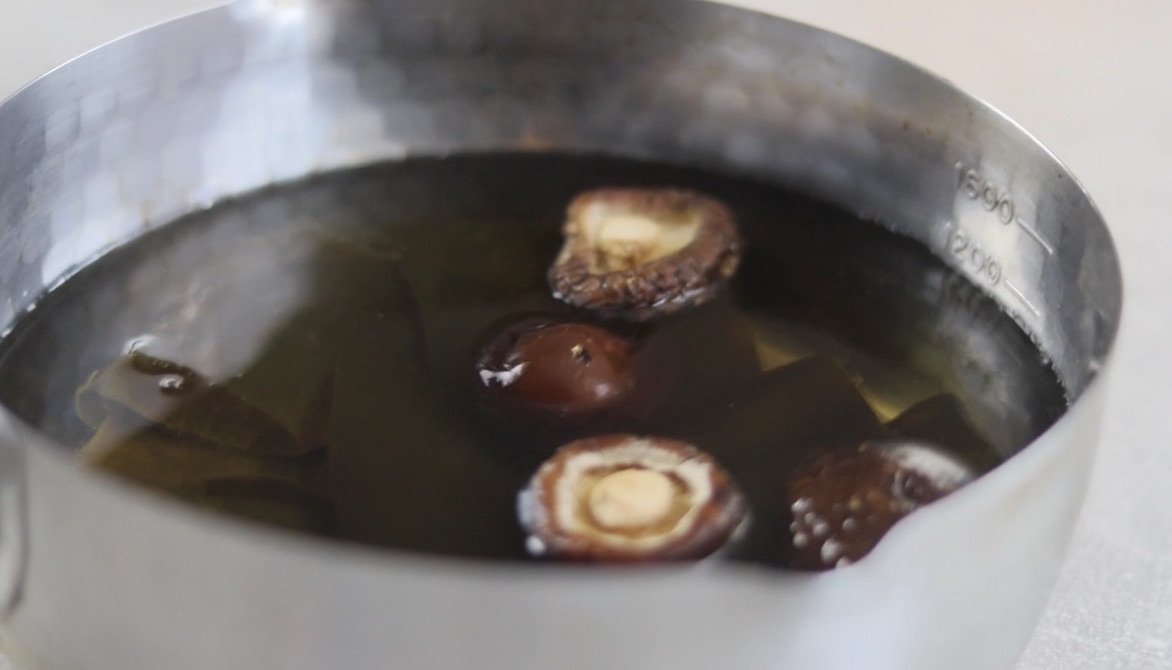
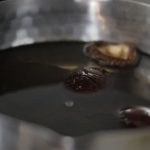
The final element to this ramen we can prepare the night before is the Dashi. We will cut the Tonkotsu broth with this towards the very end which will add to the umami of the broth. In a sauce pan simply add 1.5 litres of water, 30g of cleaned Kombu and 5 dried Shiitake mushrooms. Cover with clingfilm and store at room temperature until the following day.
Day 2
Tonkotsu Broth:
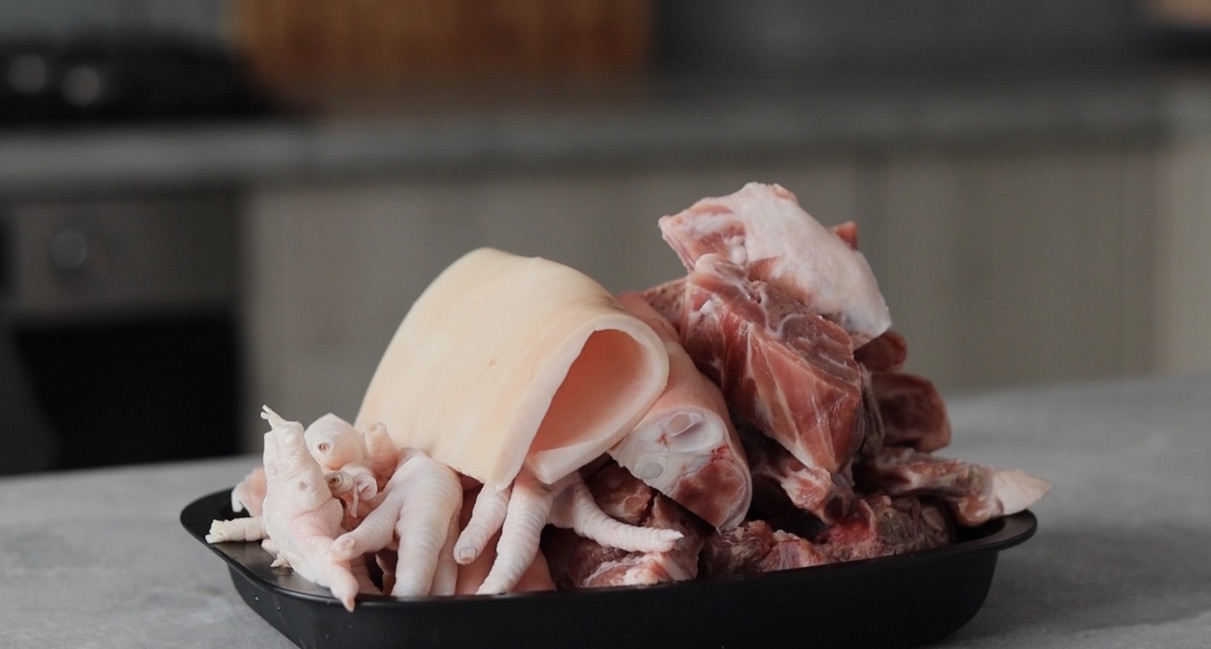
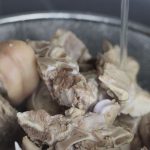
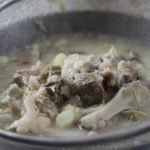
5. The following day the first thing we need to start to cook is the broth. This is going to take 5-6 hours of cooking so its best to get this on nice and early, however, the cook time can be dropped down to 3 hours if using a pressure cooker. To start we need to firstly clean the bones, fill the largest pot you have 1/2 way with water and add 500g of pork bones, 250g of chopped pork trotters, 100g of chicken feet and a 50g approx piece of pork back skin. Place onto a high heat then boil the bones for 20-30 minutes or until no more impurities rise to the top whilst skimming occasionally. When ready, drain and clean the bones under cold running water until free of any scum that is left on the bones. Add back into a clean large pot and cover the bones with fresh water (8-12 ltrs approx). Place onto a high heat then when boiling place a lid over the top and boil for 4 hours on a medium to high heat.
Garlic Rayu:
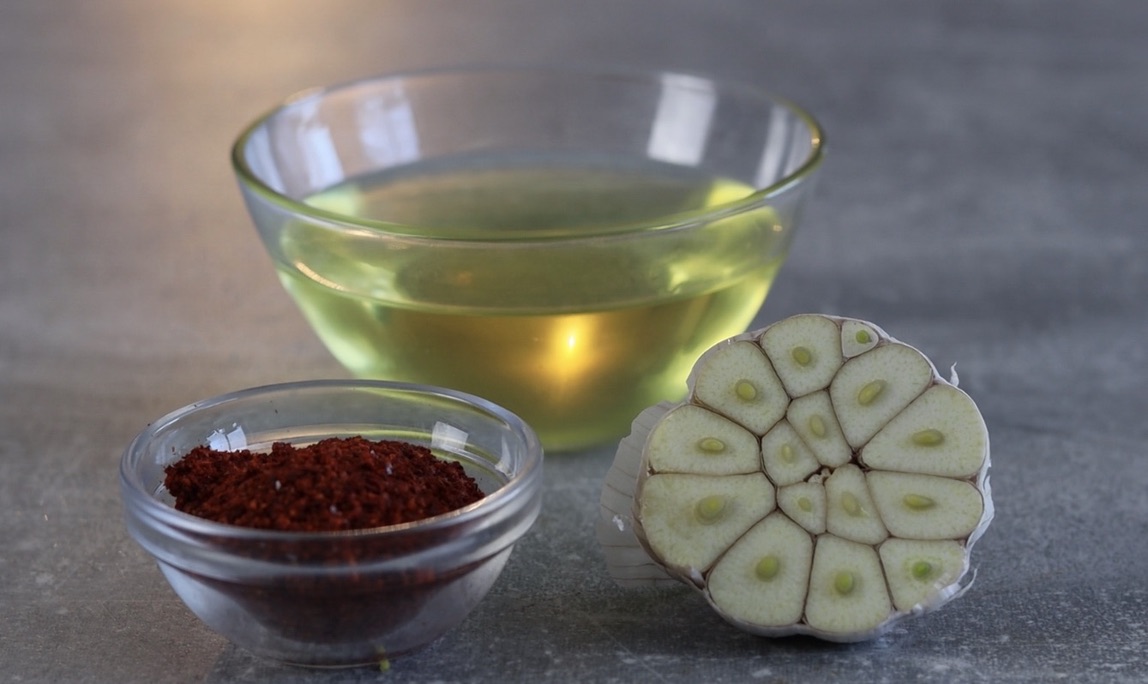
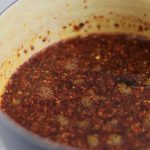
6. Whilst we wait on the broth to cook we can make up a simple garlic chilli aroma oil to finish the ramen. In a small bowl add 3 tbsps of Korean chilli flakes and 1-2 tsp of water. Mix well to ever so slightly hydrate the chilli flakes and set to one side. Next, in a small saucepan add 100mls of cooking oil and 6-8 garlic cloves. Place the oil onto a medium heat then fry the garlic until deeply golden brown. When ready, remove the garlic and carefully pour the hot oil over the chilli flakes. Leave to cool then set the garlic chilli oil to one side.

Dashi part 2:
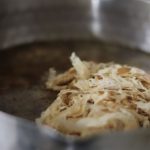
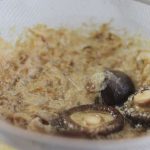
7. Just before we go back to the broth we can also finish the Dashi from the night before. Place onto a medium heat and bring the temperature up to 60 degrees centigrade. When at temperature, remove the Kombu then bring the temperature up to 70 degrees centigrade. Add 20g of bonito flakes then remove the Dashi from the heat and allow to steep for 15 minutes. When steeped pass through a fine sieve and the dashi is ready and we will add this to the broth towards the end of cooking.
Tonkotsu Broth part 2:
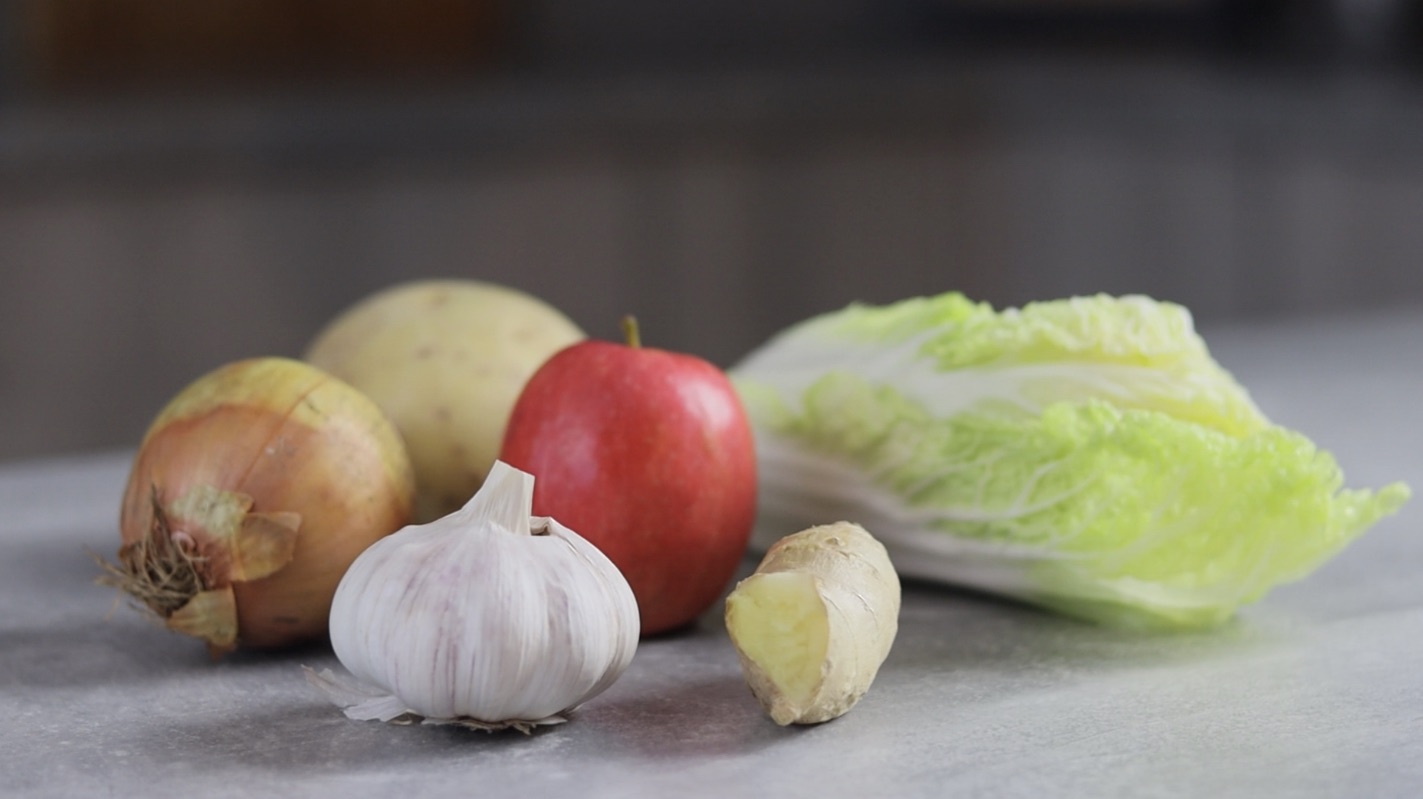
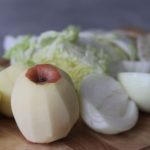
8. After a solid 4 hours of boiling away the umami should now have been extracted from the bones and the broth should have started to become slightly milky. Remove the lid then top with an additional 1 litre of water. Next we want to Incorporate the aromatics. To the broth add 1/2 roughly chopped napa cabbage, 1 peeled white onion, 1/2 bulb of garlic, 1 peeled apple, 1 roughly chopped peeled potato and 30g of sliced ginger. Turn the heat up to high and continue to boil the broth for an additional hour. After 1 hour of boiling add the dashi stock made earlier and finally boil for a final 30 minutes.
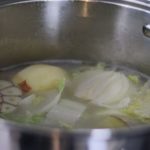
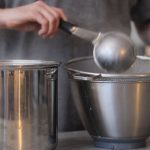
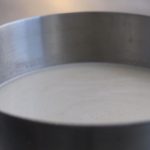
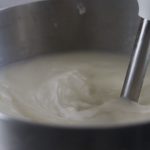
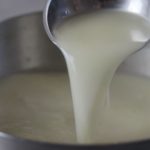
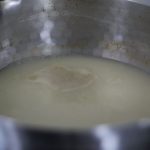
9. After an intense total of 5-6 hours of boiling the broth should now be milky with an intense flavour of pork. Remove from the heat and now we want to pass the broth through a fine sieve into a fresh pot. When passing you may need to use some force to extract as much of the broth from the bones and aromatics as possible, refreshing the sieve ever so often as its gets full. When passed, hit the broth with a stick blender and doing this will emulsify the fat and lock everything together to become a clear milky broth. When ready set to one side and we can heat this up per portion just before serving.
Finish the Toppings:
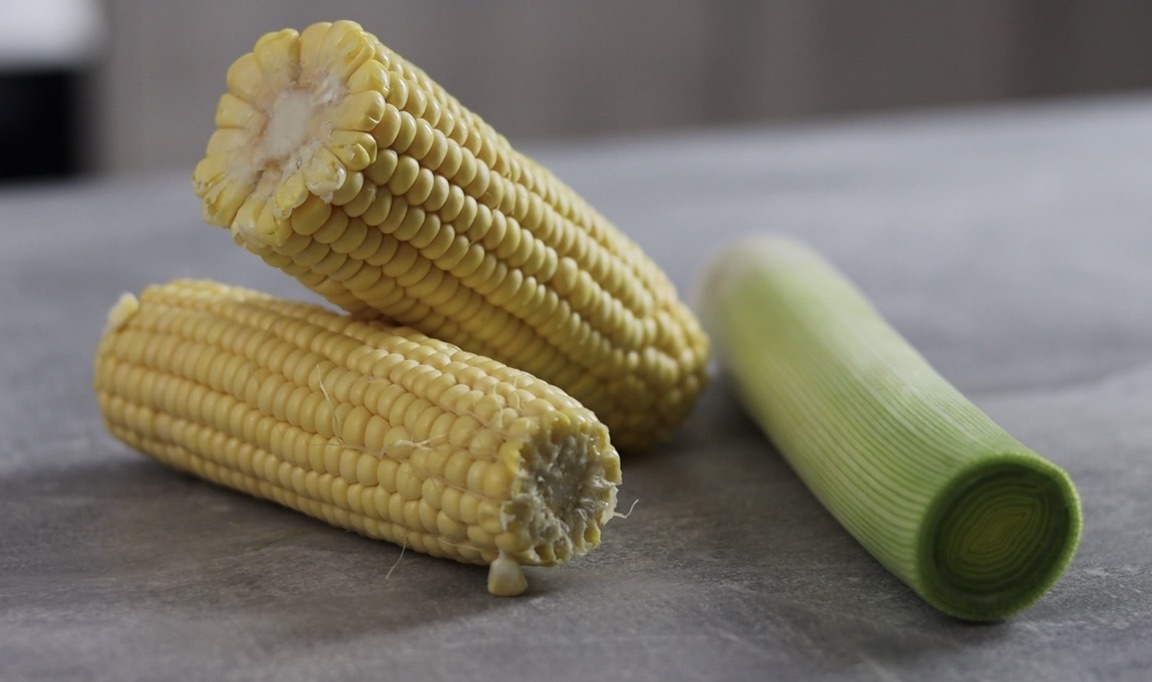
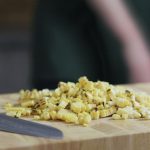
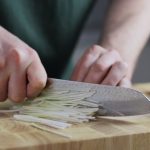
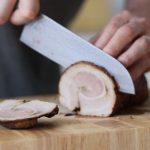
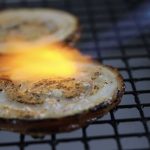
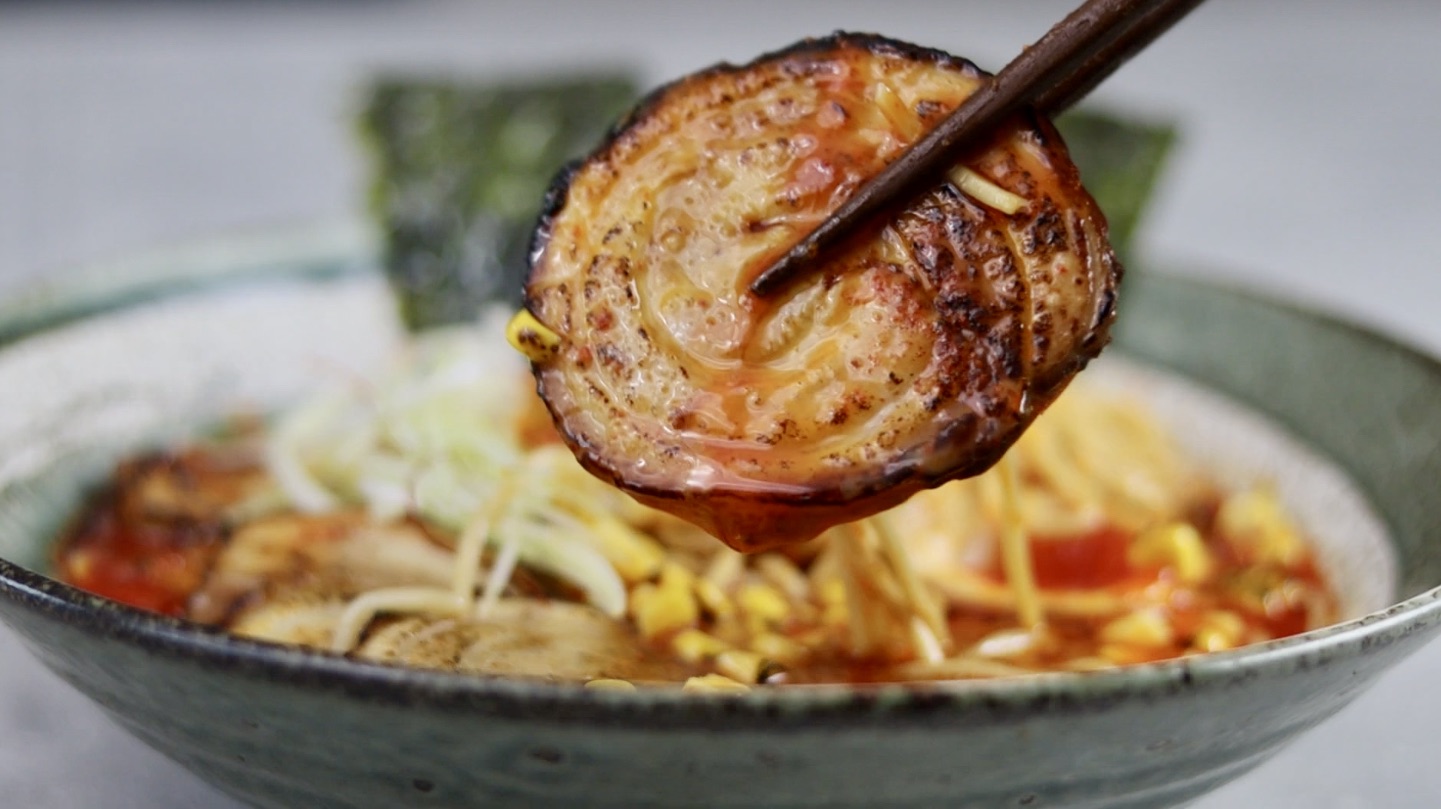
10. Now that the majority of components are ready for the ramen we can finish the toppings then we are ready to serve and bring everything together. Boil 2 corn on the cobs until just cooked then remove from the water. Use a blowtorch or pan to sear until charred then slice away the corn. Finely slice 1/2 leek into a fine Julliene then take out the chilled Chashu and into thin or thick slices. Char each of the slices of Charshu until heated then we are ready to finish.
Time to Serve:
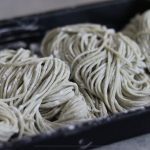
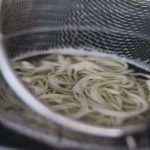
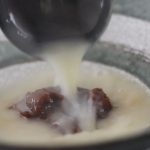
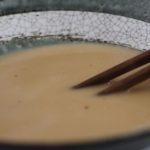
11. Start by placing 300-350mls of broth per person onto a high heat to boil. Next in a serving bowl add 1 generous tbsp of the tare into the bowl then when the broth is boiling add to the 300-350mls then mix into the tare. At the same time as the broth is heating cook the ramen noodles you are using in a boiling water then when ready drain as much as possible from the water. For this recipe I used my own ramen noodles, however, I will leave this up to you and i will leave a link to the recipe for those in the ingredients section. When the noodles are cooked and drained add to the broth and fold over the noodles to make a small platform in the soup to hold the toppings. Next, add the sliced Charshu, sweetcorn, soy egg and top with some finely sliced leek. Finish the bowl with the aroma oil, some nori on the side and some additional Togarashi pepper if your after some extra heat. All thats left is to take a deep breath and chase that noodle dream!
Additional notes
I know this recipe has far too many steps and is quite intense to make for any home cook, however, I feel those 20 minute ramen recipes don’t do Ramen justice at all. Hopefully you will get the time to try out the recipe and become a somewhat Ramen enthusiast like myself. When it comes to trying to shave time off the boiling time then i’d definately use a pressure cooker for the broth, however, boil as normal when we come to add the aromatics towards the end. As for the noodles these can be made two days in advance if making fresh ones also. Actually thinking of it the miso tare can also be made 2-3 days or even longer in advance also. Thank you all for reading if you made it to this point, have fun making ramen and at the time of publishing this post there will be a youtube video of the recipe also on my channel. Have fun and check in with you next week!
Ingredients
To serve 4-5 bowls
Total Prep Time: 2 days
Total Cook Time: 8hrs
Tonkotsu Broth:
- 500g pork bones
- 250g pork trotters
- 100g chicken feet
- 50g pork back skin
- 1/2 napa cabbage
- 1 white onion
- 1/2 garlic bulb
- 30g ginger
- 1 potato
- 1 apple
- 1.5 ltr dashi stock
- 1.5ltr water (dashi)
- 30g kombu (dashi)
- 5 dried shiitakes (dashi)
- 20g bonito (dashi)
- 75g white miso
- 100g red miso
- 50g saikyo miso (sweet miso)
- 2 tbsp doubanjiang
- 100mls sake
- 10g light brown sugar
- 750g slab belly pork
- 200mls light soy
- 100mls mirin
- 1.5 ltr water
- 2 garlic cloves
- 2-3 tbsps light brown sugar
- 4-5 whole eggs (soy eggs)
Garlic Rayu (chilli oil)
- 100mls cooking oil
- 6-8 garlic cloves
- 3 tbsp korean chilli flakes
- 1-2 tsp water
- 1/2 leek
- 2 cobs of corn
- ramen noodles for 4-5 (recipe here)
- Togarashi seasoning
- nori

