When travelling through Japan I often found myself nourishing on onigiri almost everyday usually often purchased from a random 7/11 store. What I love most about Onigiri is quite simply how convenient they are yet still provide a solid lunch alternative. In Japan it is quite common to find chicken teriyaki, tuna mayo or even preserved plum versions, however, in this recipe I wanted to make a slightly more elevated version which is super simple, packed full of umami and incredibly delicious! With all that said let’s jump straight into this recipe!
Method
Rice:
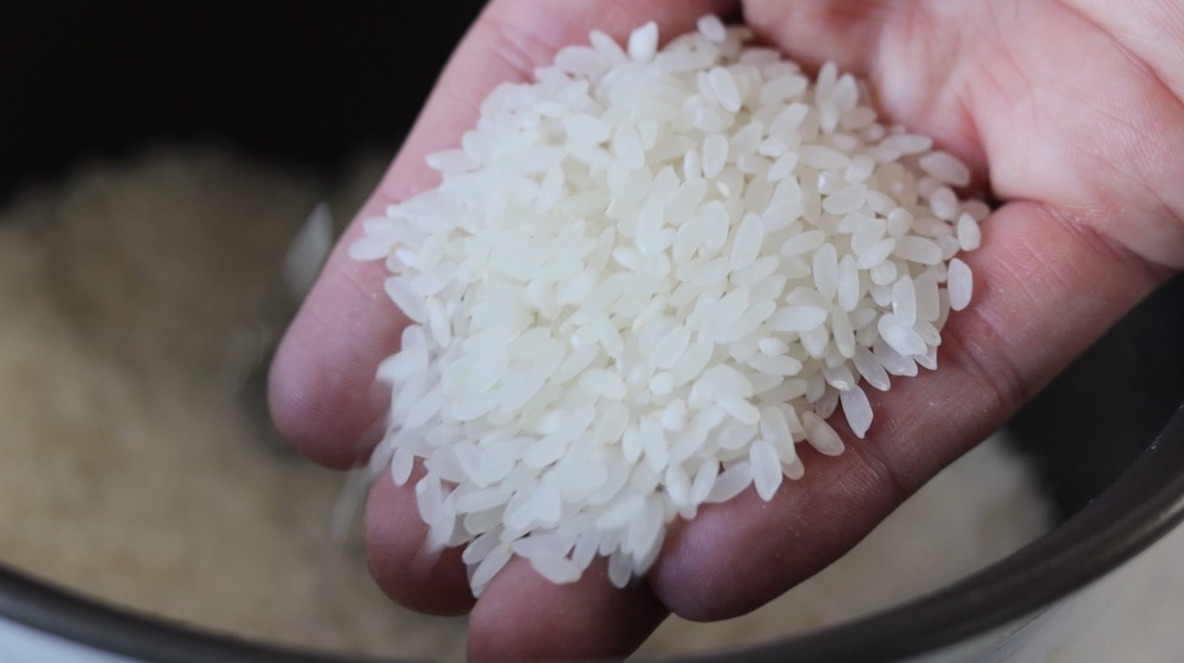
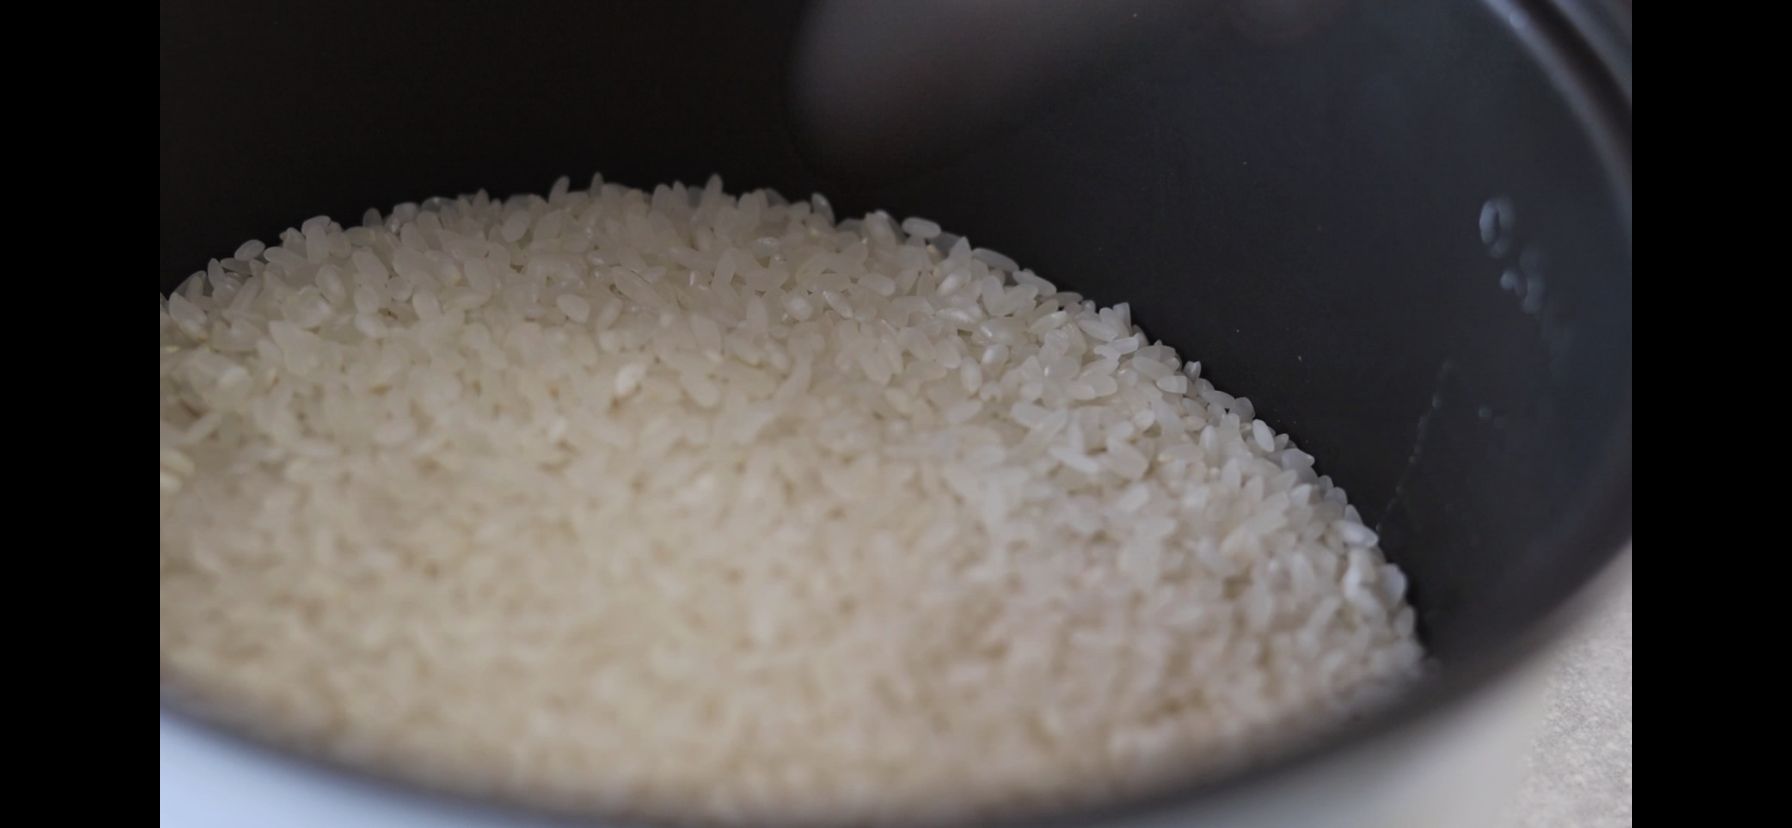
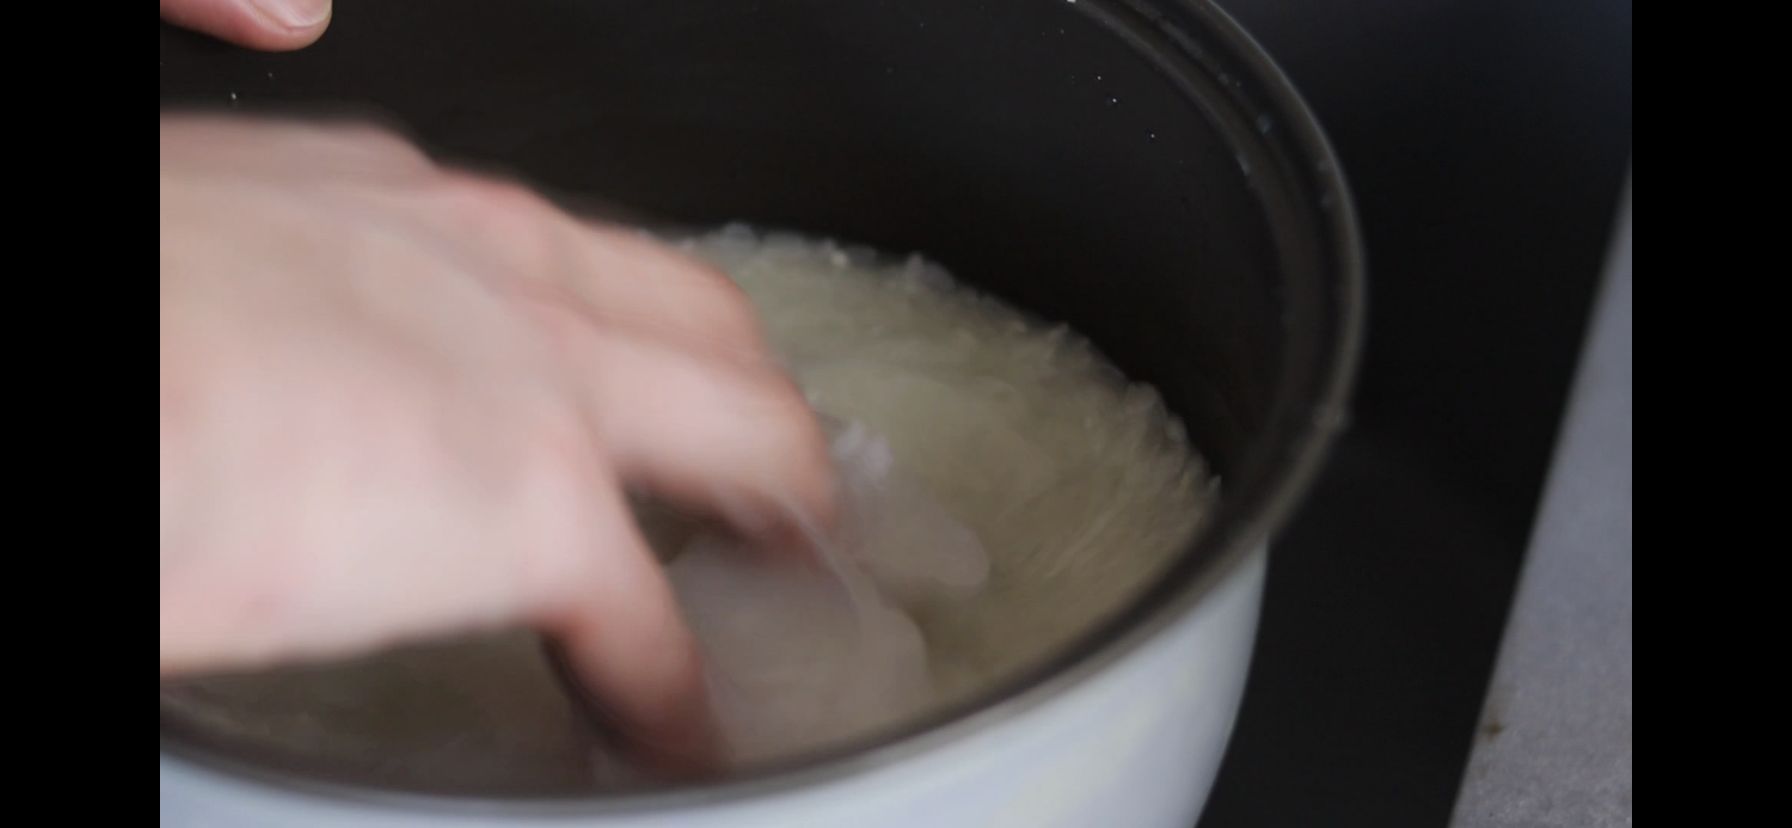
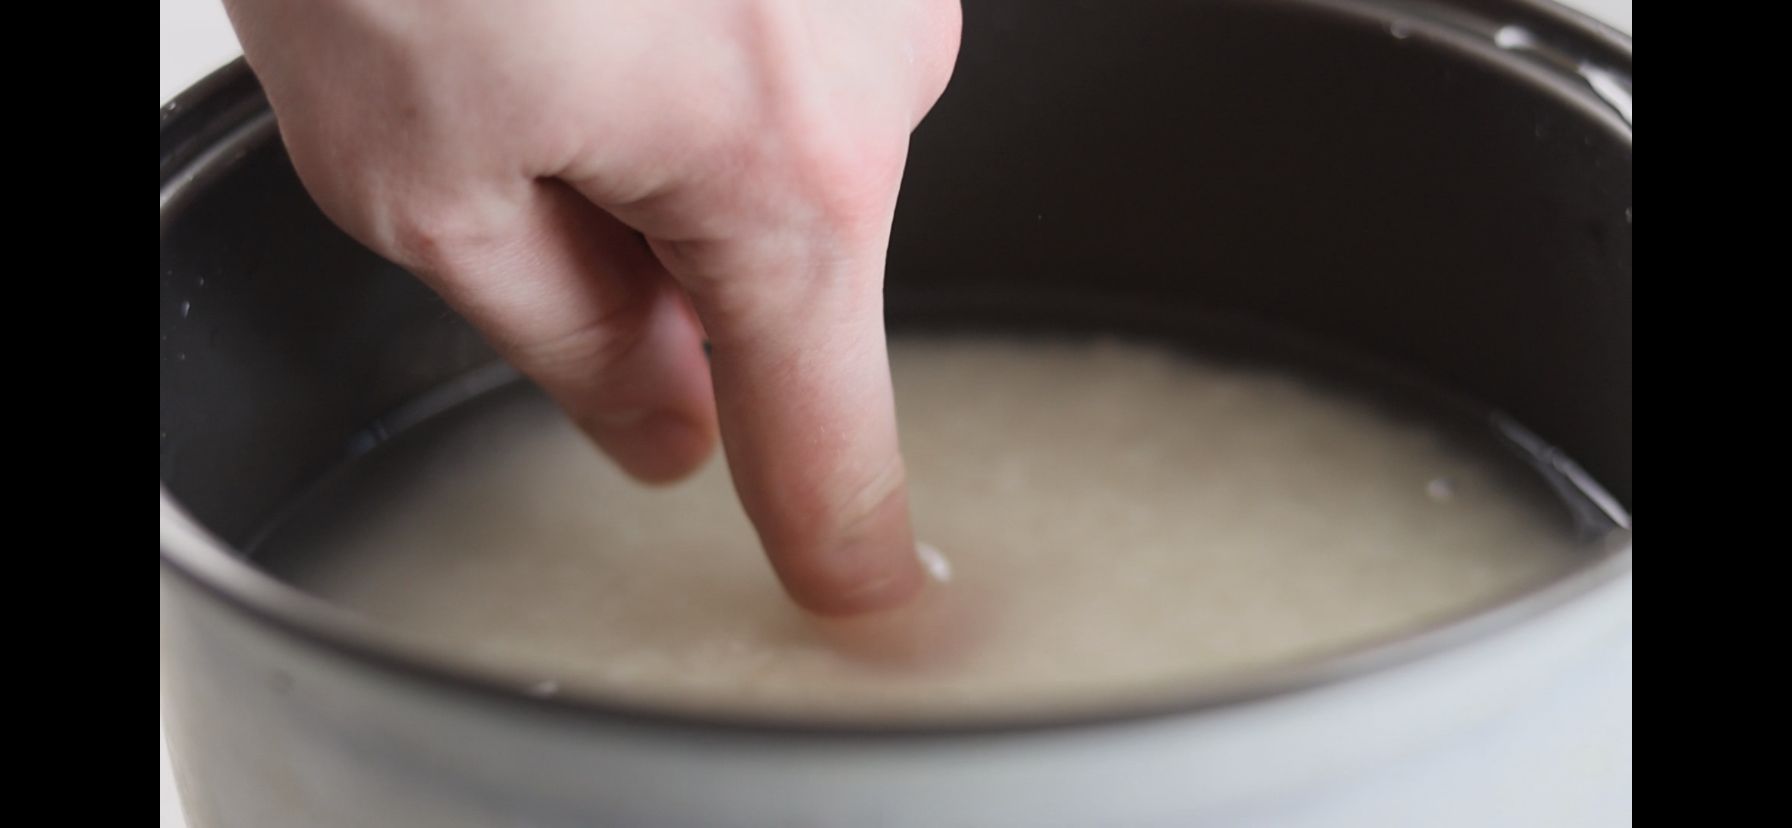
1. The first thing we need to do when making Onigiri is to cook rice. For this recipe you will need to source short grain rice or sushi rice as we will need the rice to be able to stick. To cook simply add 300g of short grain rice into a bowl then wash the rice 3-4 times until the water runs clear. When ready drain then add approximately 400mls of cold water to the rice then add and cook in a rice cooker. If you don’t have a rice cooker, add the same ratio to a pan, bring the water up to a boil then when boiling turn down to a low heat and place a lid over the top until cooked.
Salmon and Filling:
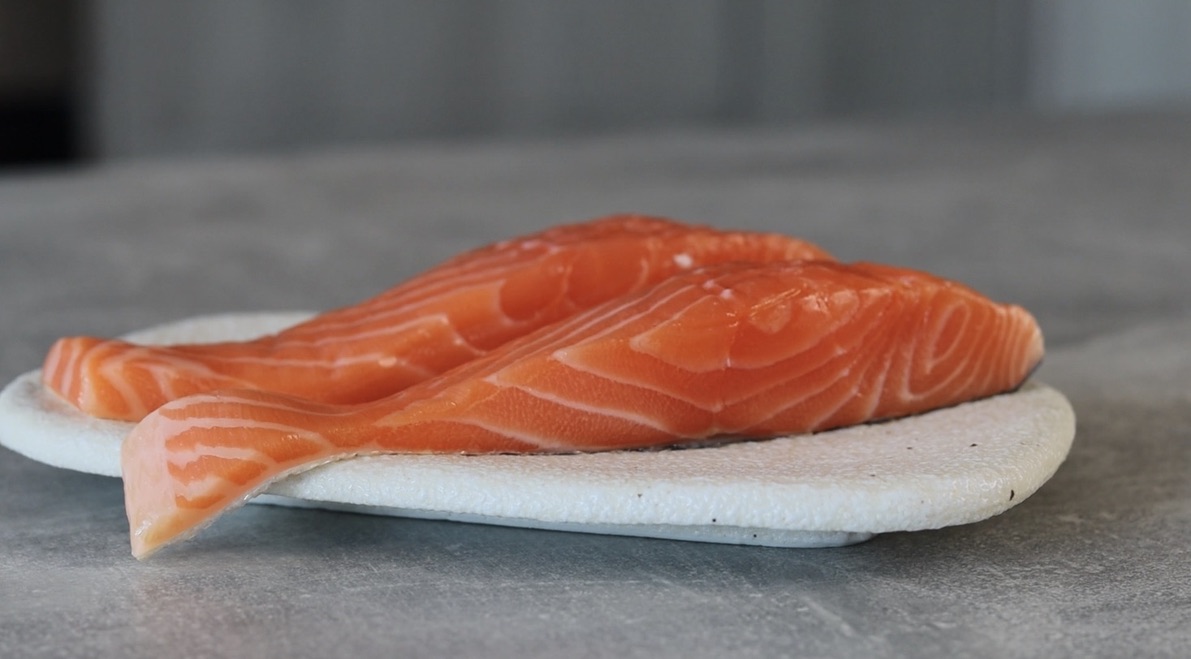
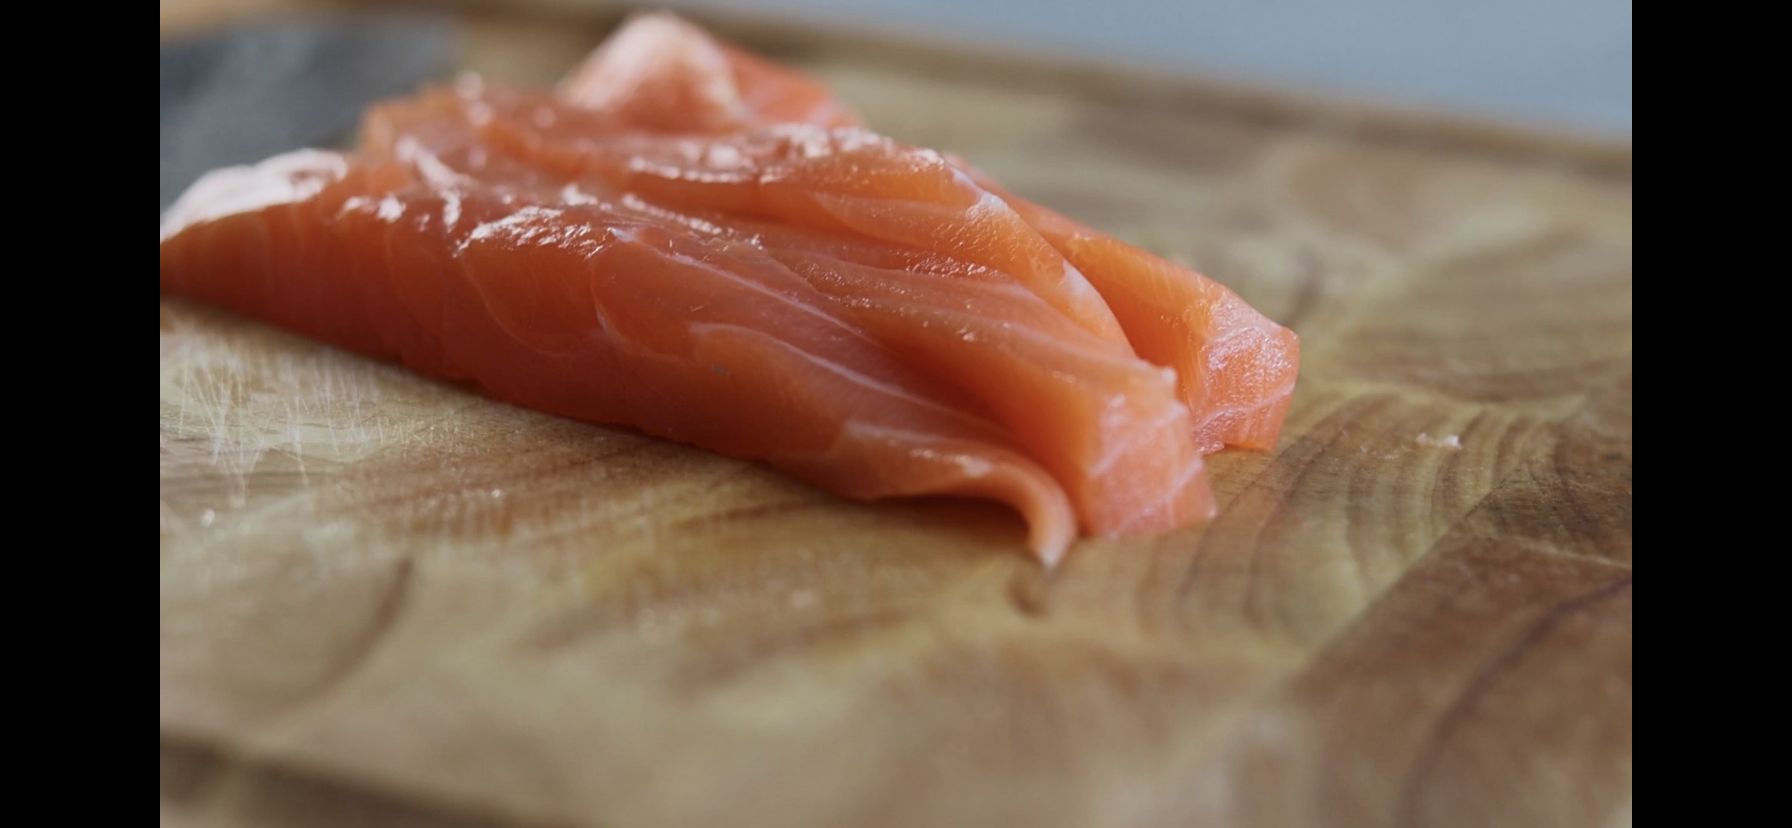
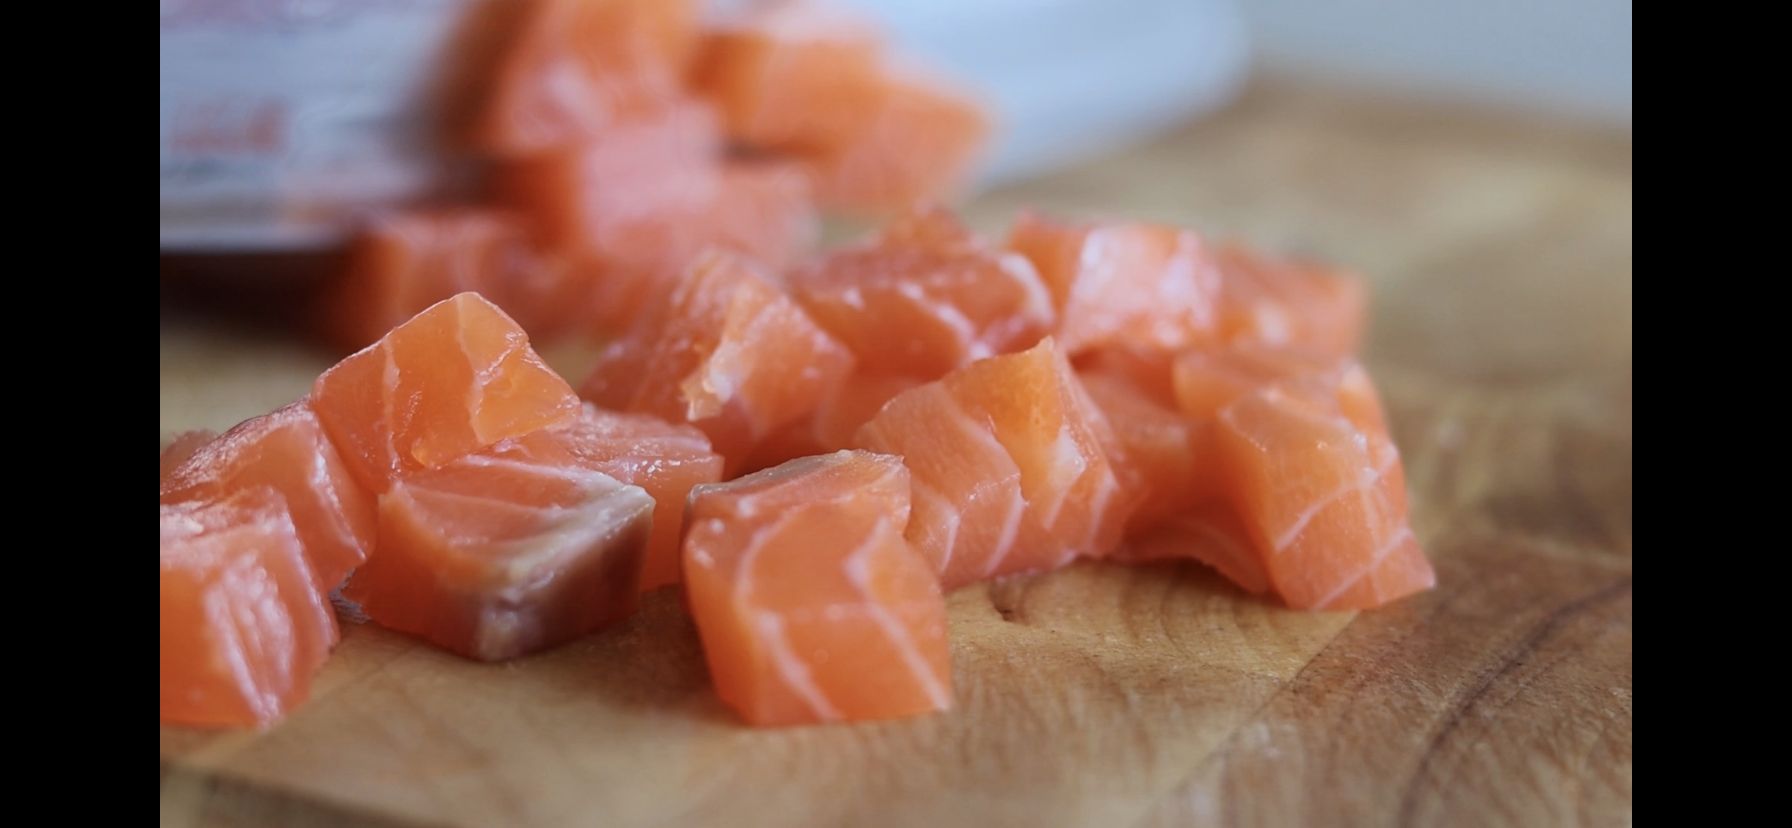
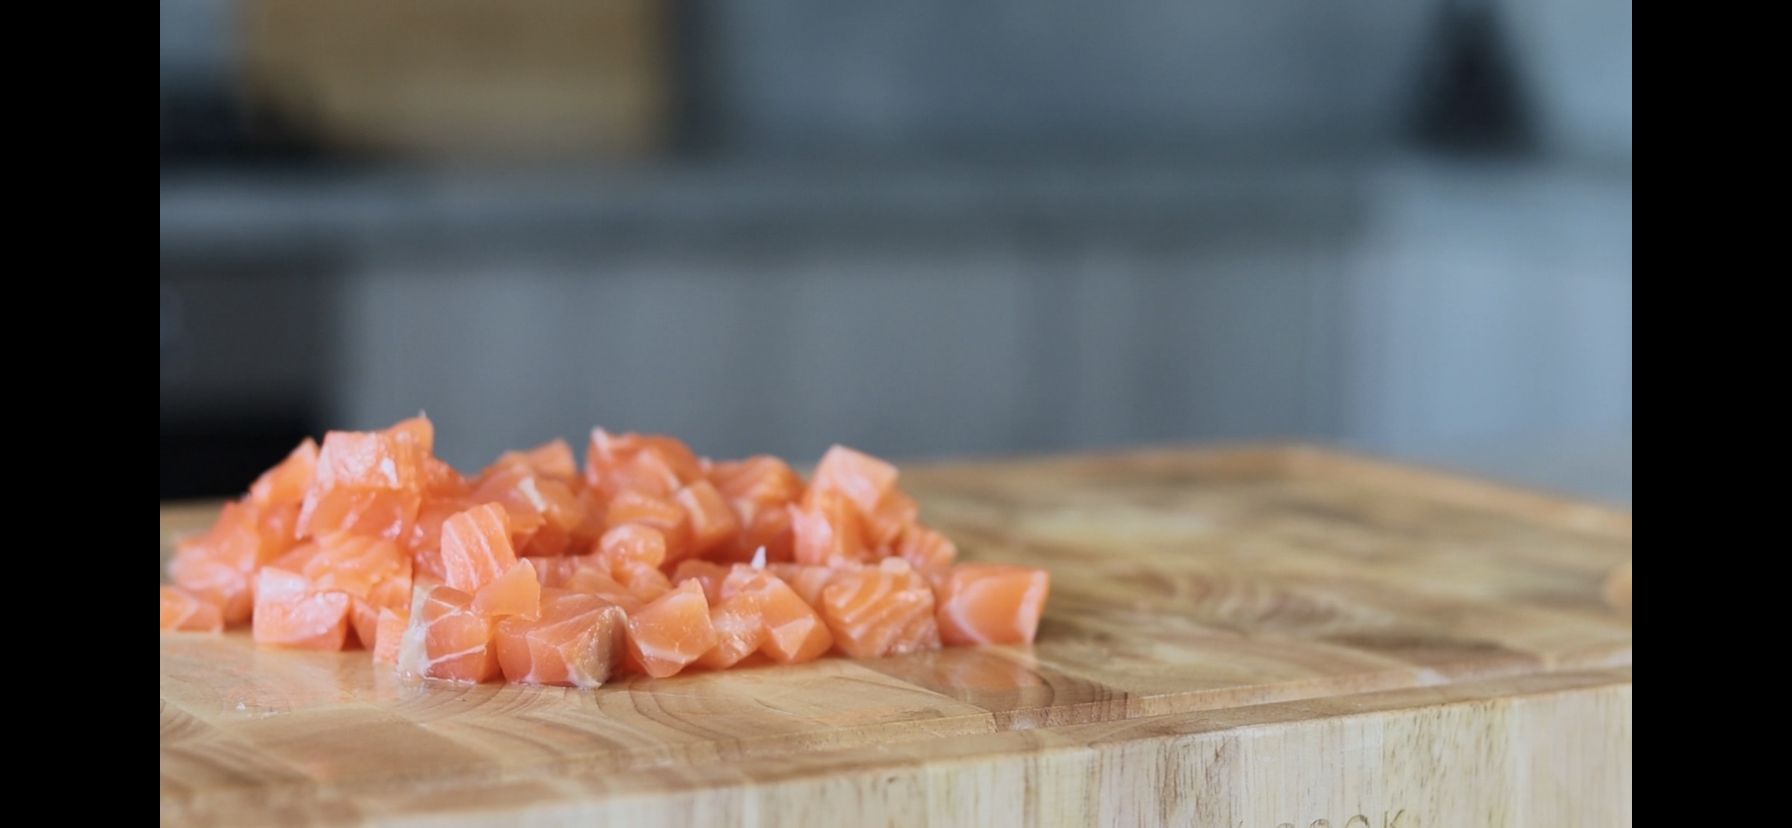
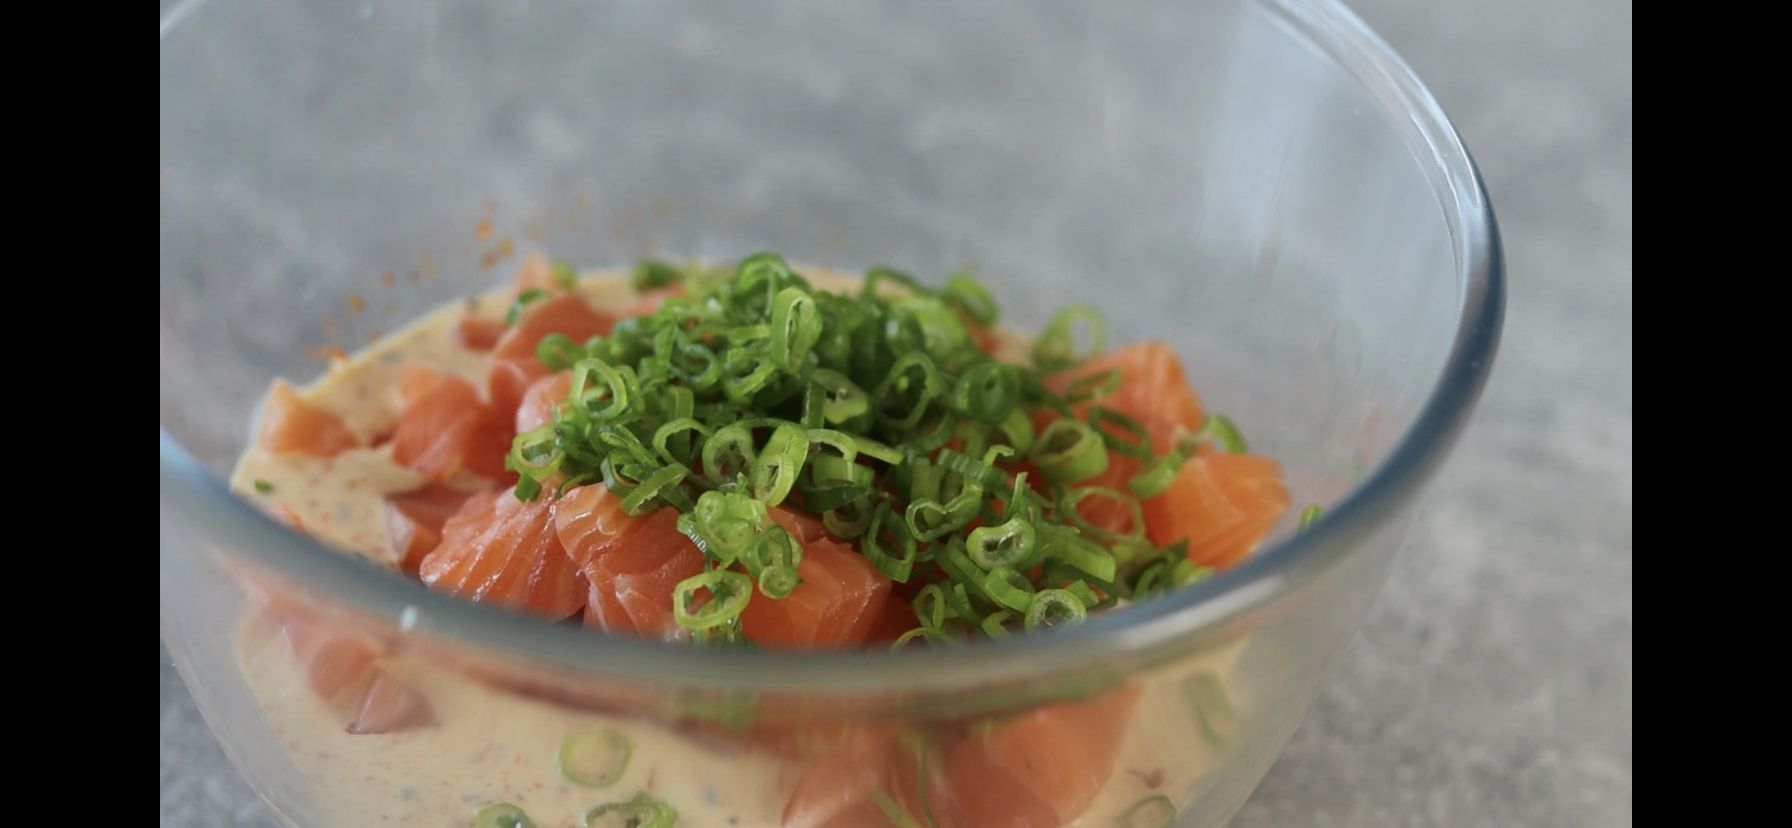
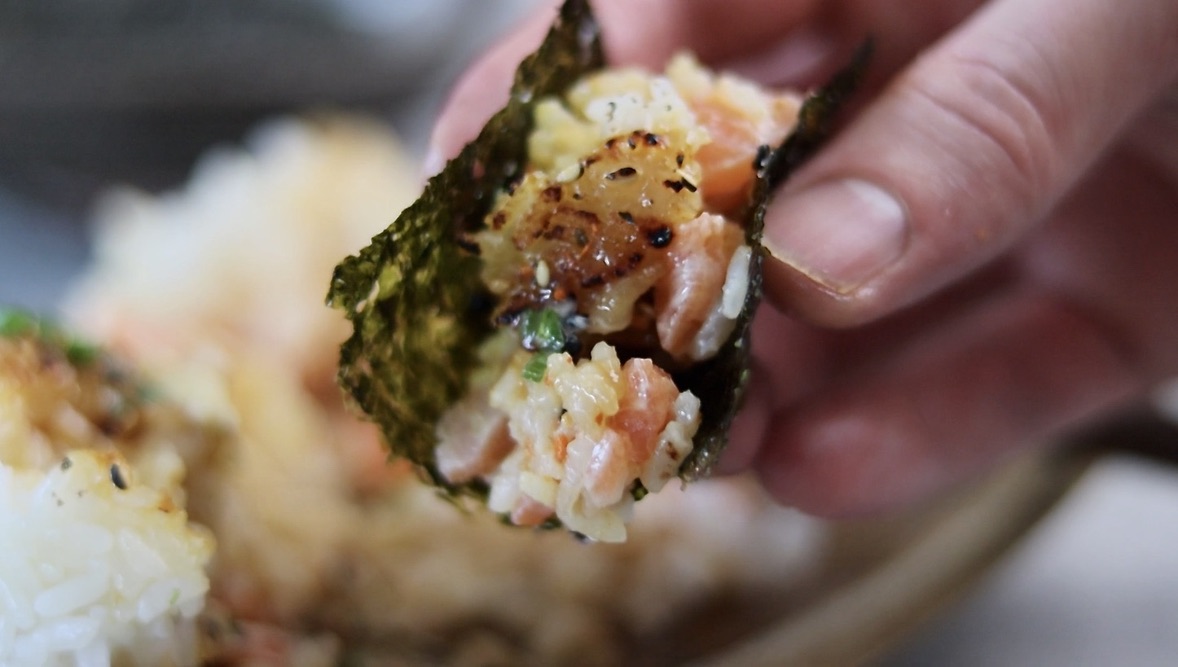
2. Whilst we wait for the rice to cook we can now move onto preparing the filling for the Onigiri. Starting with the salmon, remove the skin from 2 fresh salmon fillets then slice the salmon into equal sized strips (1cm thick approx). Now slice the strips into 1cm sized cubes then place the diced salmon to one side for now. The salmon I used for this recipe is lightly smoked, however, this is optional.
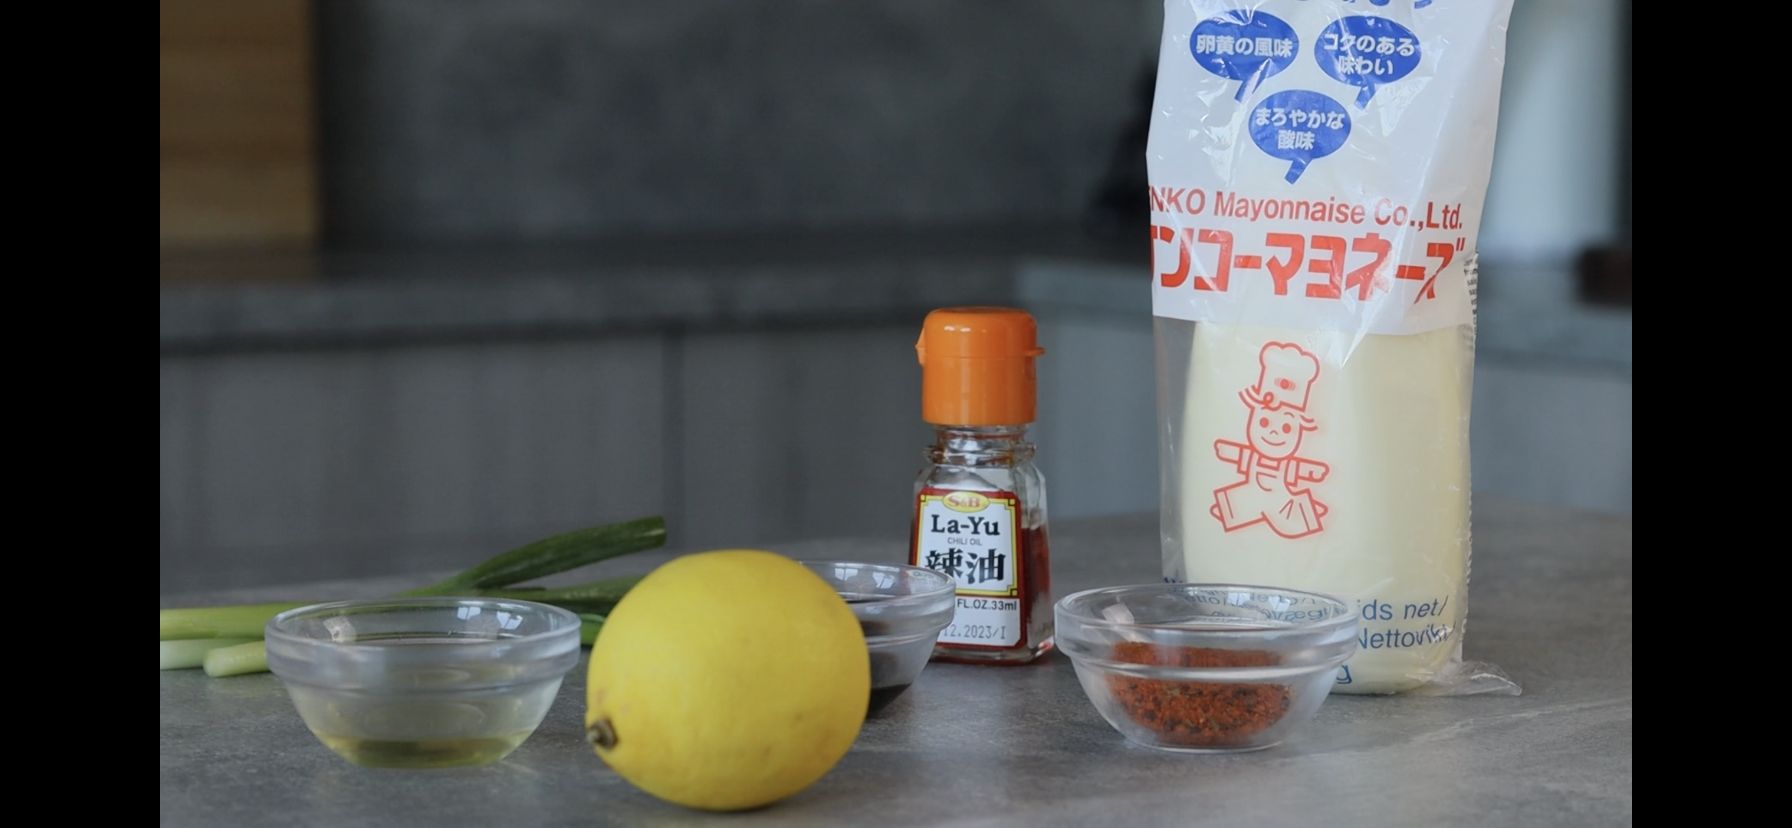
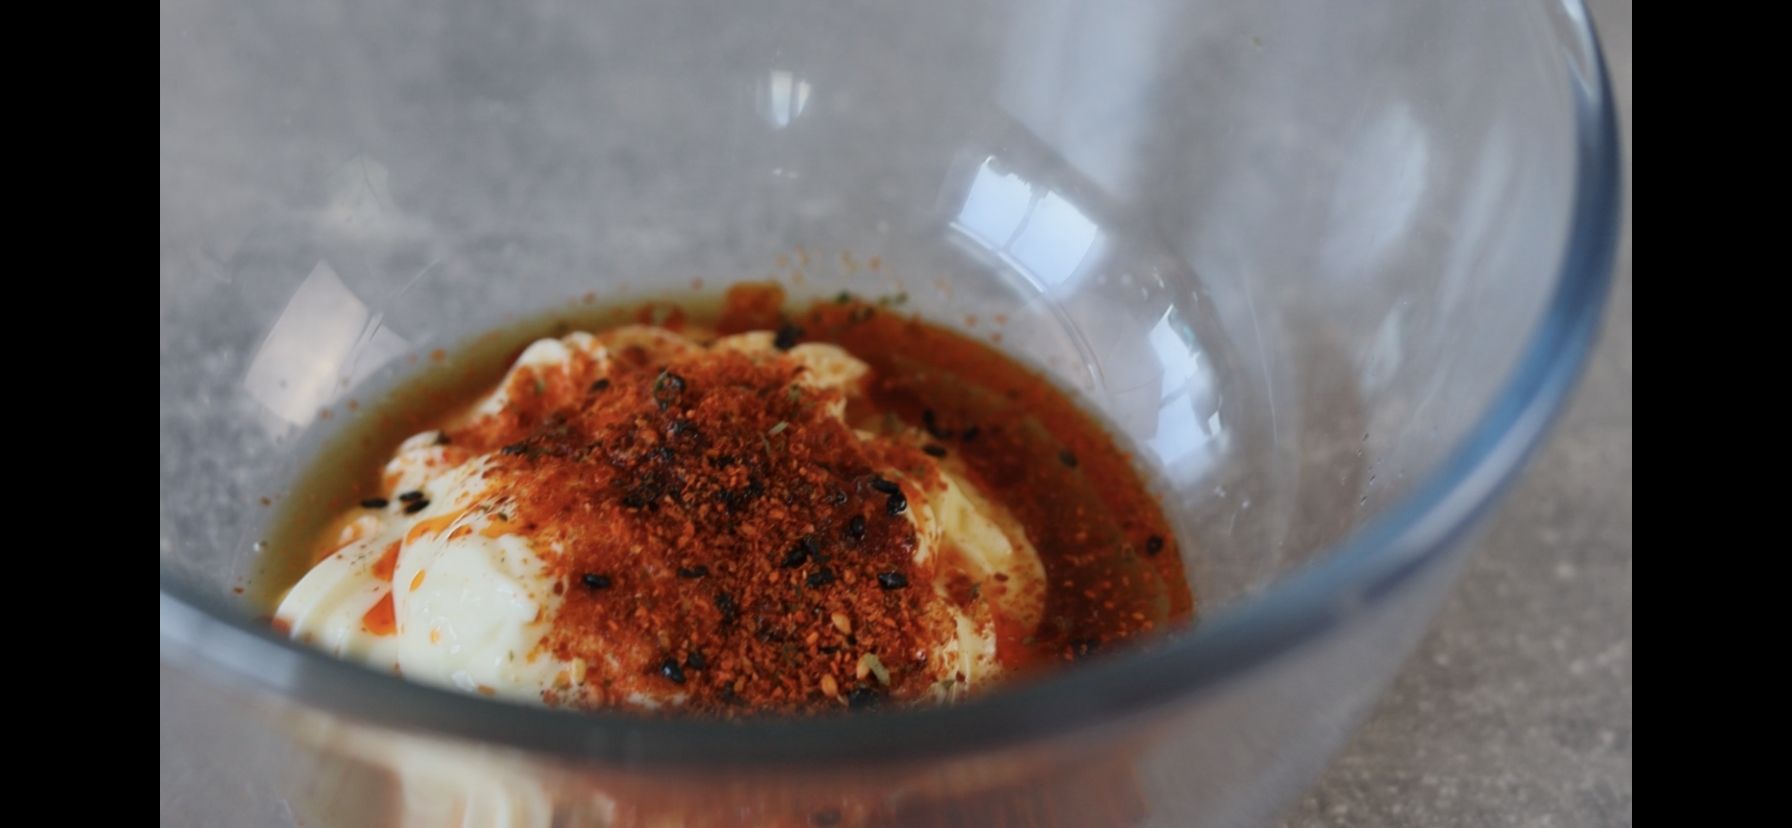
3. For the rest of the filling in a mixing bowl add 4 tbsps of good Japanese mayo, 1 tbsp Togarashi (Japanese 7 spice), 2-3 tbsp of La-Yu (chilli oil), the juice of 1/2 lemon, 1 tbsp of Mirin and 2 tsp of light soy. Mix the sauce well then adjust the seasoning if needed. Finish the filling by adding the diced salmon and 3 finely sliced spring onions. Mix everything again then store the filling in the fridge for now.
Build Onigiri:
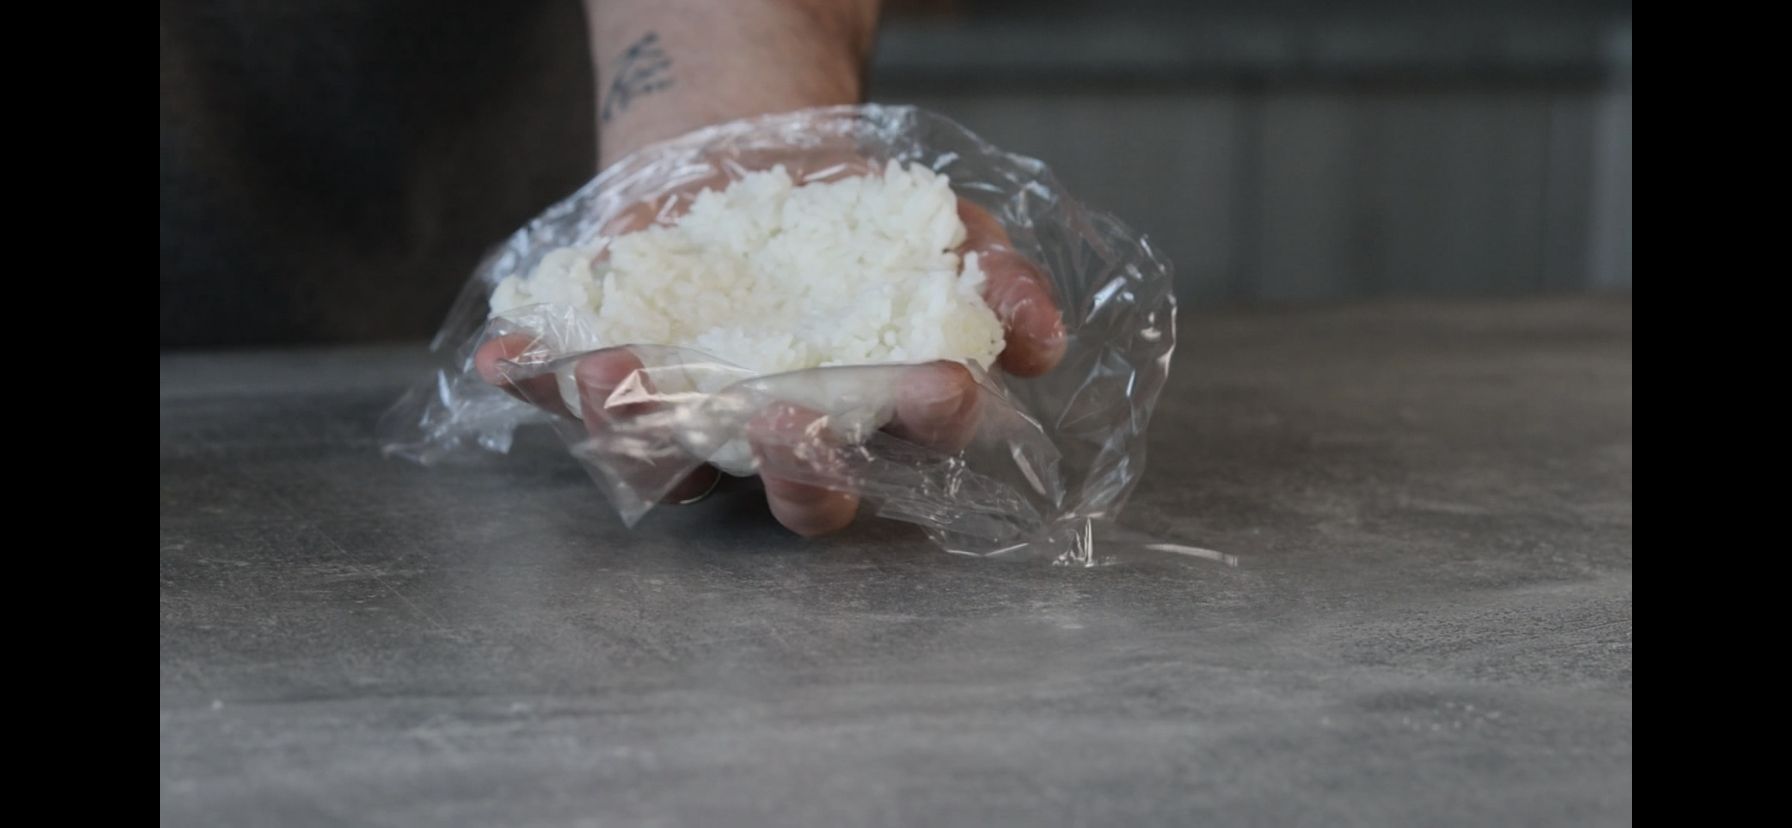
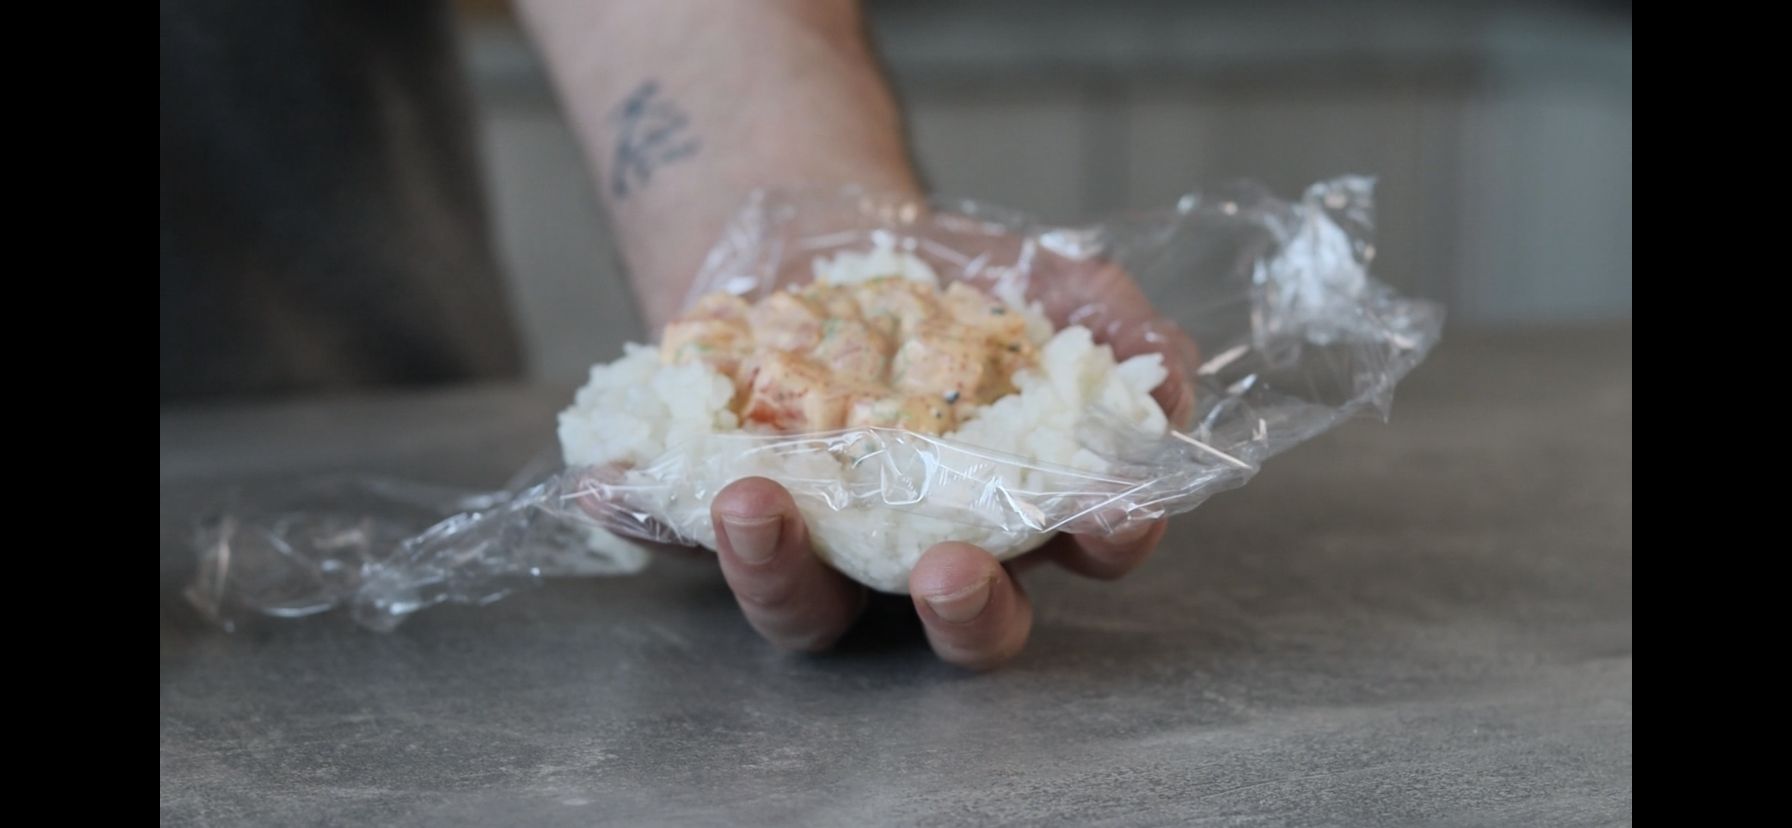
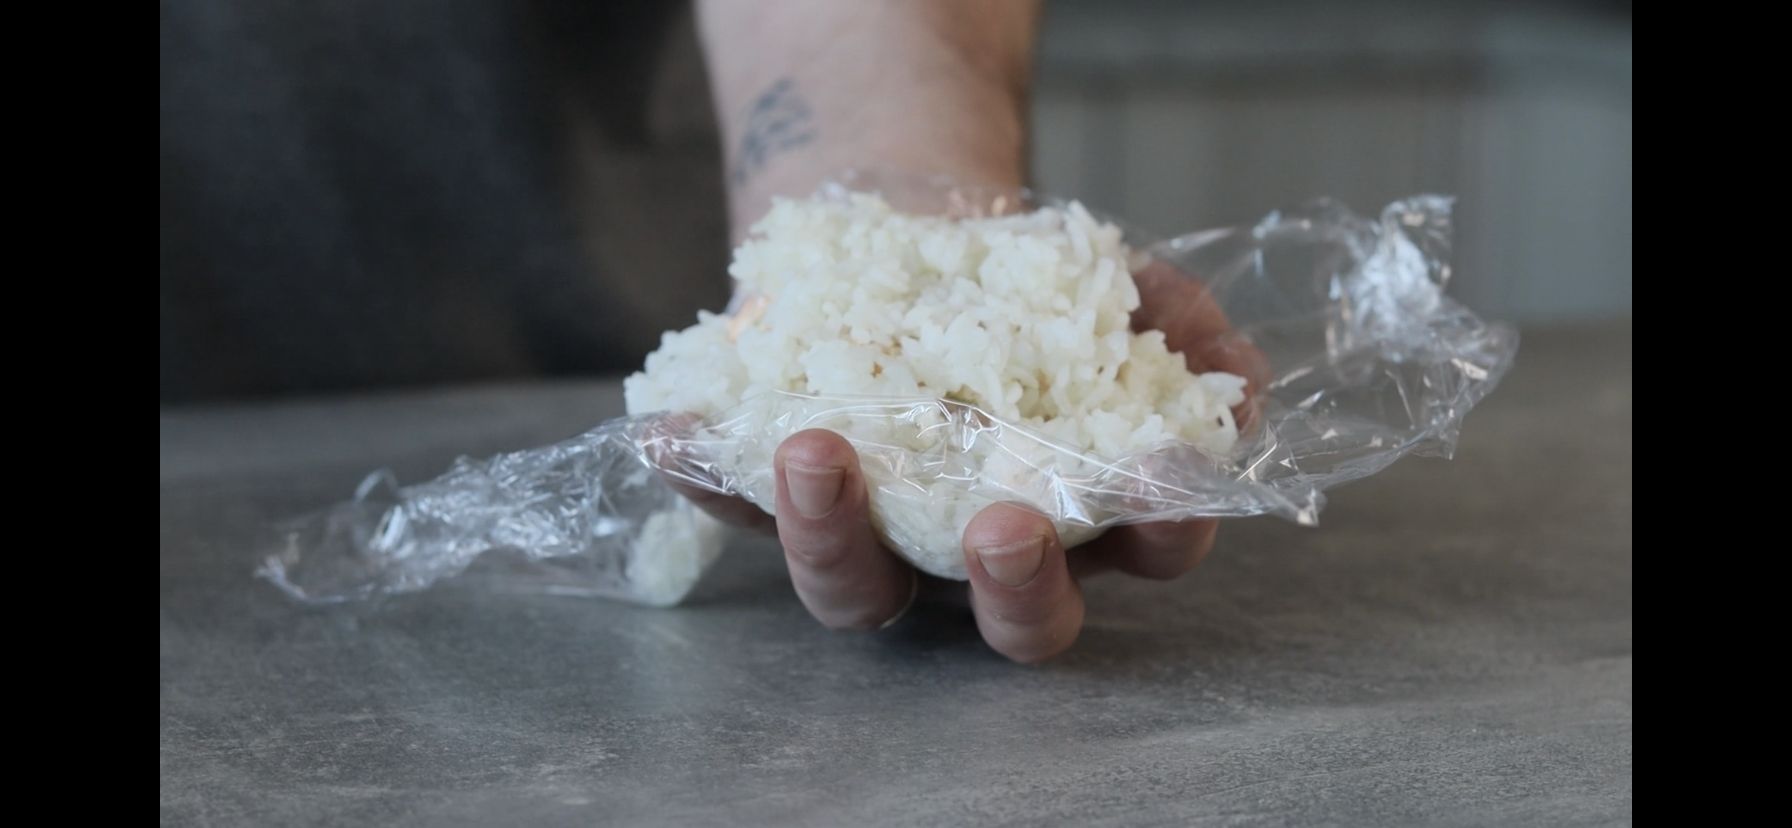
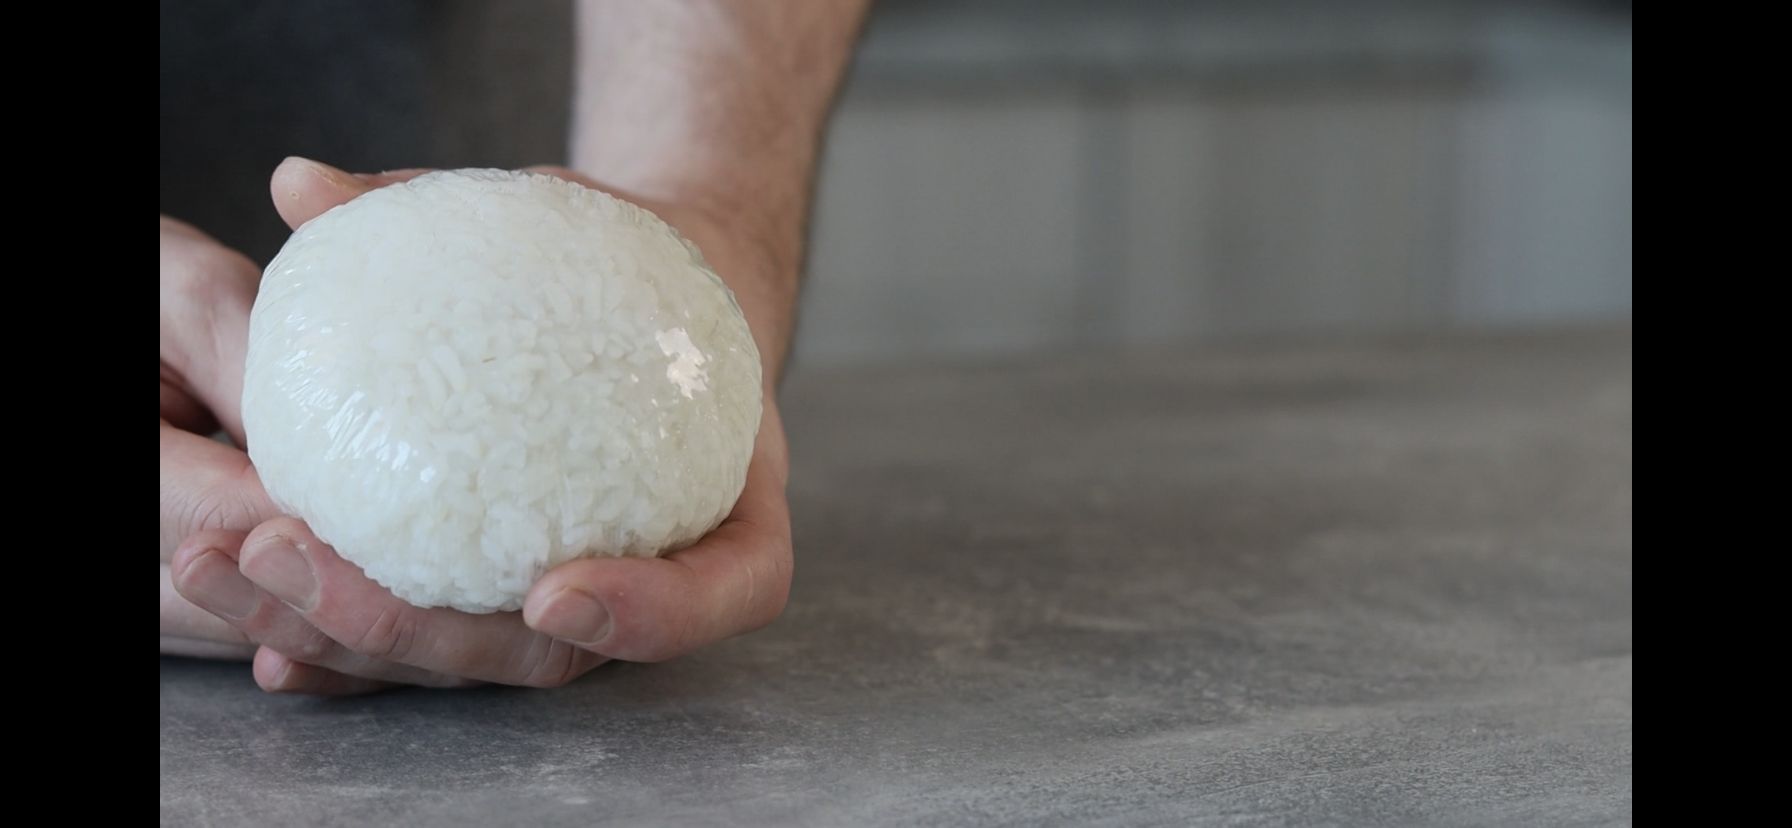
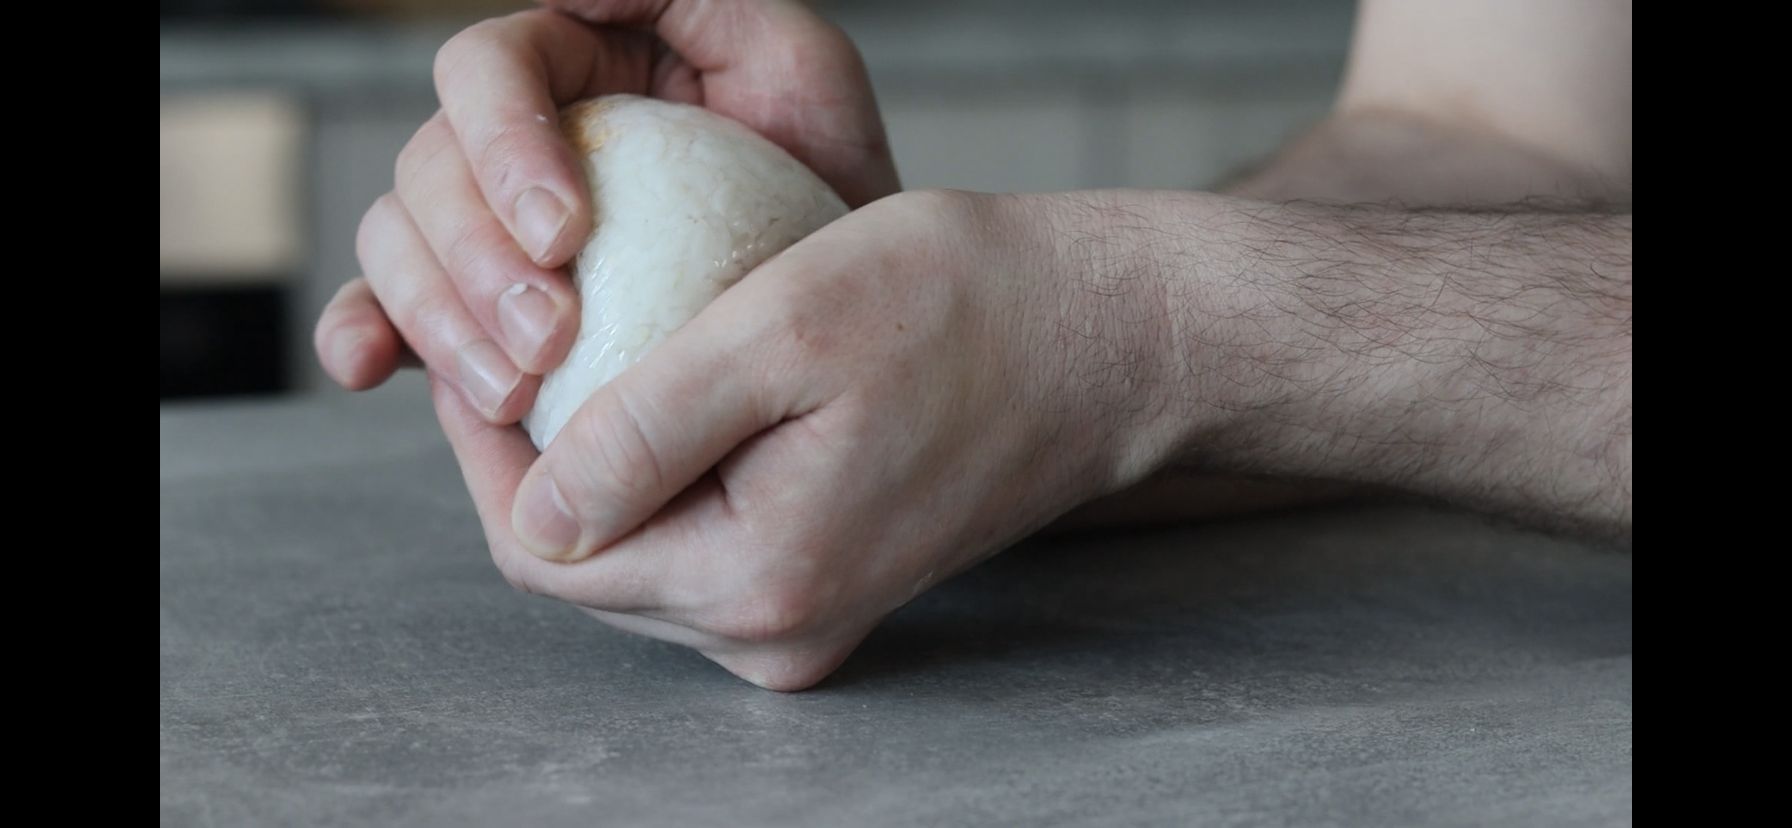
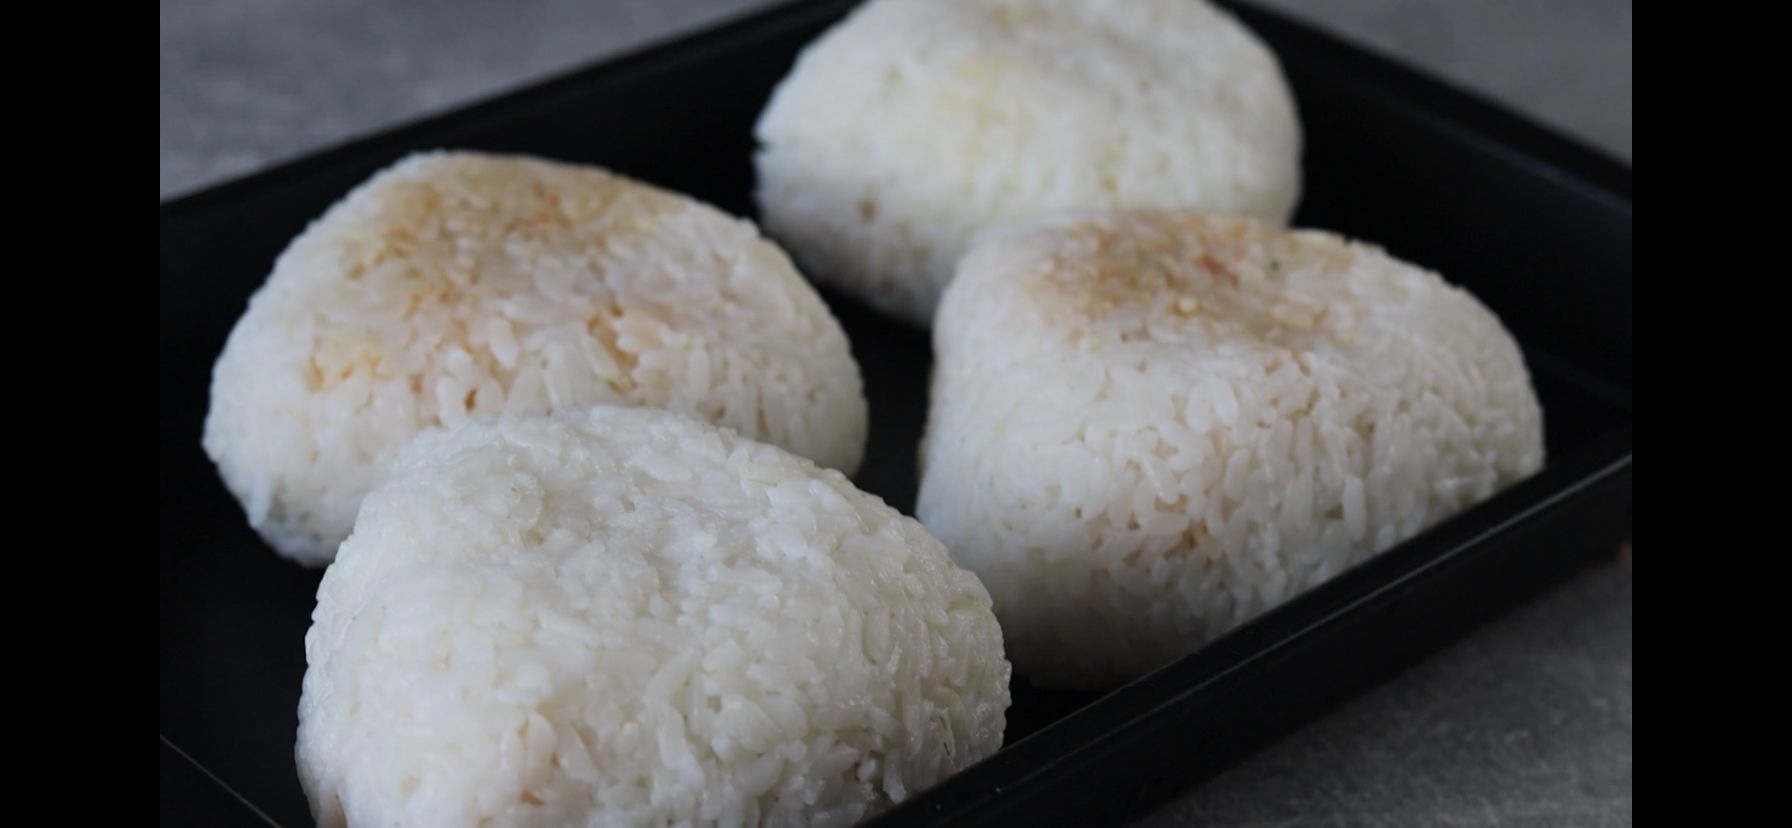
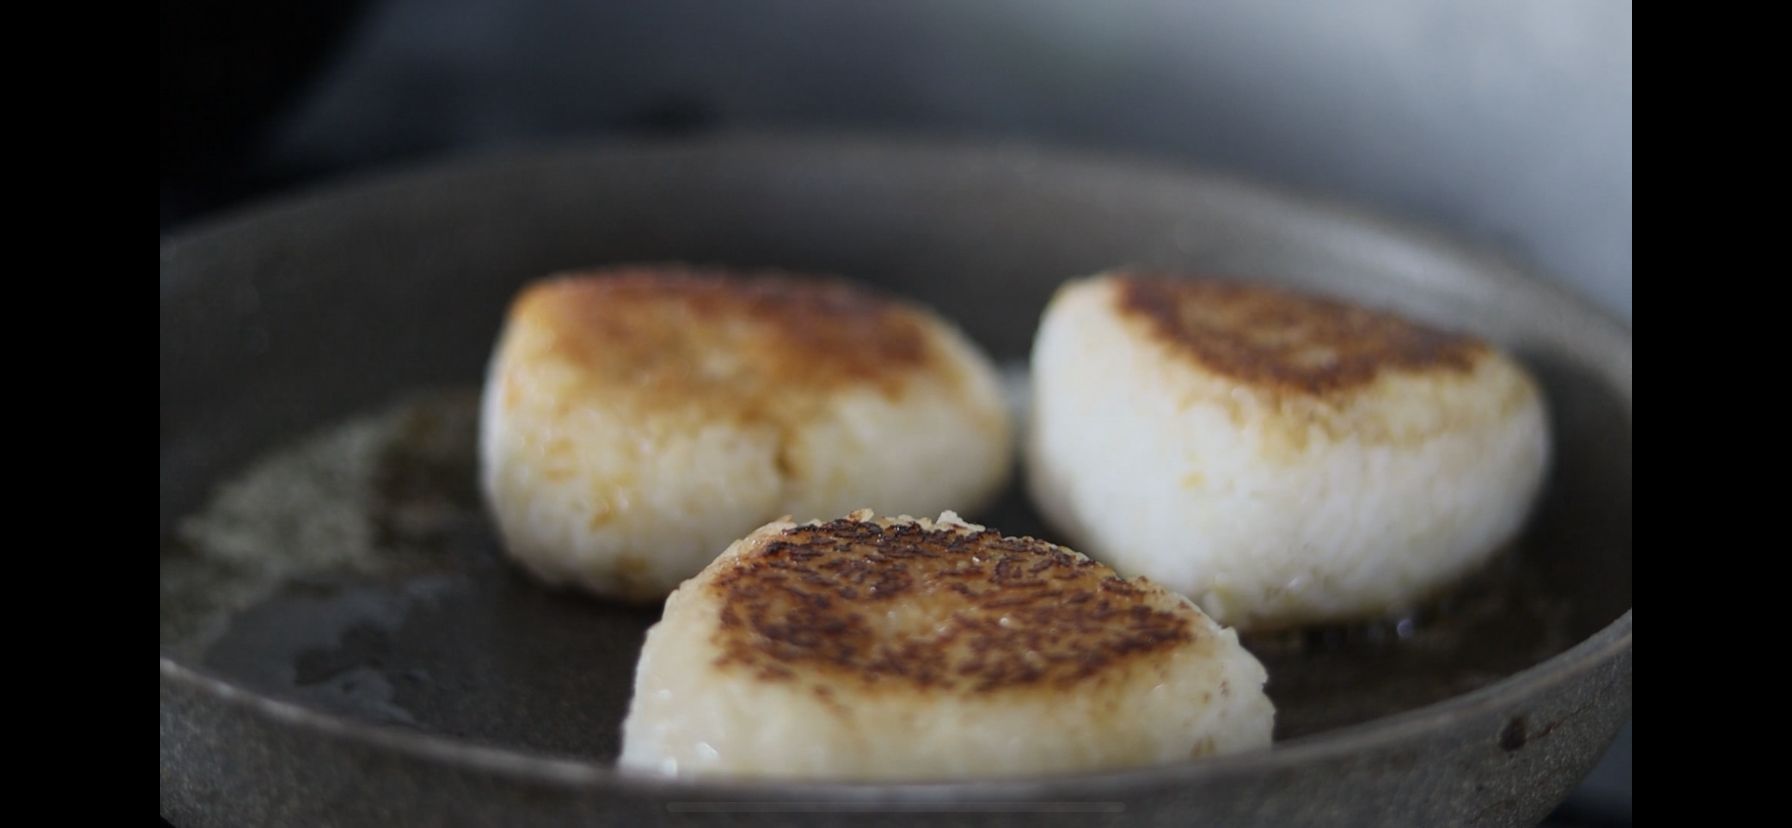
4. Before we begin to make the Onigiri when the rice has cooked remove from the rice cooker and fluff up the rice using a spatula then leave to slightly cool. Next take a large square piece of clingfilm then add a hand sized potion of rice into your palm and clingfilm. Make a well into the centre of the rice then add a generous tbsp of the filling into the middle of the rice. Add another thin layer of rice over the filling then bring the edges of the clingfilm together and tighten into a ball to enclose the filling. When enclosed we can now begin to shape the rice by using both of our palms. When shaping we want to apply enough pressure to firm up the rice ball, however, taking care not to turn the rice into mush. As for the shape triangular or round are usually the most common for Onigiri. When shaped and firm remove from the clingfilm and place the Onigiri onto a tray and repeat for the rest of the filling and rice.
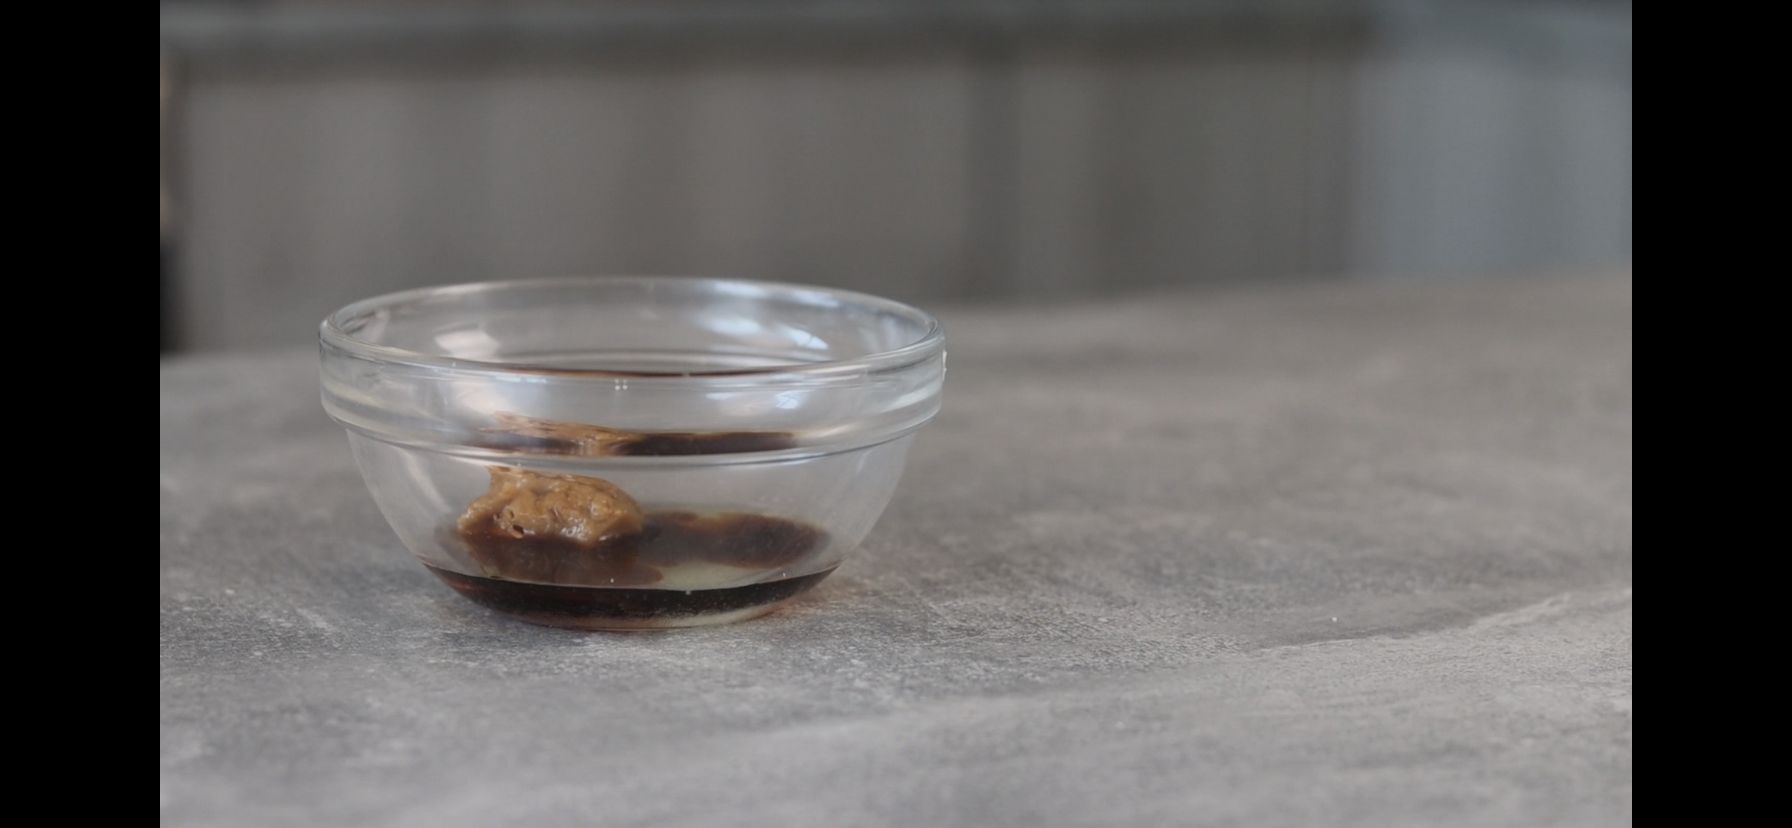
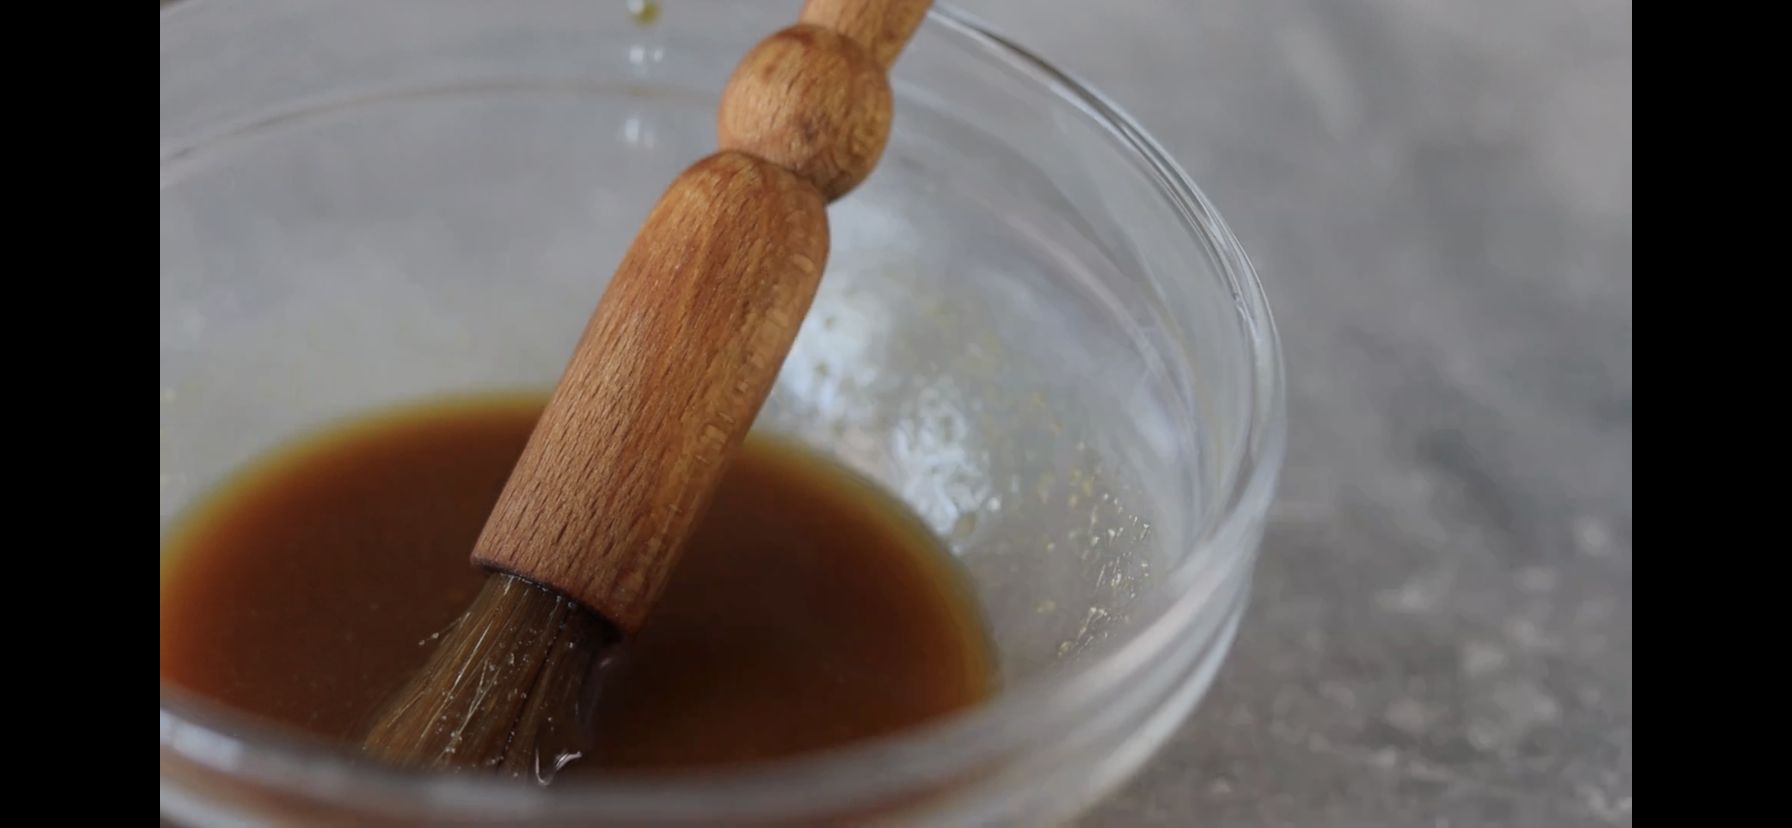
Miso Glaze:
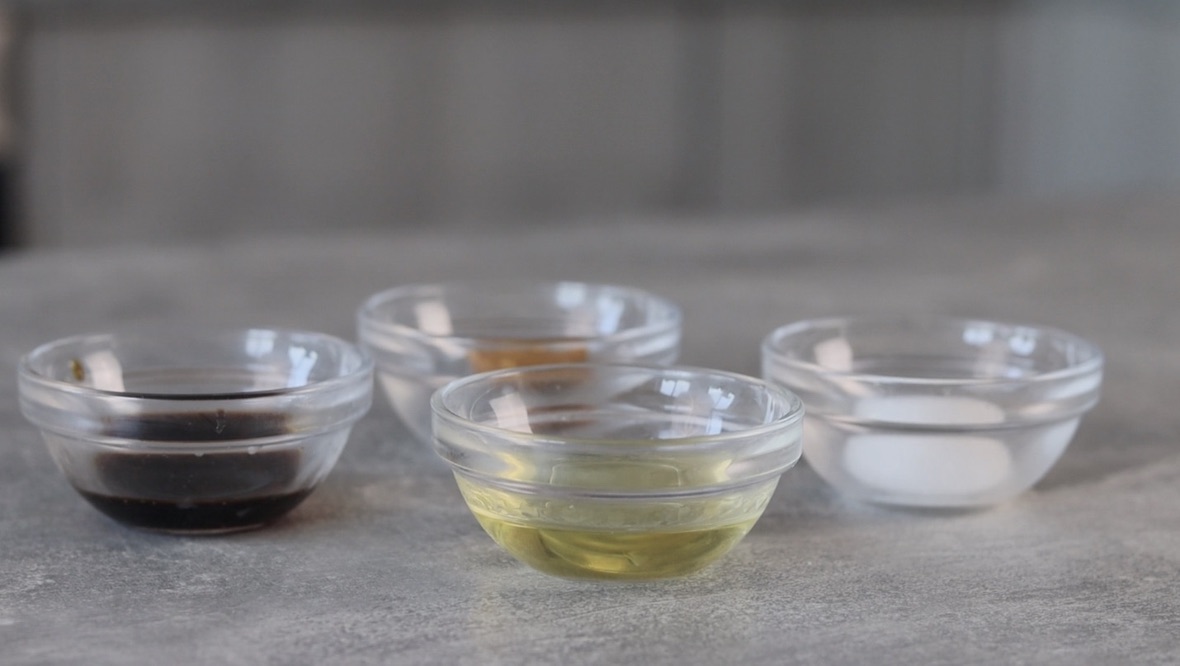
5. Now that the onigiri are all made up the final thing left to prepare is a glaze that we will add to the onigiri whilst cooking. In a small bowl add 1 tbsp of white miso. 1 tbsp light soy, 2 tbsp mirin and 2 tsp of white sugar. Mix well until nice and smooth and keep the glaze to one side.
Time to Cook:
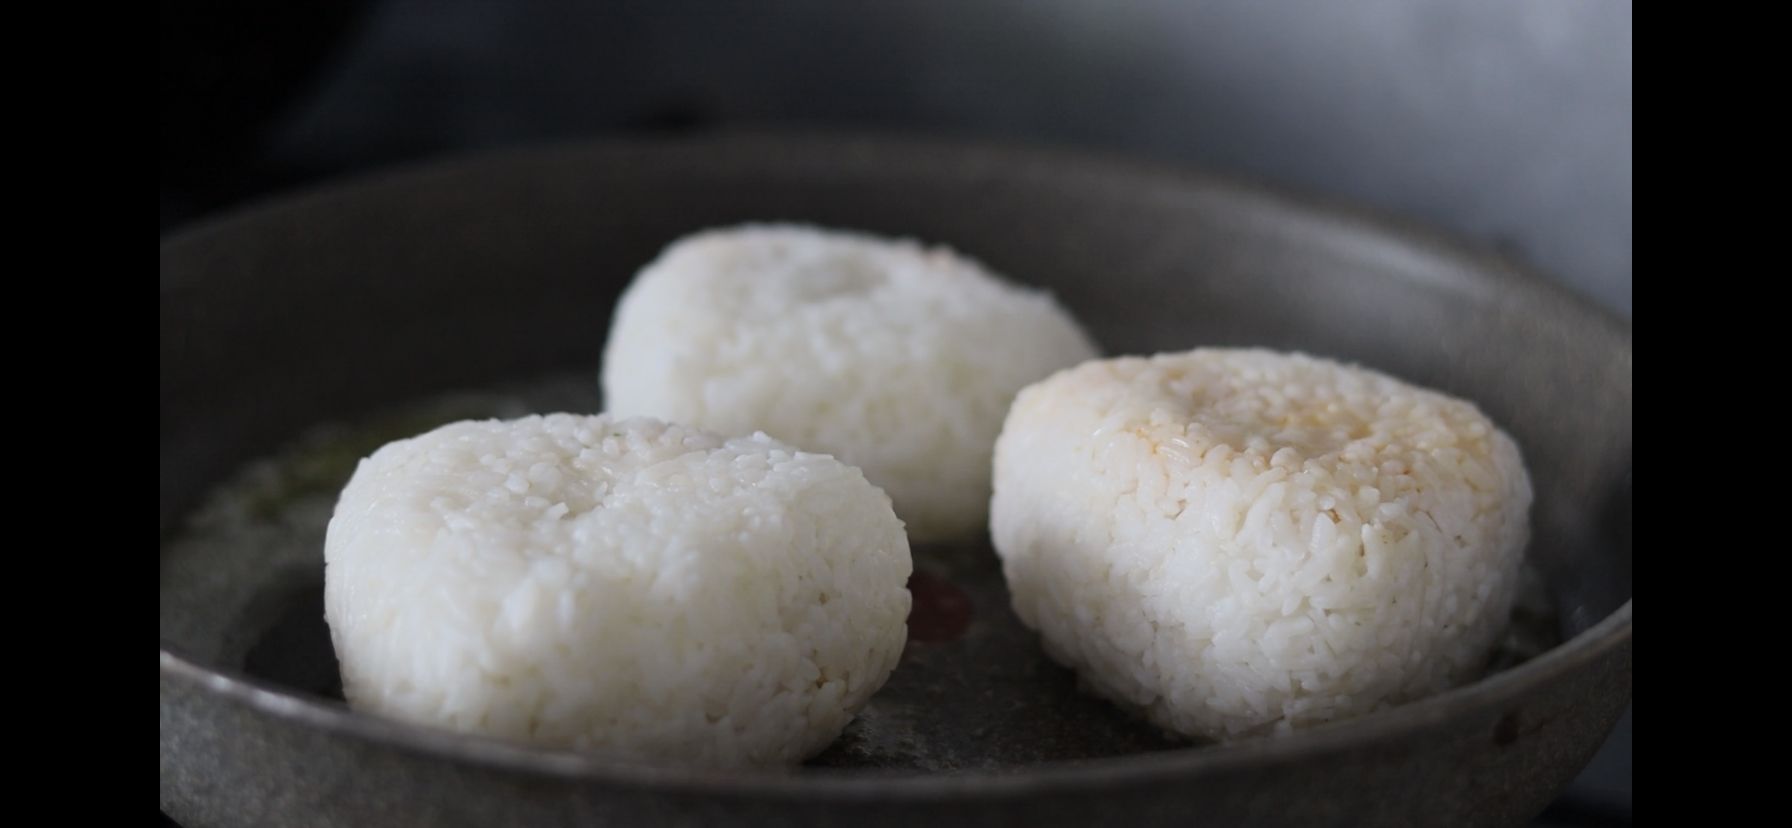
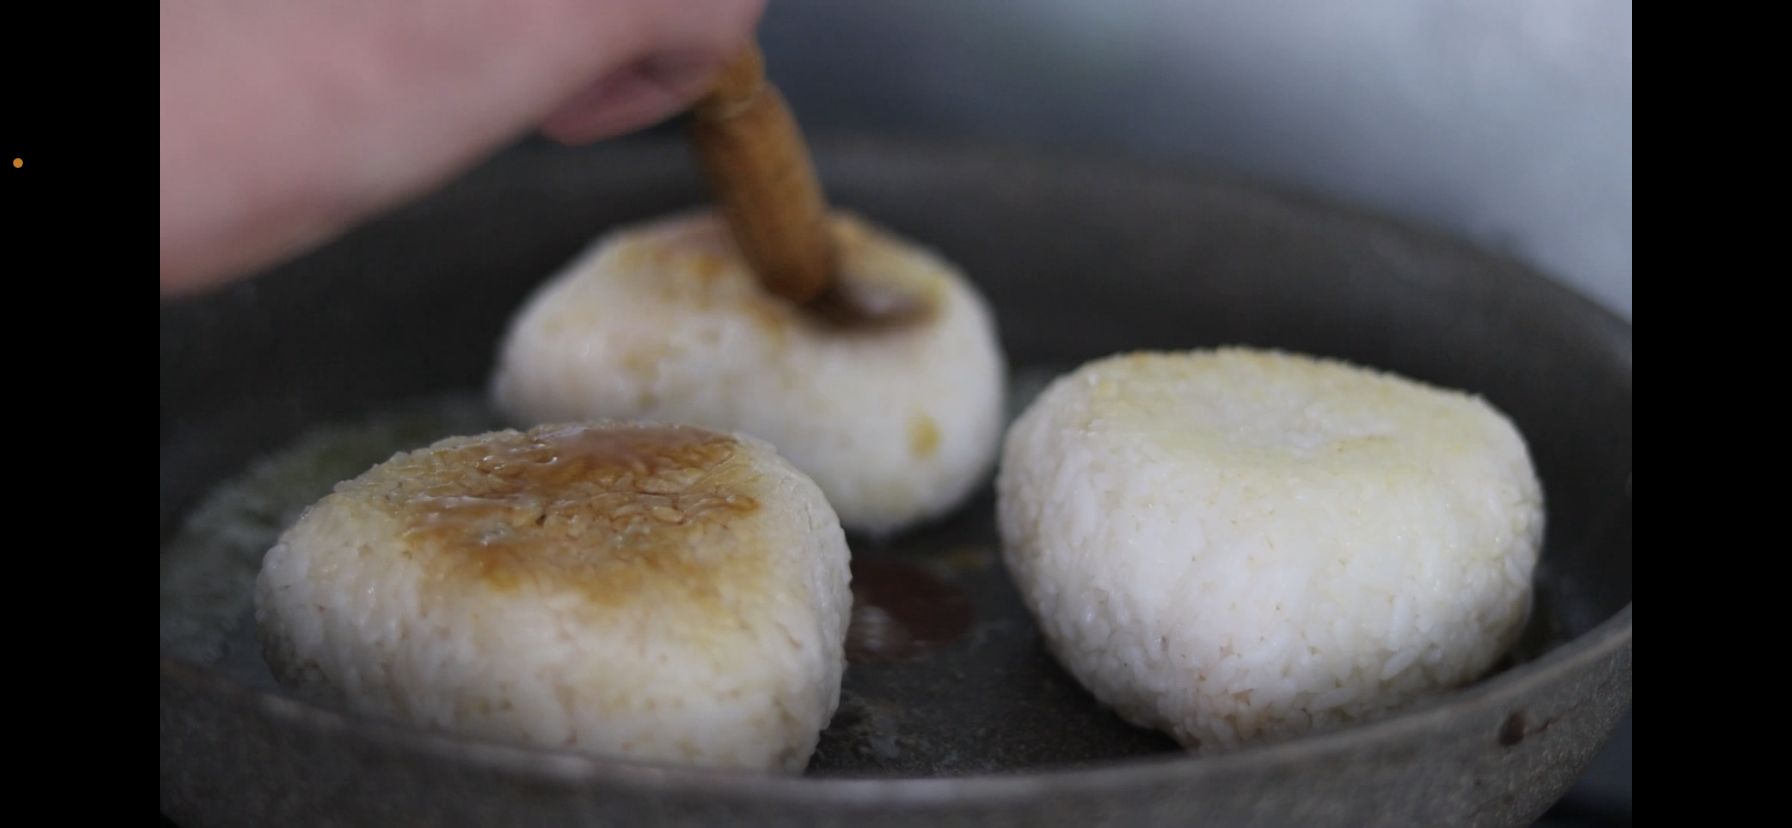
6. To finish the Onigiri, place a large pan onto a medium to high heat then add a touch of cooking oil and a few knobs of butter. When the butter begins to foam add the Onigiri to the pan and brush over the glaze straight away. What this will do is help season the rice and also help create a crispy base. After 60 seconds or so flip the Onigiri over and baste again. Continue to flip and brush the glaze over the Onigiri until crispy golden brown on both sides. When ready remove from the heat and all thats left to do is serve!
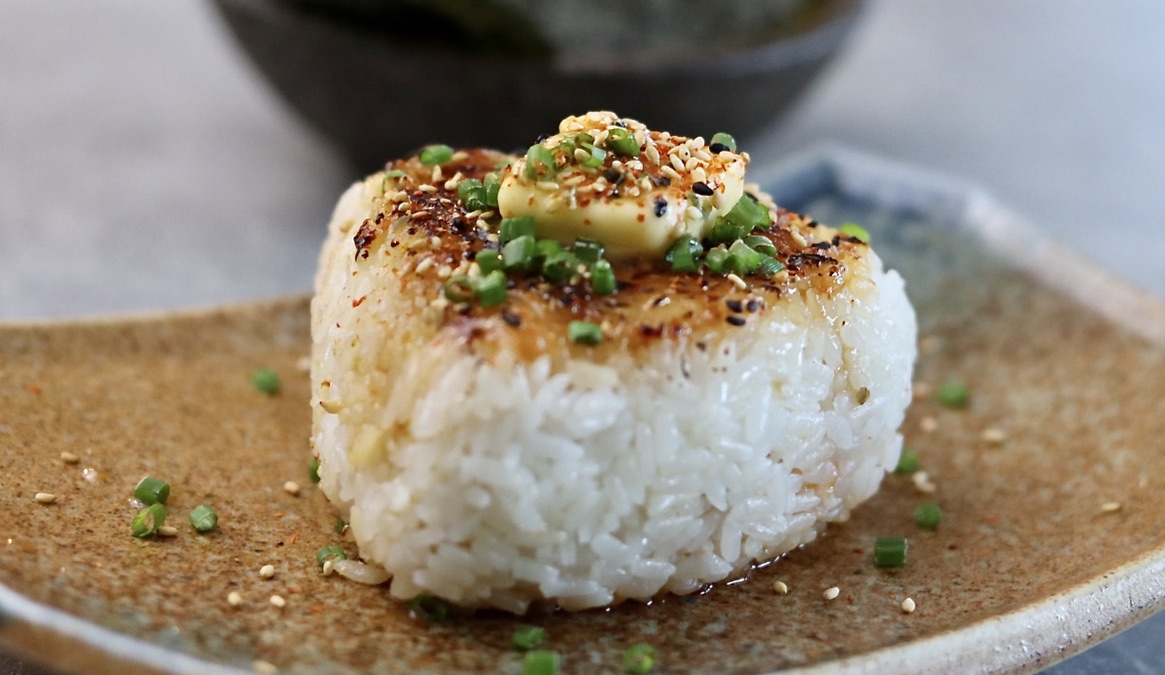
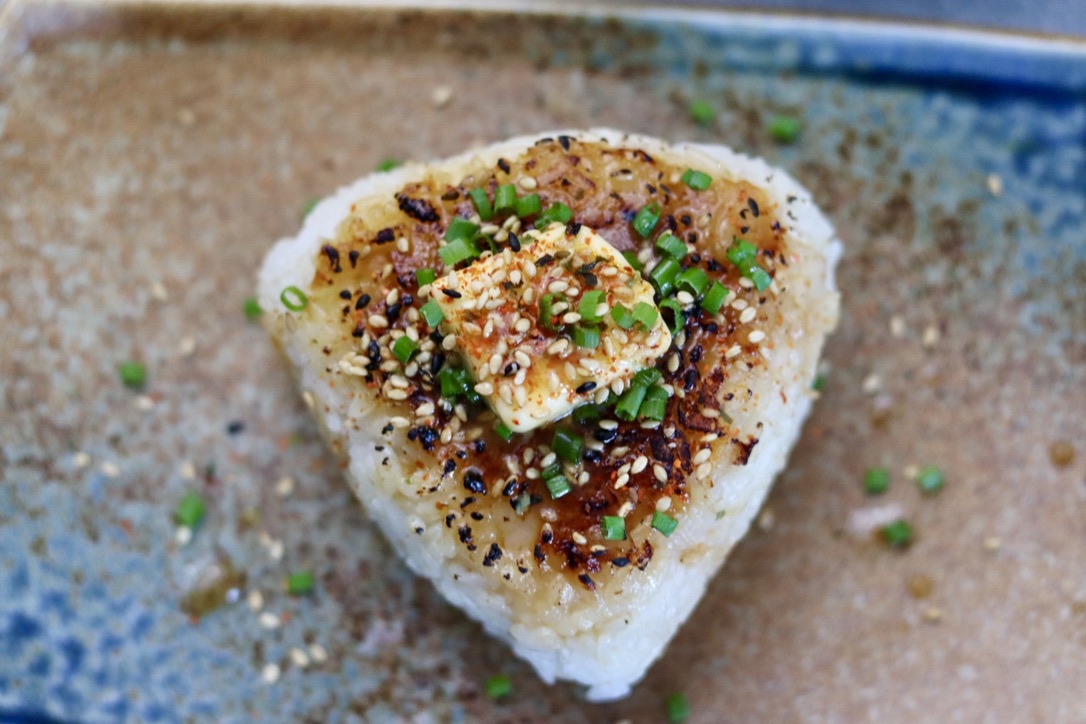
7. To finish the Onigiri, add a small square of butter over each piece then top with some Togarashi, toasted sesame and finally some fresh chives. I like to serve the Onigiri with a few squares of nori on the side to help scoop up all the delicious goodness!
Additional notes
When it comes to fillings then cooked chicken, beef, pork, tuna sour plums also work perfectly with onigiri, however, depending on what you use will dictate weater you cook the filling prior to adding to the onigiri. As for this version, the onigiri was super creamy with a ton of umami coming from the filling and mainly the glaze. Have fun with this recipe and peace as always!