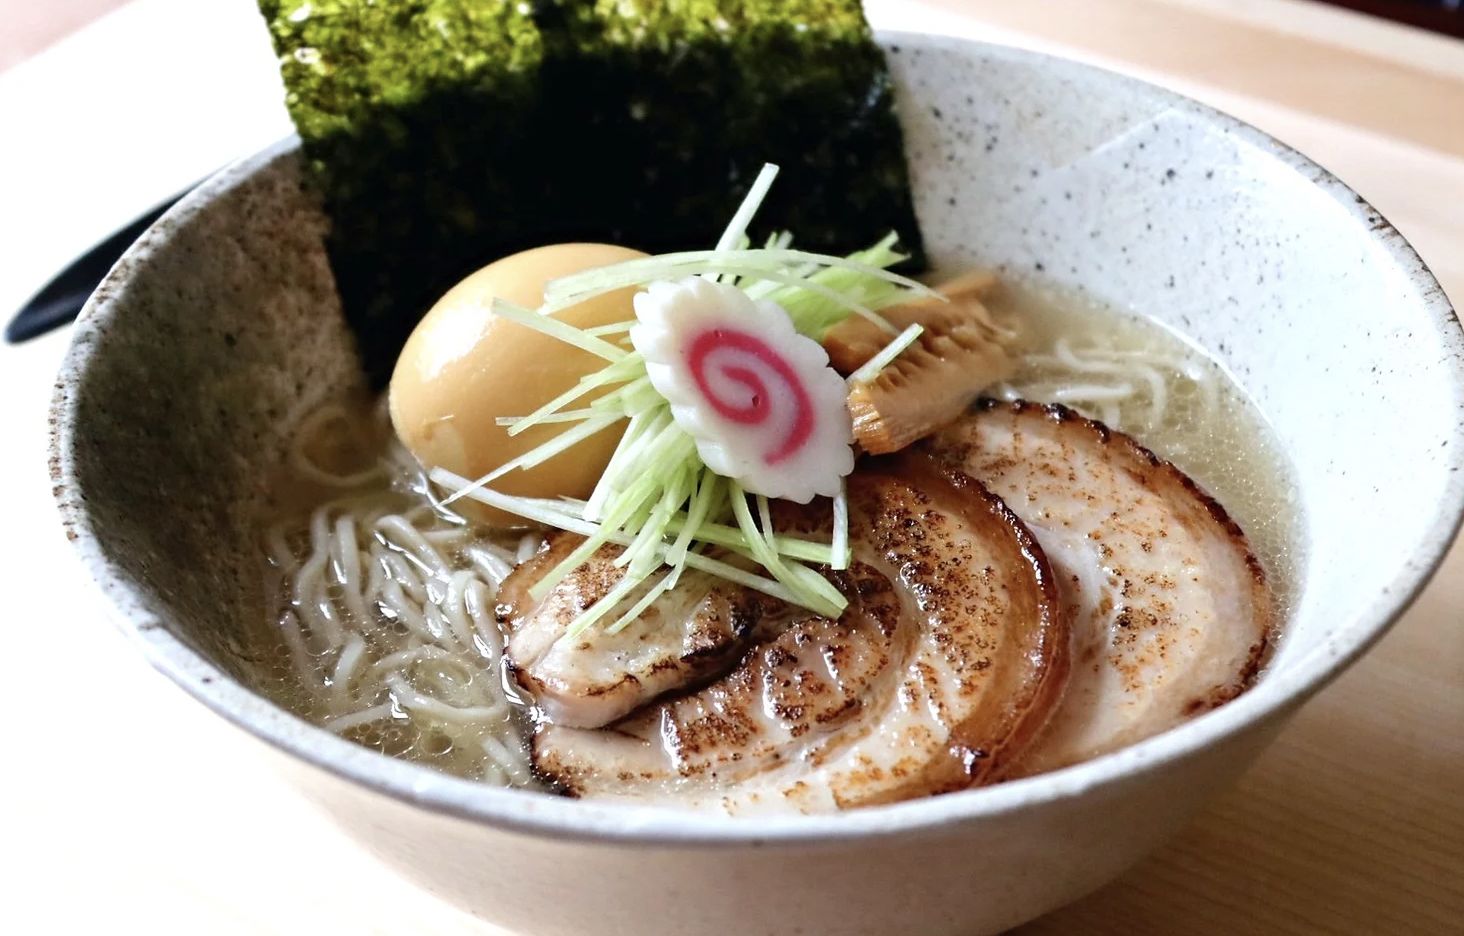
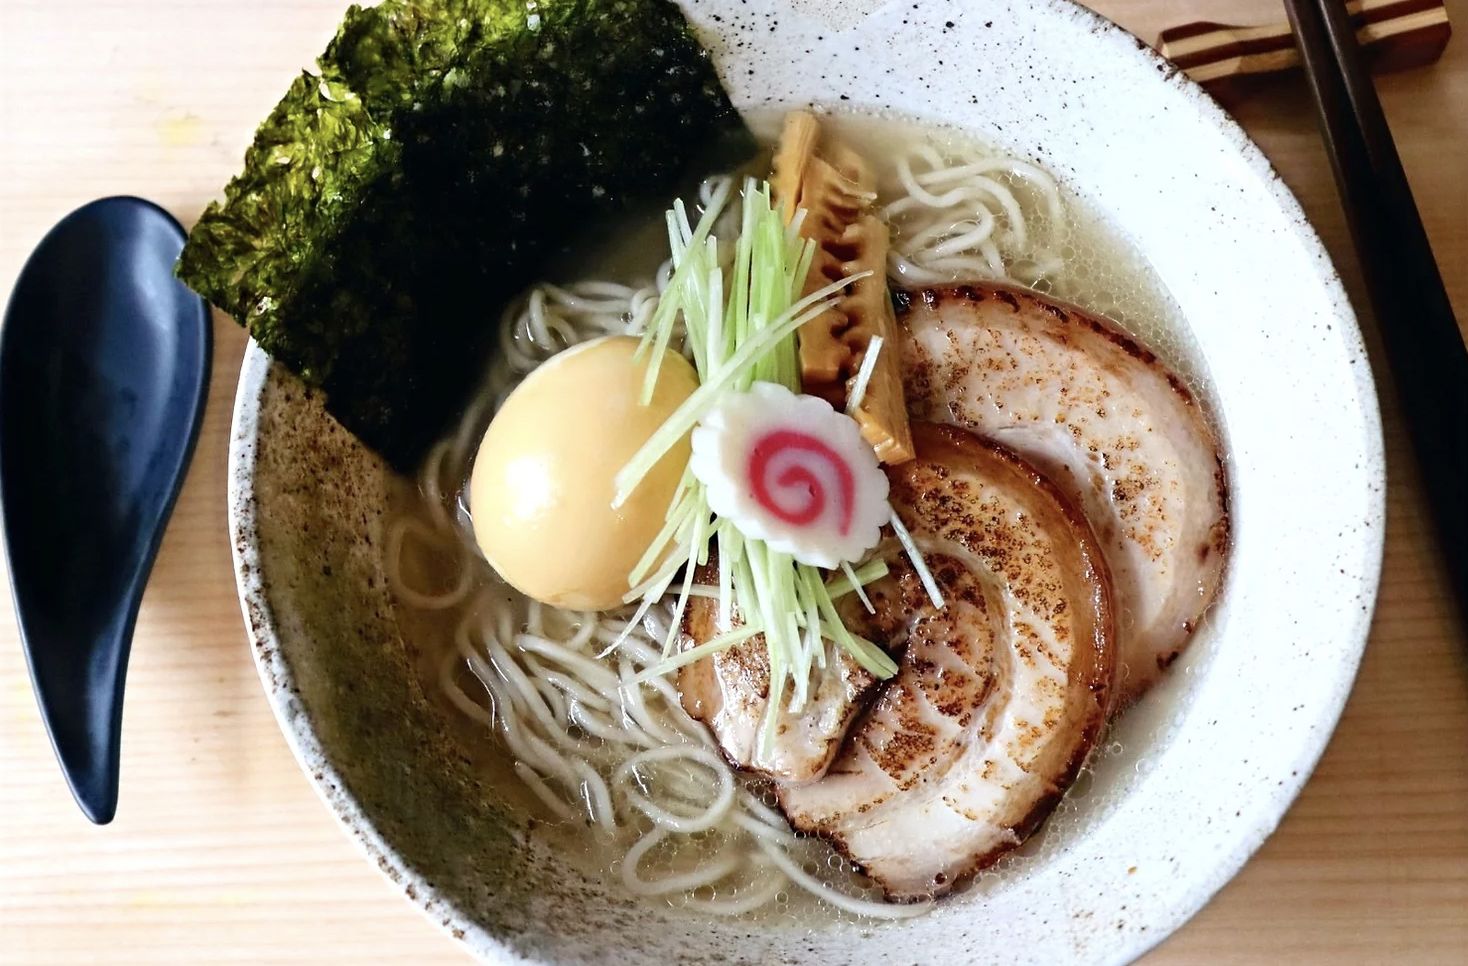
Intro:
Method:
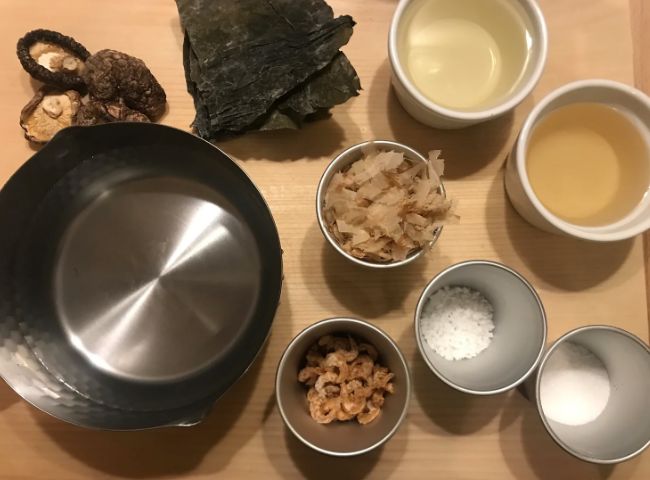
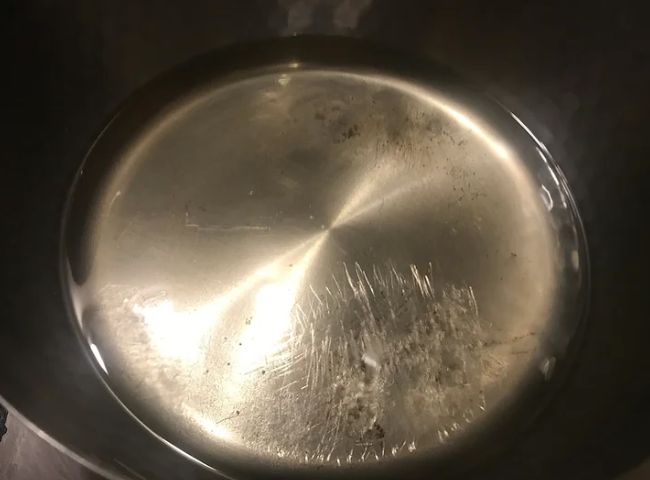
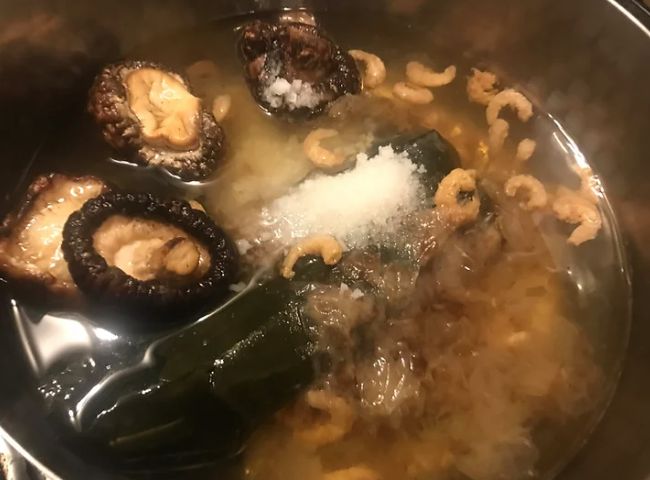
1. Before we begin making up the 5 key ramen components the first thing I always start with is making the ramen noodles. I’d always recommend making these fresh if possible and I will leave a link here for a guide on how to make them. We now want to begin by making the shio tare, start by making a dashi stock, add 500ml of water to a small saucepan then add 15g dried shitake, 10g kombu, 10g dried shrimp and 15g of bonito flakes. Allow the dried ingredients to sit for at least half an hour at room temperature.
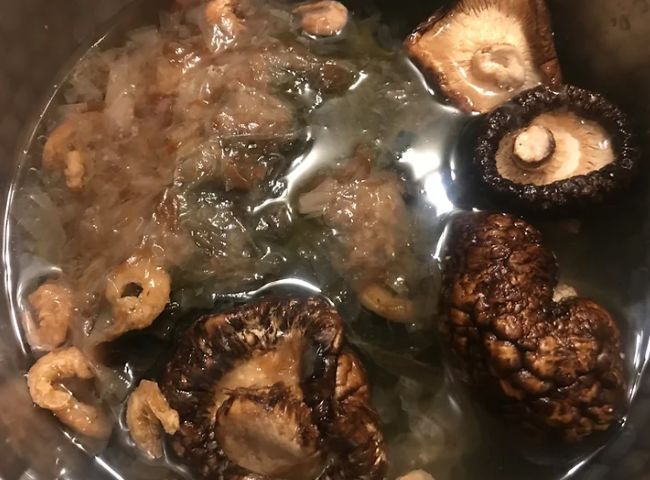
2. When the dashi is ready, in a separate saucepan place onto a high heat then when hot add 150ml of mirin and 150ml of sake. Cook out the alcohol for 2-3 minutes then add all of the dashi stock along with its dried ingredients then also add 25g of rock salt and 30g of sea salt. Bring the tare up to a temperature of no more than 80°c and slowly simmer away the tare for 30 minutes.
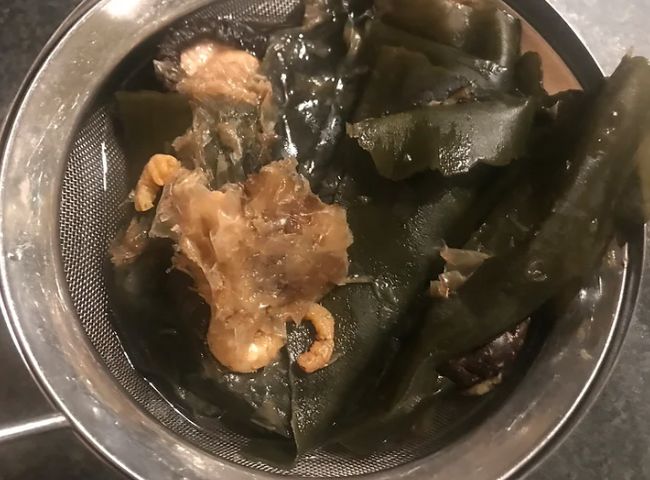
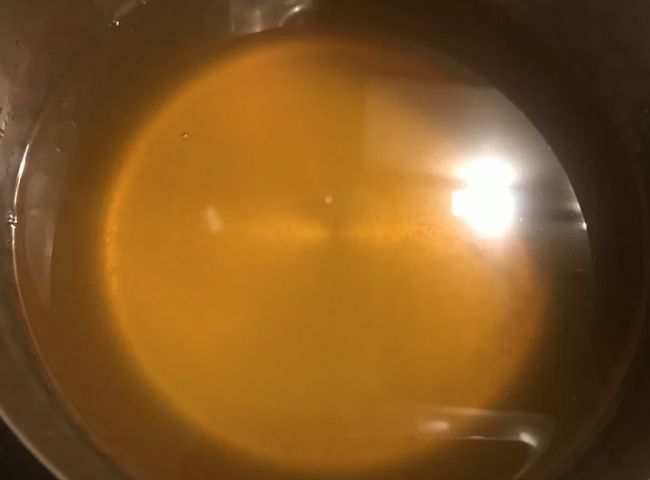
3. After 30 minutes the tare should have extracted enough umami from all of the various dried ingredients, therefore, we can now pull the tare from the heat and pass through a fine sieve into a fresh container. Allow the tare to cool then cover and store at room temperature overnight to mature. The tare should be slightly salty with an umami/seafood aroma.
Chashu:
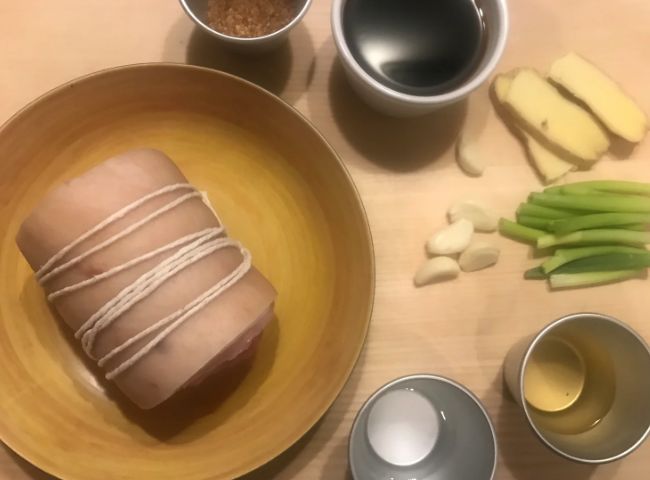
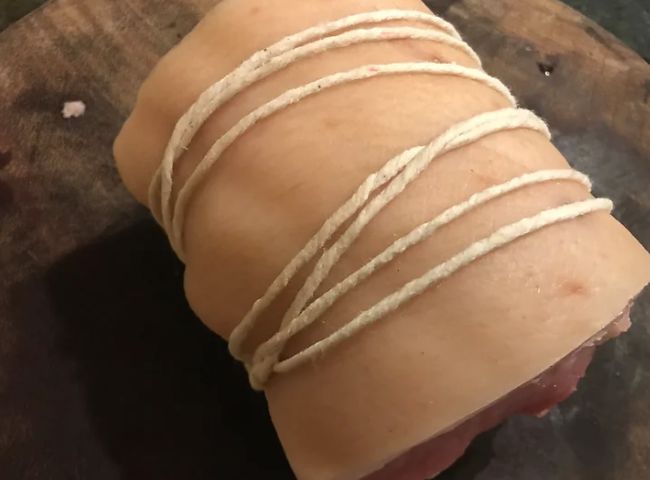
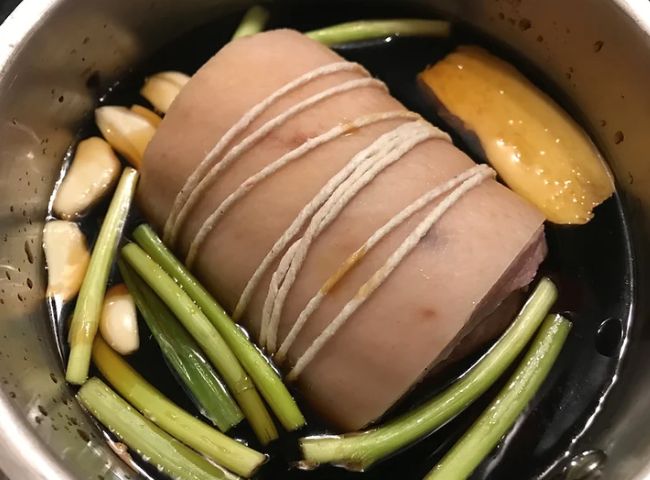
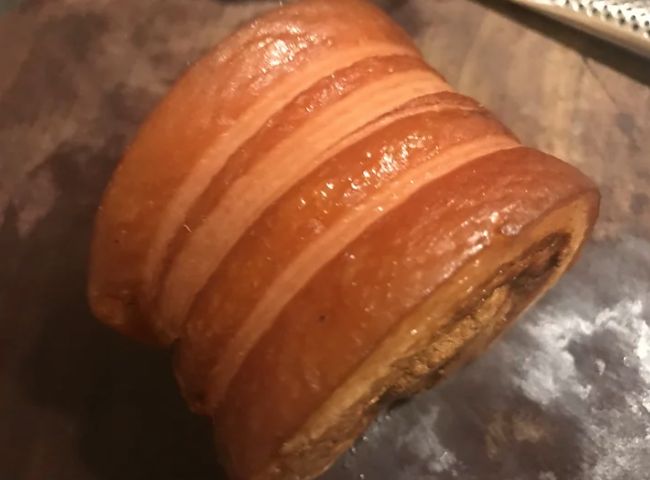
4. Now that we have our tare the last component to make on day 1 is the chashu. Before cooking the chashu begin by tightly rolling a 750g piece of pork belly to form a cylinder skin side up. Using some kitchen string tie up the pork belly to help maintain its shape whilst cooking.
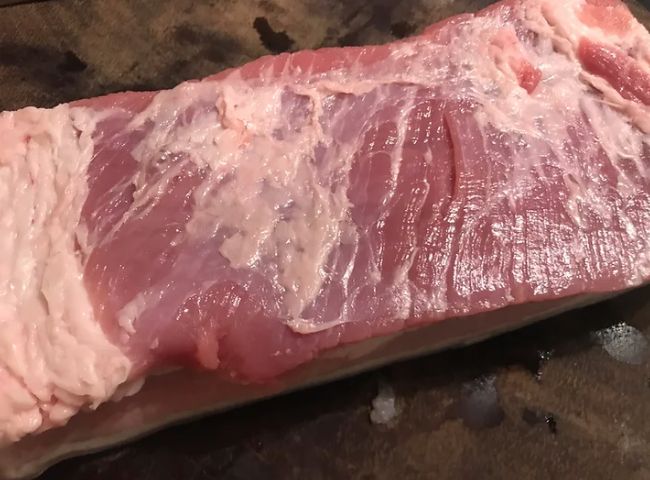
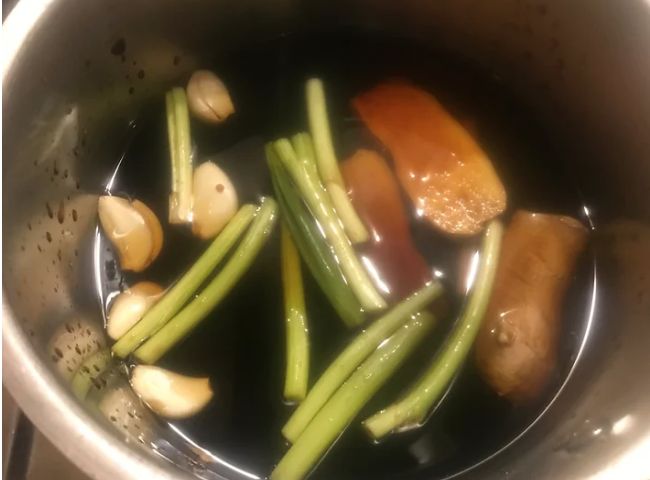
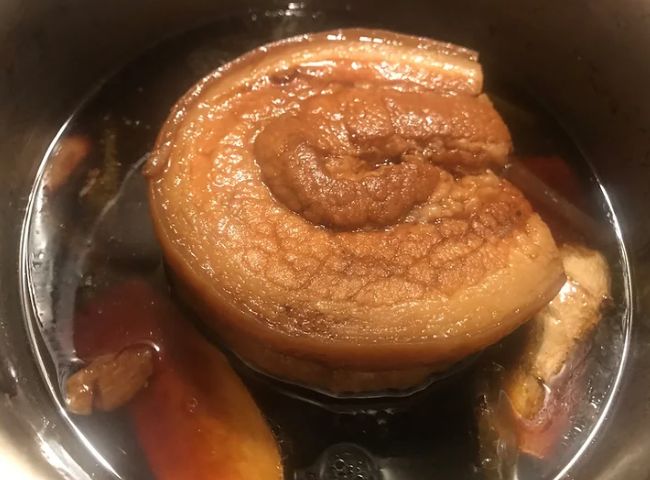
5. Now in a pan add 3 roughly chopped spring onions, 5 peeled garlic cloves, 15g of sliced ginger, 200ml light soy, 50ml dark soy, 50ml of mirin, 40g of corn syrup or honey and 40g of brown sugar. Bring up to a boil and cook for 1-2 minutes to dissolve the sugar. When ready add the rolled pork belly and top up with enough water to just about cover the pork. Turn the heat down to a low simmer, place a lid over the top and braise the pork belly for 1 hr 30 mins on a medium to low heat.
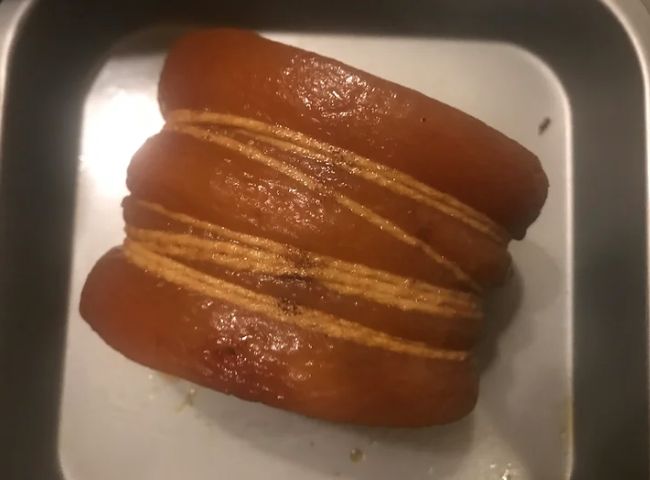
6. After braising, the best way to check that the chashu is ready is by removing it from the braise and checking to see if it has a nice gelatinous jiggle. Place the chashu onto a tray and allow to cool to room temperature then when ready store in the refrigerator over night. As for the braising liquid pass through a sieve into a fresh container and also store in the refrigerator as we can use this for some of the toppings later in this recipe.
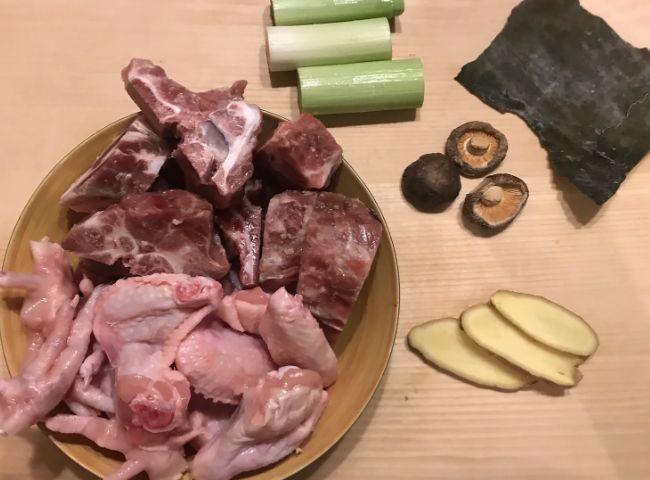
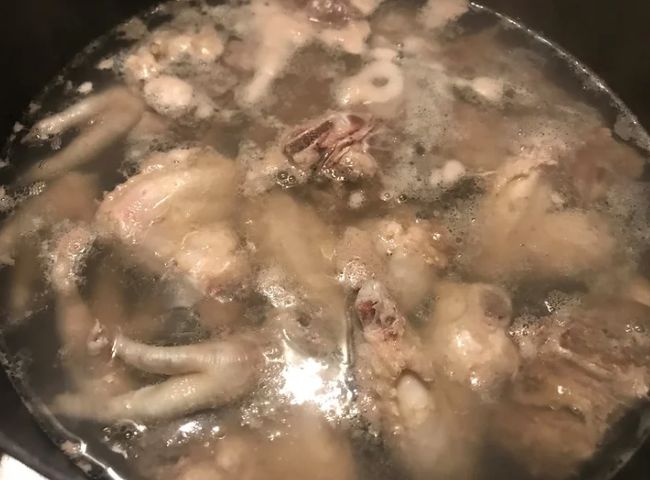
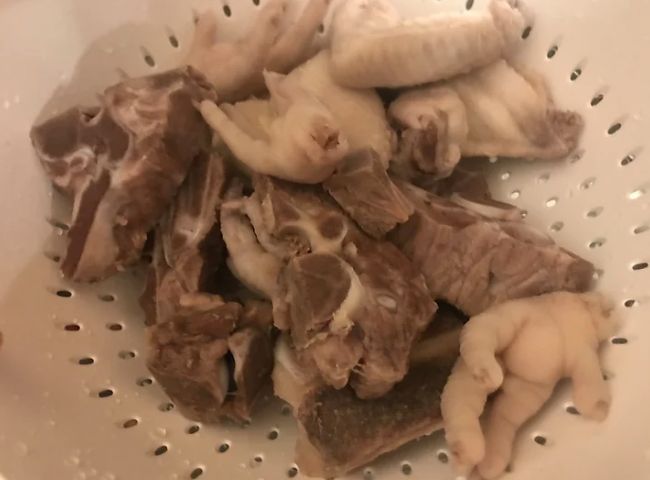
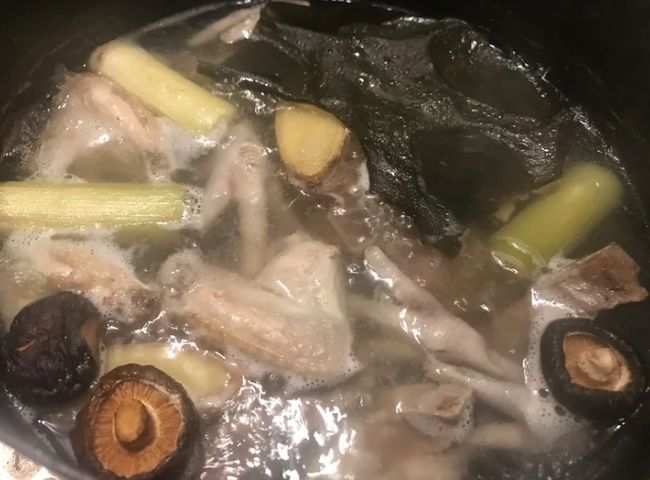
1. Now onto 2nd day of making this ramen, this stock is a fairly standard soup for ramen and works perfectly with a shio based tare. Start by placing a large saucepan half full with water onto a high heat. When boiling, add 6 chicken wings, 6 chicken feet and approx 400g of pork preferably femur bones. Pre boil the bones and chicken for 10 minutes to release any unwanted scum on the bones. When ready drain off the bones and clean under cold running water. For the chicken feet, remove the toe nails by removing with kitchen scissors then place all of the bones and chicken pieces into a fresh pot and top with approx 3litres of water. Bring the stock up to a low simmer and cook for 2hr 30mins taking care not to allow the broth to come to a boil.
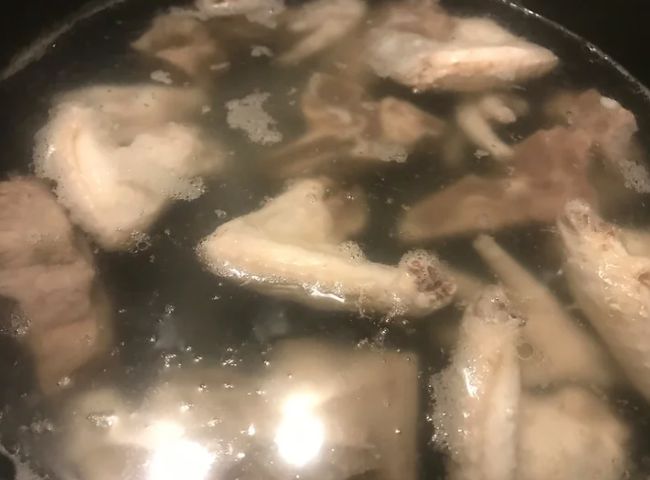
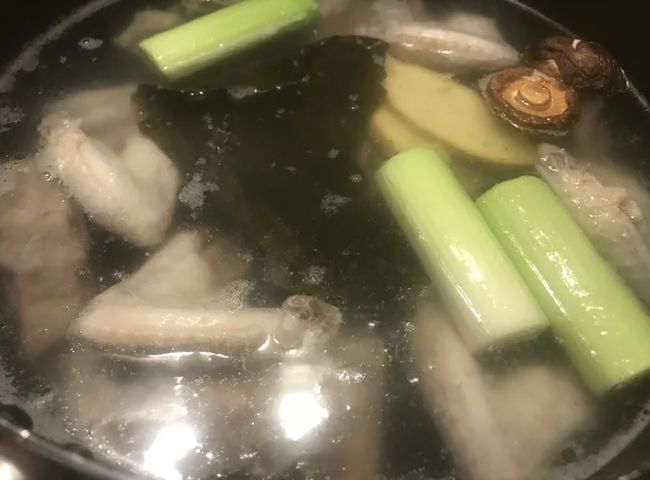
2. After 2 hrs 30mins of cooking we can now incorporate the aromats to lift and enhance the flavour of the broth, add 20g of sliced ginger, 1 roughly chopped leek, 10g of dried kombu and 3 dried shitake mushrooms. Cook the broth on a low simmer for a further 1hr 30mins removing any excess scum that may rise to the top of the broth.
Aroma Oil:
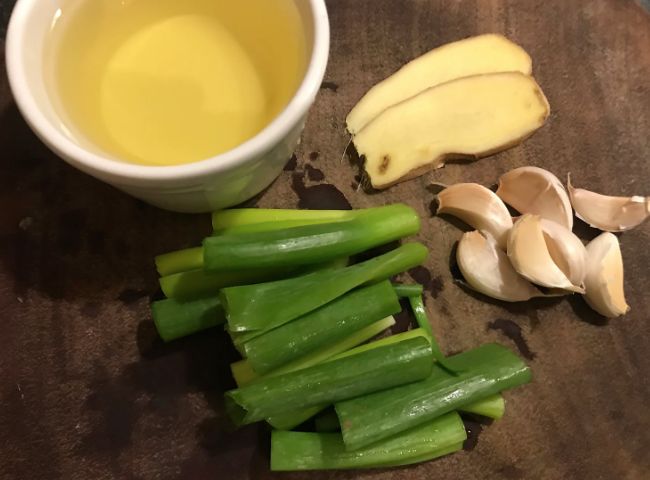
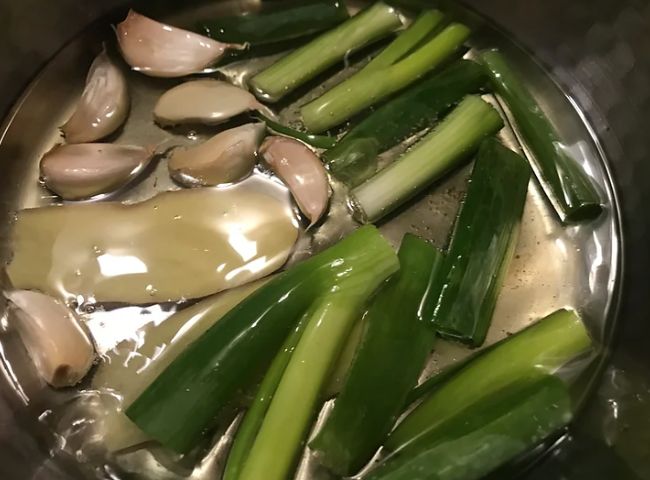
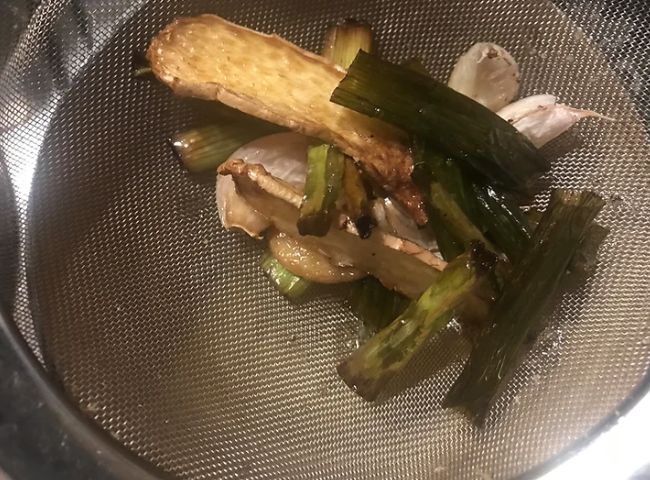
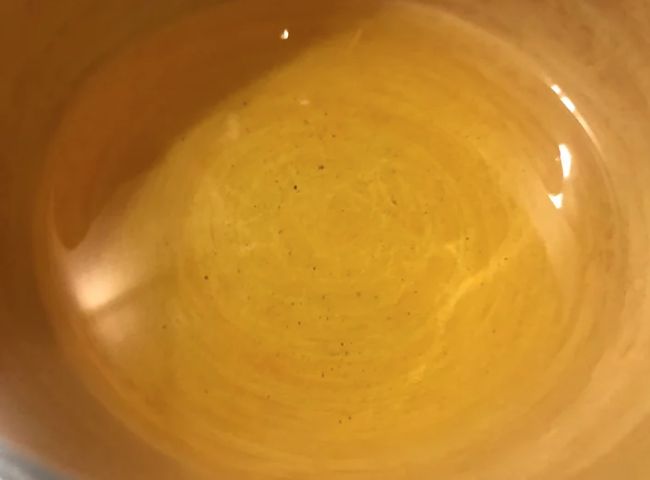
3. Whilst we wait on the broth to finish cooking we can move onto the aroma oil and a few toppings to complete the ramen. For the aroma oil place 200ml of rapeseed oil into a small pan and place onto a medium to high heat. Add 10g of sliced ginger, 2 roughly chopped spring onions and 5 whole garlic cloves. Lightly fry the aromats for 6-8 minutes or until the aromats become deeply golden brown. When ready pass the oil through a sieve into a container then lightly season with salt and we now have our aroma oil.
Toppings:
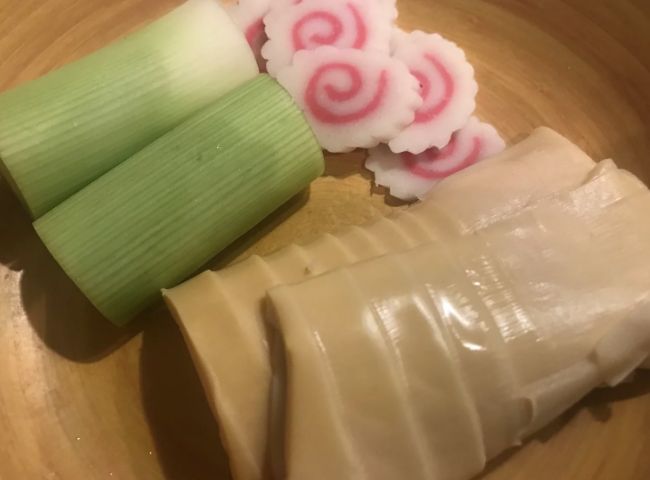
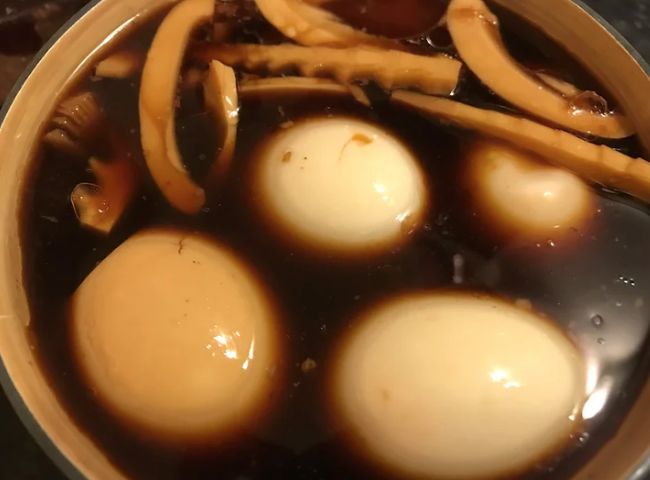
4. All that’s left to do at this point is to think about the toppings for this ramen, we already have the chashu and what other toppings you wish to use is completely up to you really. As for what I went was a few classics. Start with the soy eggs, place 4-5 whole eggs into a pan of boiling water and boil for 7 minutes to soft boil. When cooked carefully remove the eggs and shock into ice cold water to chill. When chilled, carefully peel then add to the cold chashu braising liquid that we saved the day before. For the menma (bamboo shoots) slice into a thick julienne or bite sized pieces and also add to the chashu braising liquid along with the eggs.
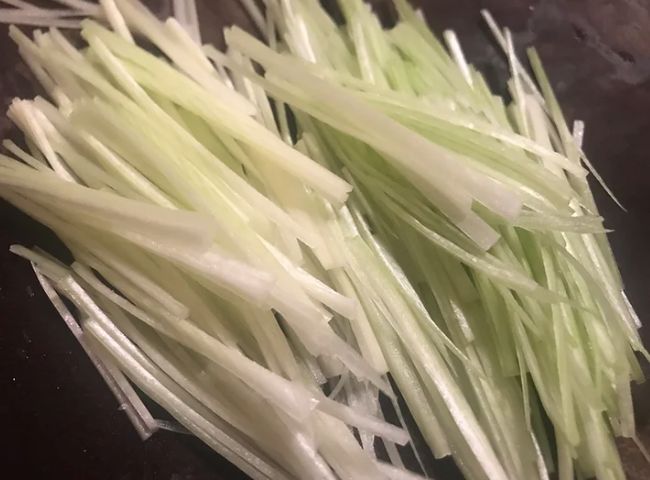
5. For the other toppings slice the Japanese fish cake (Naruto) into thin slices and as for the leeks wash and slice into a fine julienne. Place all of the toppings to one side as we will add these at the very end. The last topping to prepare just before finishing the ramen is the chashu. Now chilled cut into thin slices then place each slice onto a tray. To heat the chashu, you can either use a blow torch or run under a grill until caramelised.
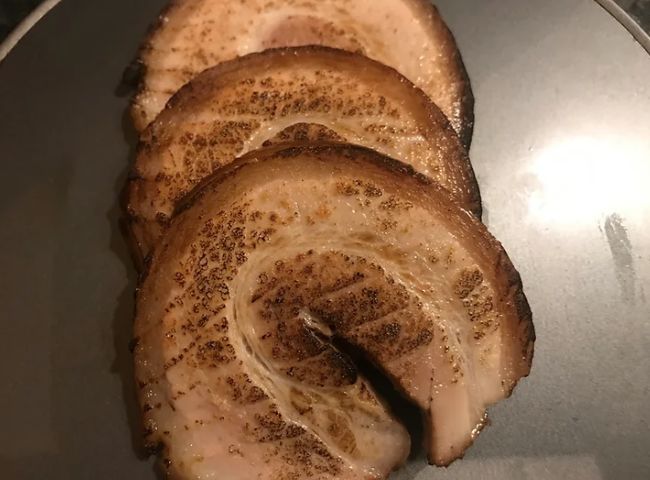
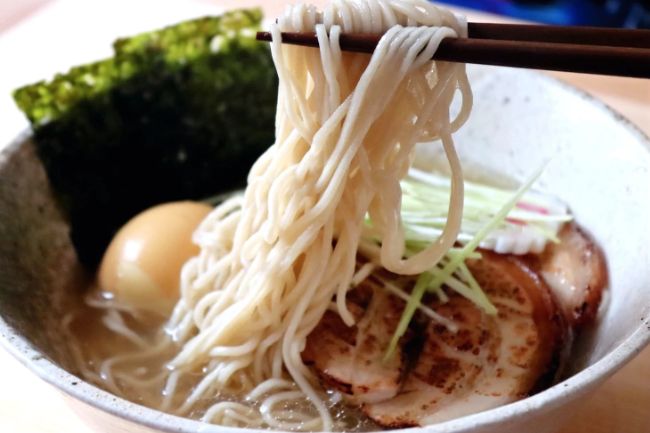
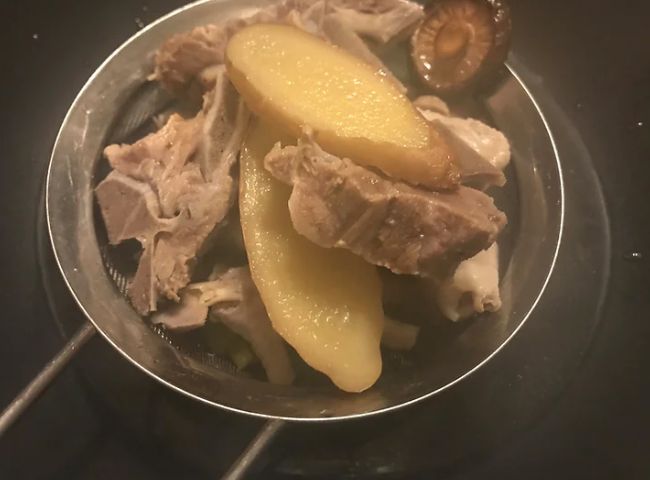
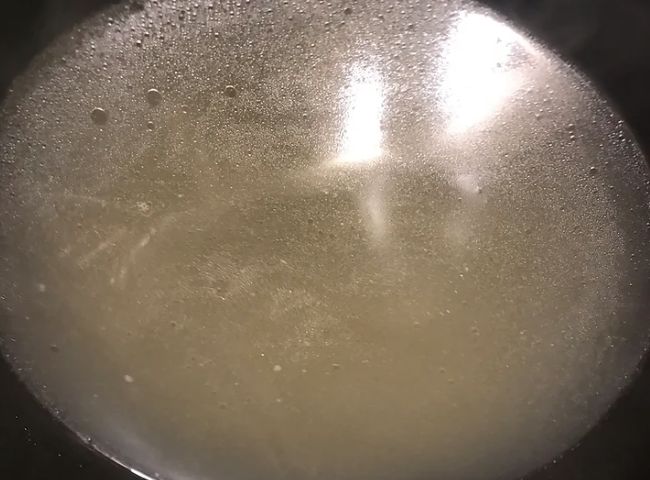
6. Now back to the broth, after a total cook time of approximately 4hrs the broth should now be ready to use. Now we want to pass the broth through a fine sieve ladle by ladle into a fresh smaller pot. When ready place back onto the heat and continue to simmer until the very end. It is at this point I like to test the ratio of tare to broth and for this recipe I went with a 20% ratio of tare to broth. When satisfied with the ratio you will use when serving, all that’s left to do now is to cook the ramen noodles and serve up the bowls!
Ramen Noodles:
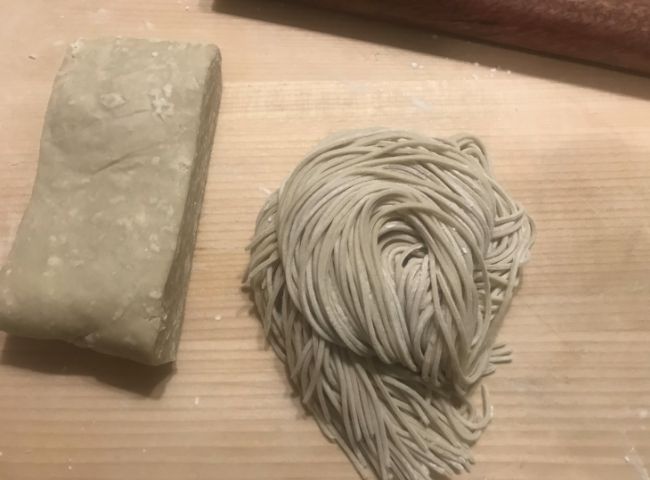
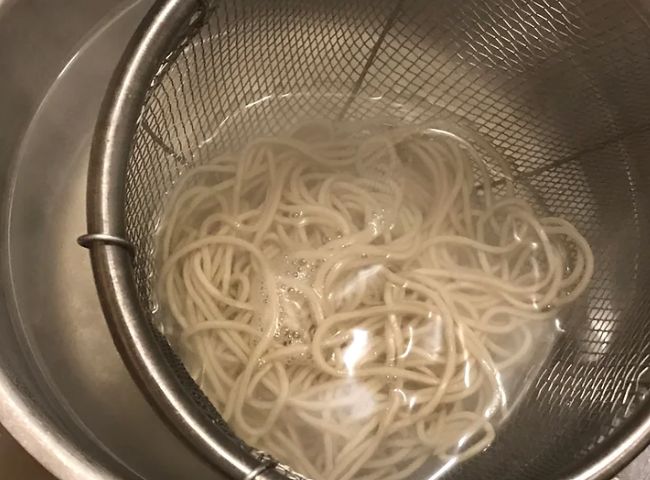
7. The very last component left to cook are the ramen noodles, when serving ramen this is usually done during the plating up stage as noodles left too long in the broth can loose their texture. If made fresh then add to a pan of boiling water and literally cook for 45-60 seconds depending on how bouncy you want them to be. If using instant ramen noodles then simply cook for however long the packet suggests.
