Intro:
Method:
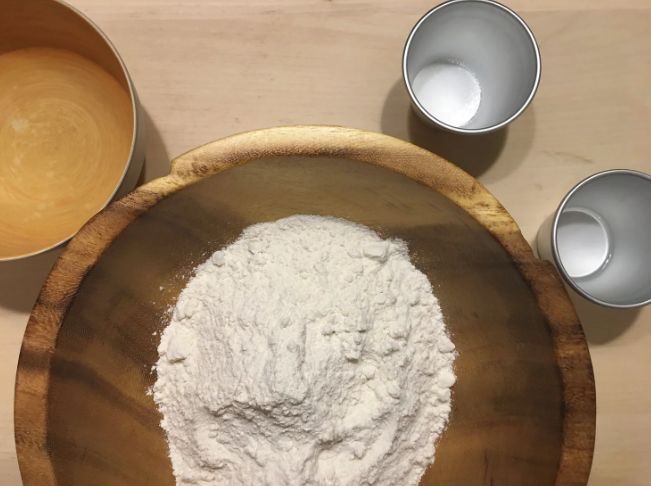
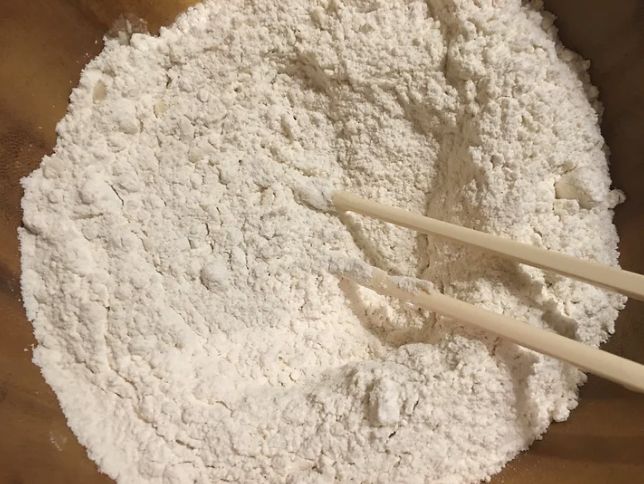
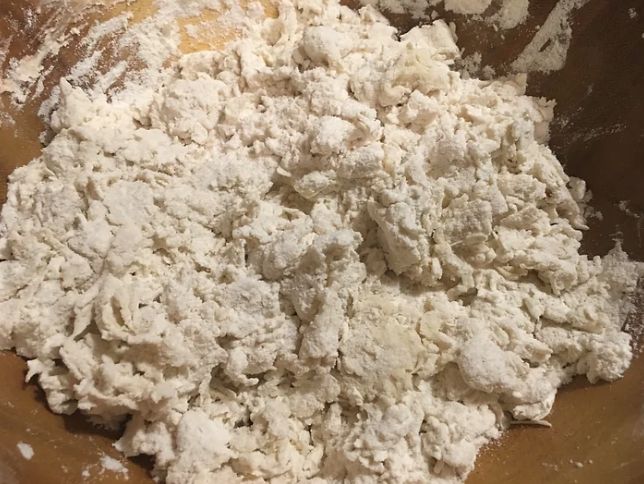
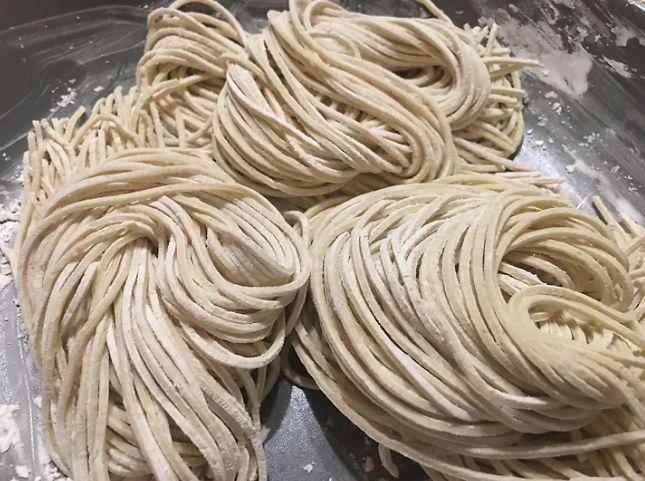
1. Let’s begin with making up the dough for the ramen noodles, these noodles are a 35% hydration noodle which means that there is 35% of liquid to flour. 35% is quite a dry and difficult noodle to prepare, however, you can adjust the ratio to 40% if you prefer to make the process much easier. Start by adding 3mls of lye water and 4g of salt to 175ml of ice cold water, then whisk until the salt dissolves, this is called the Kansui. Allow to rest for 5 minutes then we want to slowly add to 500g of strong bread flour whilst constantly mixing vigorously with chopsticks or a spoon. When all of the Kansui has been added begin to mix the dry dough by hand to break up any clumps of dough. We are looking for a crumble like consistency that will easily break apart when you bring it together. This also ensures that all of the dough is well hydrated. When ready add the dry dough to a ziplock bag and seal. Allow the dough to rest for 30 – 60 minutes.
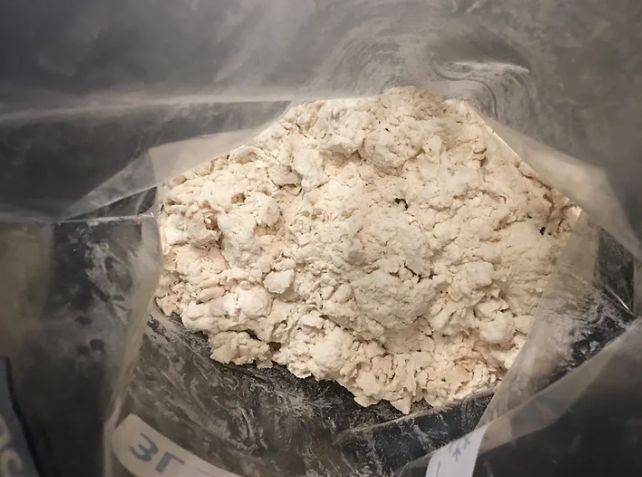
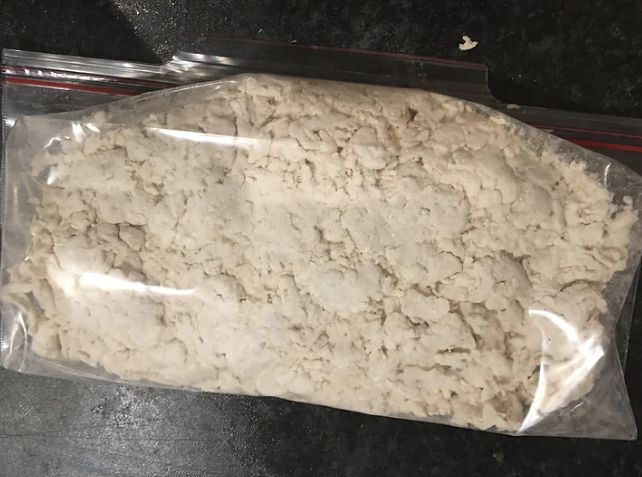
2. After the dry dough has had time to rest we now want to begin to kneed the dough together to form a flat sheet of dough. The best way and traditional way to do this is to cover the ziplock with a towel and literally step on the dough to bring it together. Kneed the dough in this way or with your hands for 10 minutes. When ready we want to shape the dough in the bag to form a flat rectangular sheet. Keep in the ziplock bag and allow the dough to rest for a further 30 – 45 minutes.
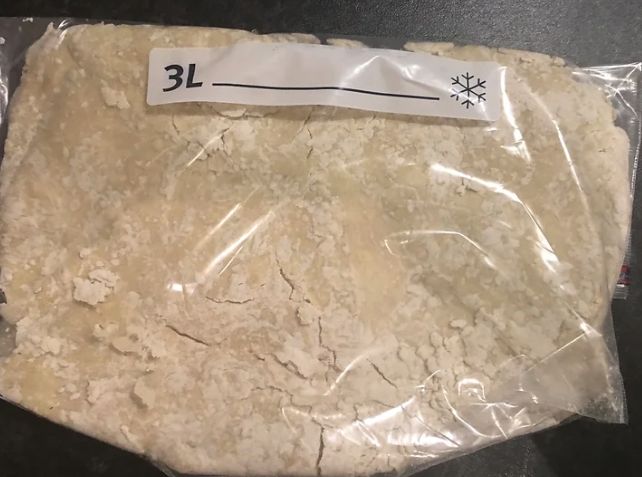
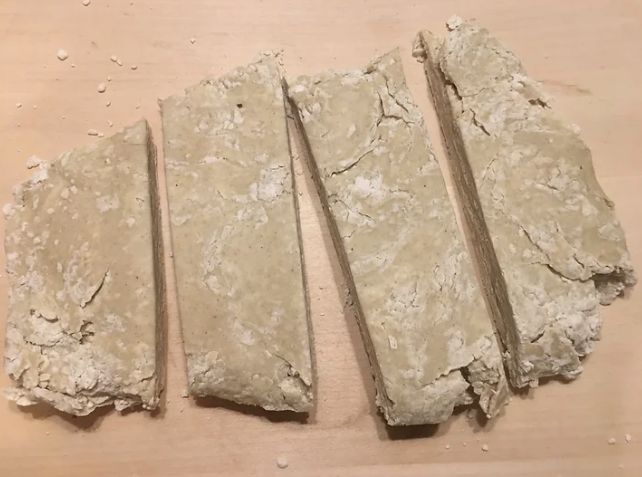
3. At this point the dough is now ready to roll and cut, my current go to method is using an atlas pasta machine, however, you can also roll out using a rolling pin if this isn’t an option. Remove the rectangular piece of dough from the ziplock bag then cut into 4 equal sized strips. Begin to roll out the strips briefly so that they will fit through the widest setting on your pasta machine.
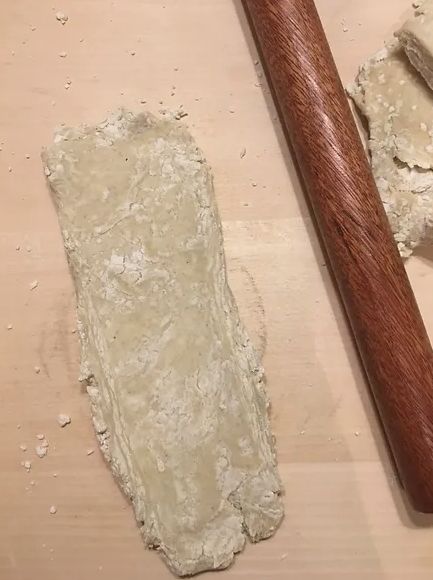
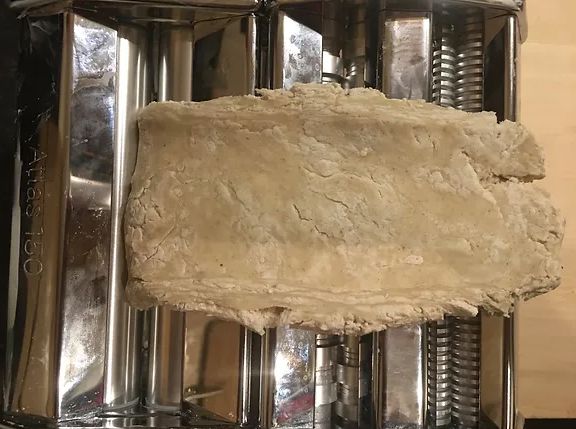
4. To roll out the sheets of dough place through the widest setting first (no 0 on the atlas). After the 1st feed through we want to what’s known as “laminating” the dough by folding in half lengthways. Feed through the largest setting again then repeat this twice. Laminating the dough will enable a much bouncier, chewy noodle when cooked that is perfect for tonkotsu. When laminated, begin working through the settings until a long 1.5mm (no 5 on atlas) sheet of dough. Before cutting the dough into noodles at this point we want to dust each side of the dough with cornflour to prevent it sticking together.
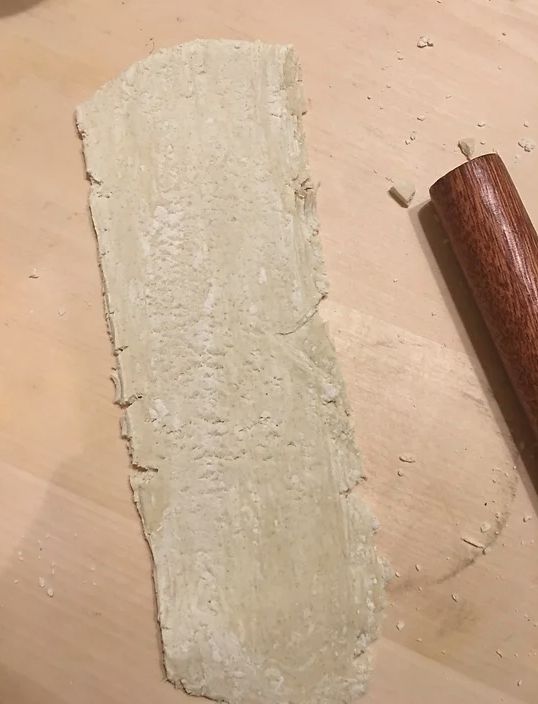
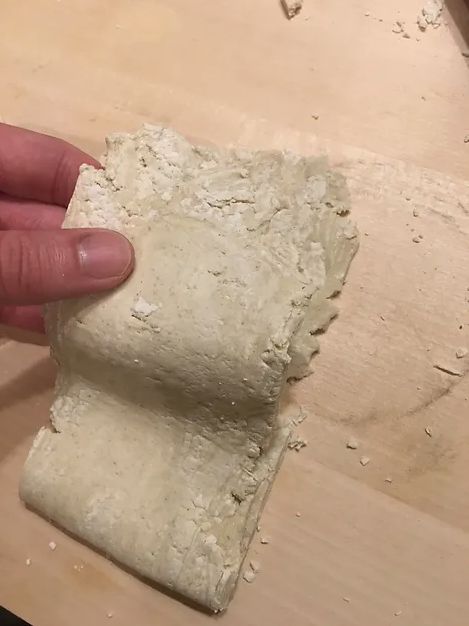
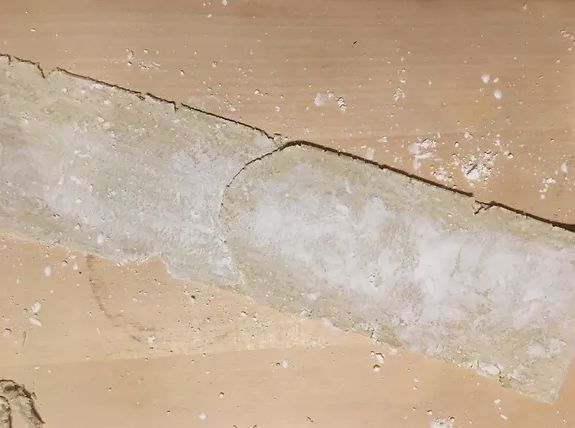
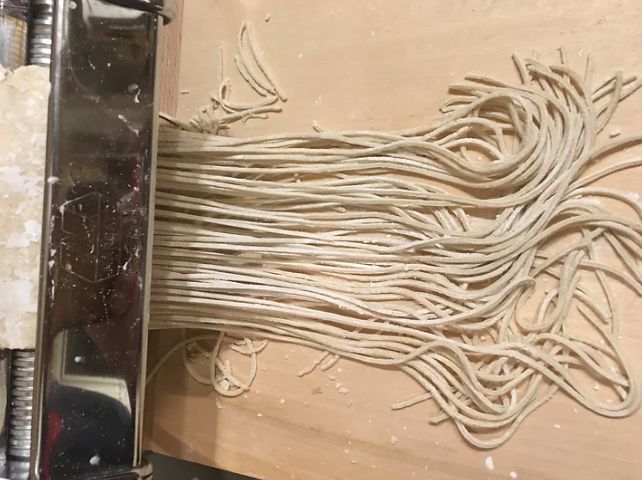
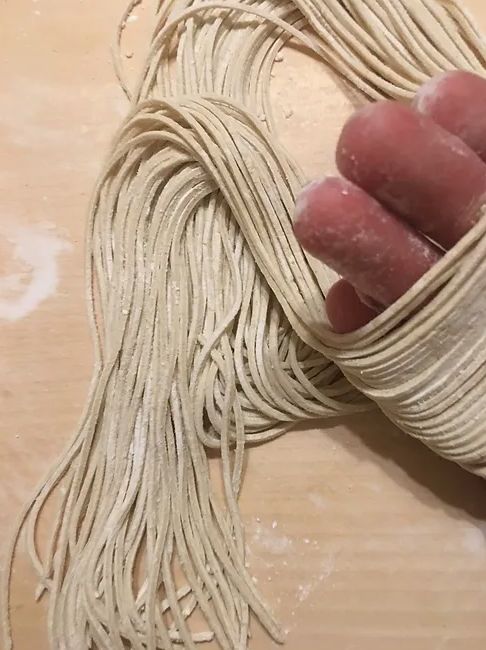
5. To cut the dough, run the sheet through the cutting setting then when fully run through gather the noodles together and place onto a tray dusted lightly with cornflour. Repeat the rolling process for each of the 4 pieces of dough then these noodles need to be stored overnight in the refrigerator to rest. They need to rest overnight due to the alkaline in them.
Miso Tare:
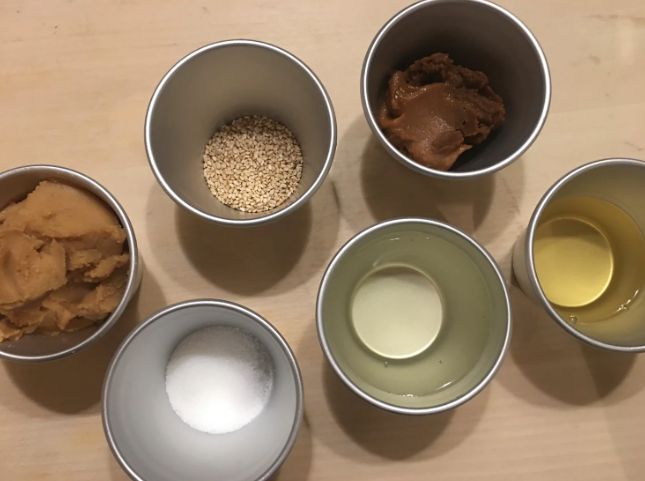
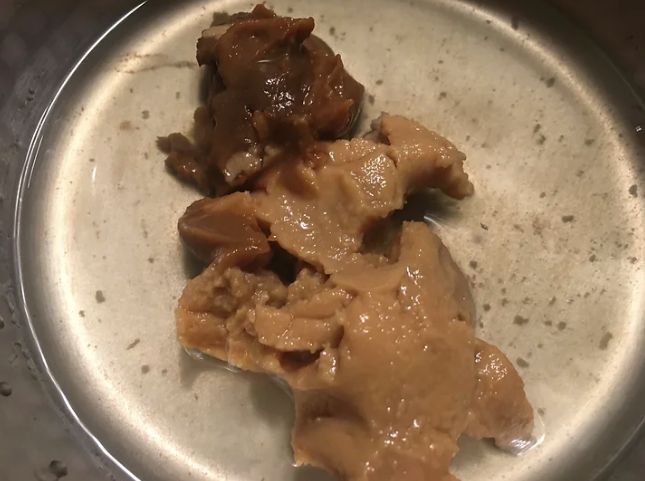
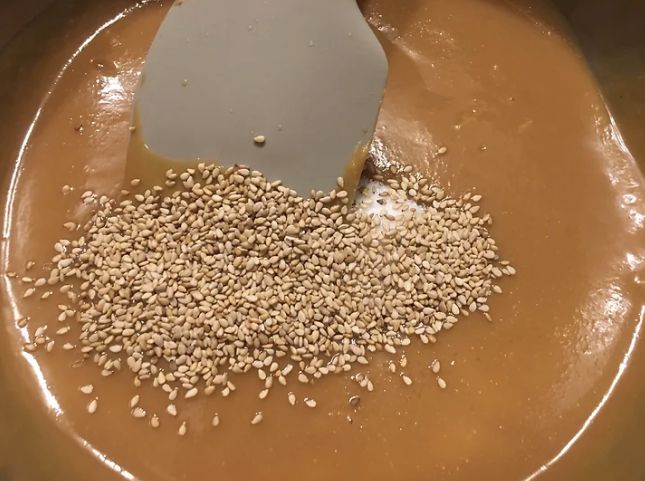
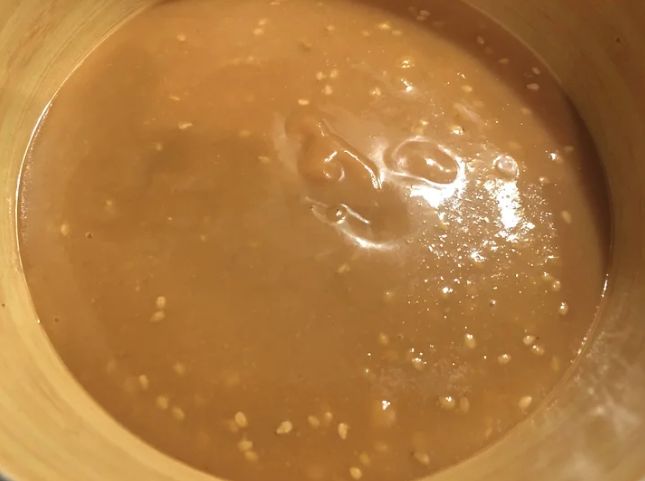
6. Like the alkaline noodles we also want to make up the tare the day before to enable it to mature. In a small saucepan add 100g white miso, 100g red miso, 50ml sake and 30ml of mirin. Place onto a medium heat and continue to mix with a spatula for 5-10 minutes to cook out the alcohol and to incorporate the mirin and sake into the miso. When smooth remove from the heat then add 2 tbsp sesame seeds, 8g white sugar and 5g salt. Mix well again to dissolve the sugar then place into a bowl and allow to cool. When cool store in the refrigerator overnight. The tare will seem very salty at this point, however, that is the purpose of tare.
Chilli Aroma Oil:
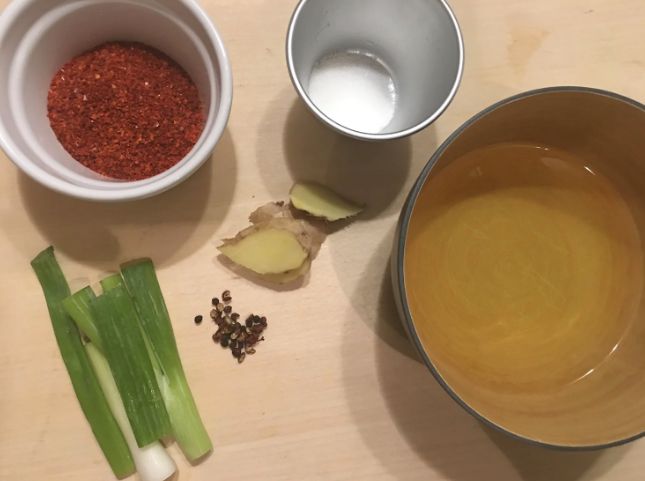
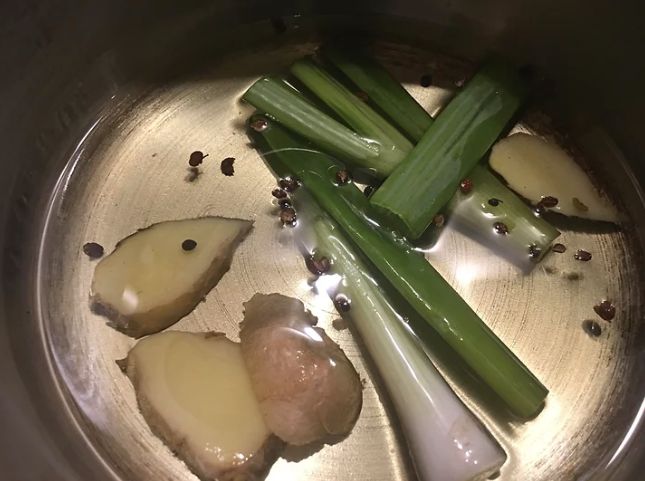
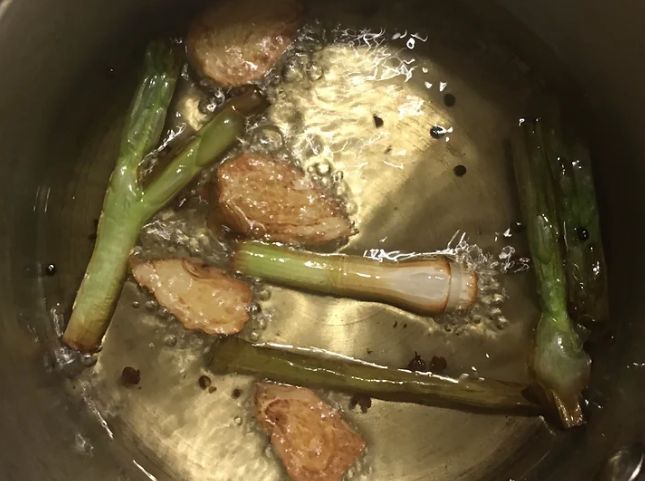
7. The last component we can make up on day 1 is the chilli aroma oil, In a small heat proof bowl add 3 tbsp of korean chilli powder then add 1 tsp of water and mix well. (This will prevent the chilli powder from burning when we add the oil). Then in a separate small saucepan add 100ml of cooking oil, 1 roughly chopped spring onion, 1/2 tsp of Sichuan peppercorns and 10g of sliced ginger. Place onto a medium heat and fry the aromats for 8-10 minutes until nice and golden brown.
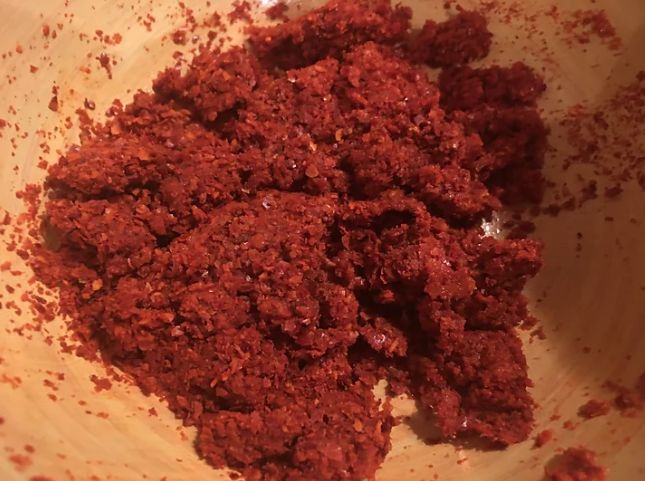
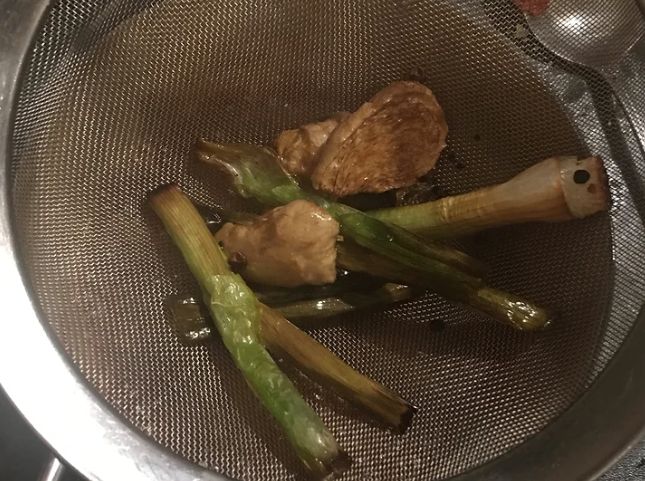
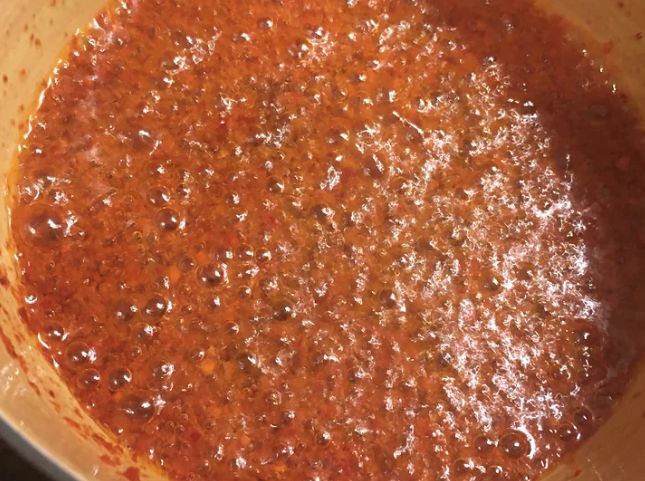
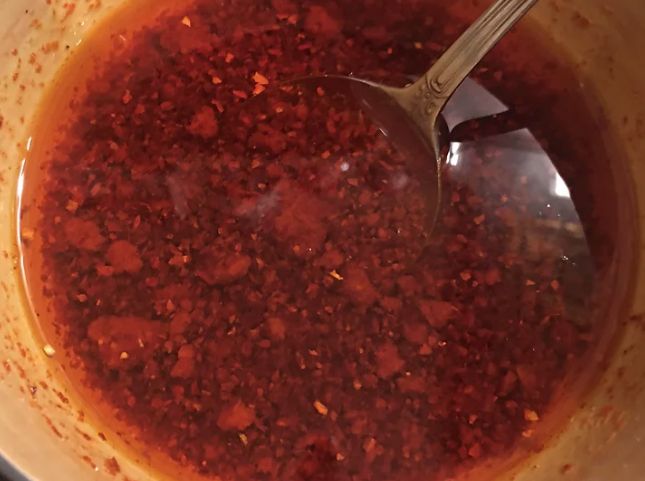
8. Next we want to pour the hot oil through a sieve onto the chilli flakes taking care as the oil may spit a little. Finish the oil with a 1 tsp of rice vinegar, a pinch of salt and sugar. Mix well and allow to chill at room temperature. This chilli oil can be stored in a jar at room temperature for up 1 month for future dishes also.
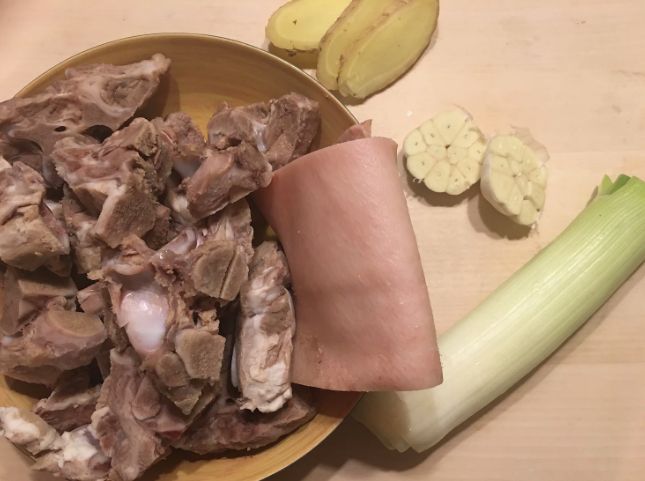
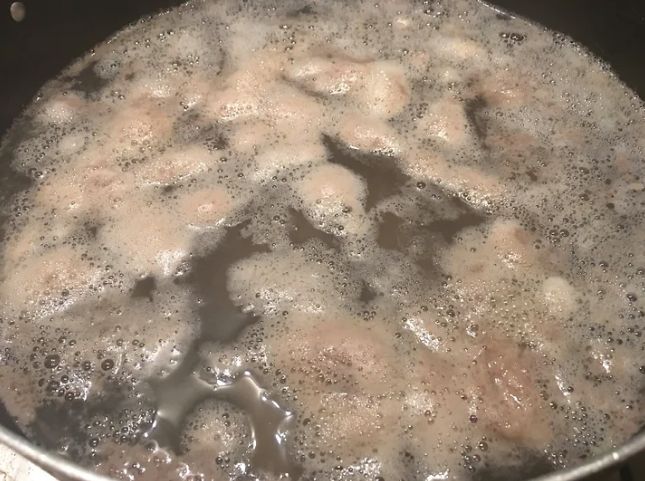
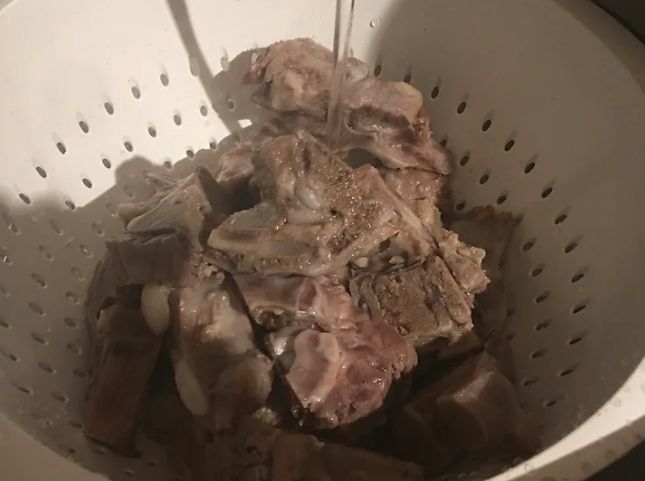
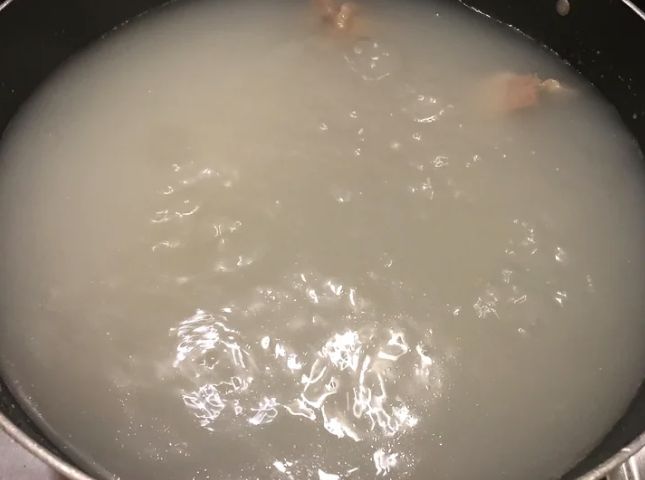
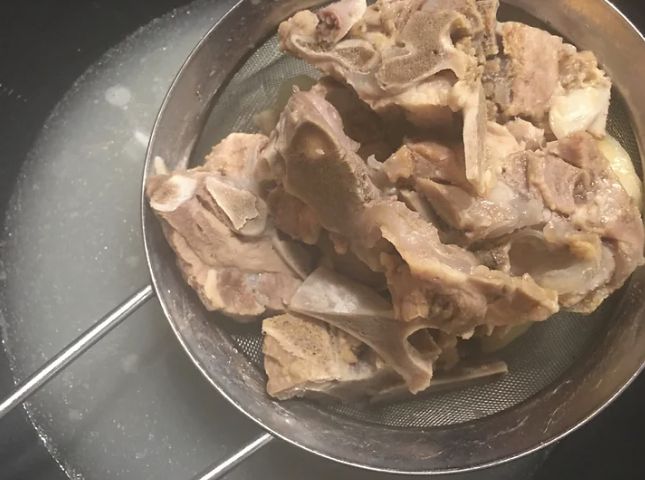
1. Now onto the 2nd day of our ramen expedition, by now we should have our noodles, tare and chilli aroma oil good to go. Next step is to begin making the key part of the ramen the tonkotsu broth. This will need anywhere from 6-8 hours of cooking, therefore, best to get this on as early as possible. To cut the time down you can use a pressure cooker to assist in the making. Begin by adding 2kg of pork bones (preferably femur bones) to a large saucepan with enough water to cover the bones. Place onto a high heat and bring up to the boil. Boil the bones for 20-30 minutes to extract all of the scum from the bones that will rise to the top of the water. Next we want to drain off the bones then wash under cold running water to remove off any excess scum.
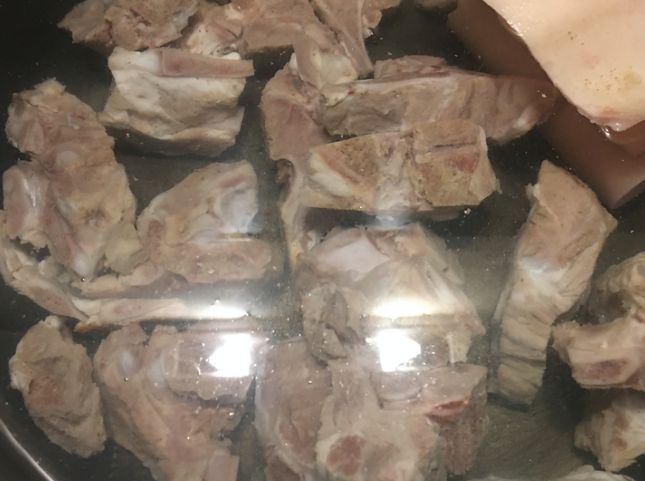
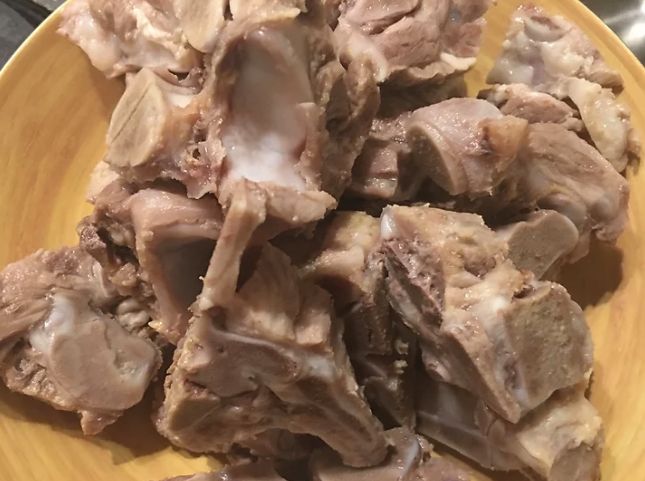
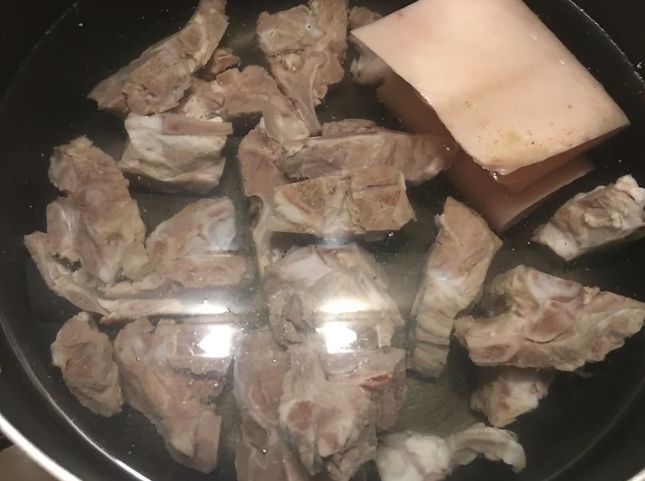
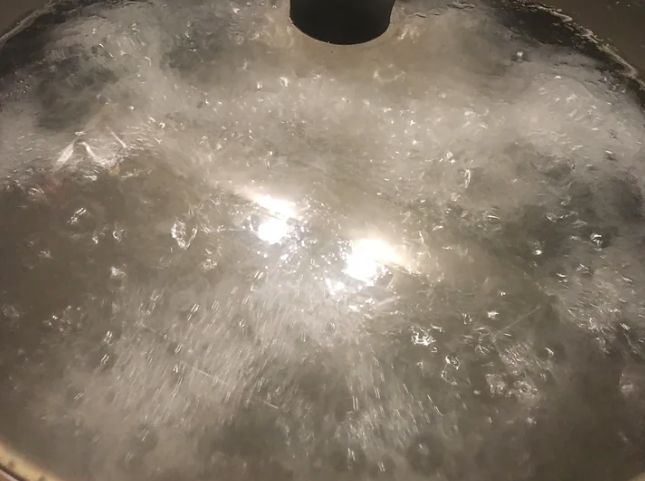
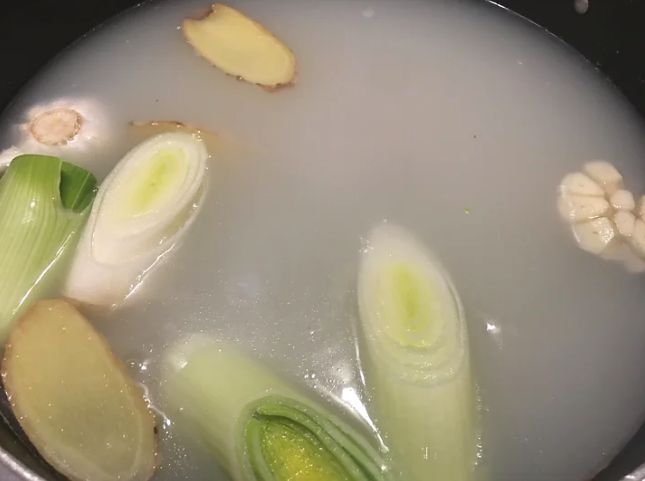
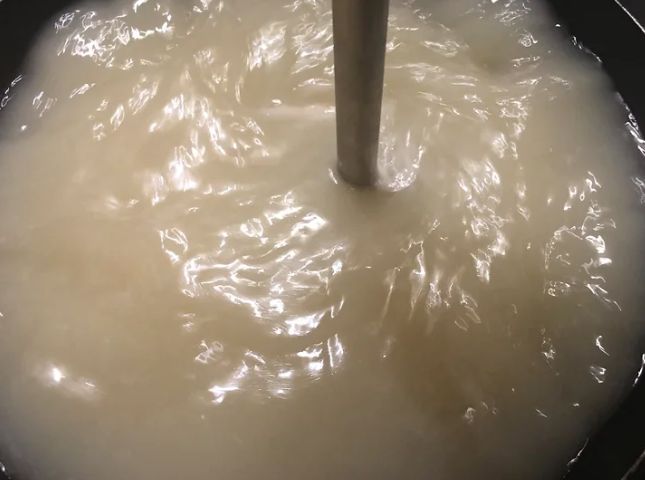
2. When the bones are cleaned add to a fresh large pot along with 200g of roughly chopped pork rind. Add water again so that the bones are well covered then place onto a medium to high heat. Bring the bones up to a boil again then place a lid over the top. Allow the bones to rip away on a medium to high heat for at least 4 hours topping up with additional water if needed half way through. We want to vigourosly boil the bones throughout the cooking as this will give us that creamy tonkotsu broth. At around the last 1-2 hour mark of cooking is the point where we want to add the aromats. To the broth add 1 chopped white section of a leek, 1 garlic bulb cut in half and 30g of sliced ginger. Place the lid back over the broth and try not to top with any additional water now as we want to intensify it.
Soy Egg Yolks:
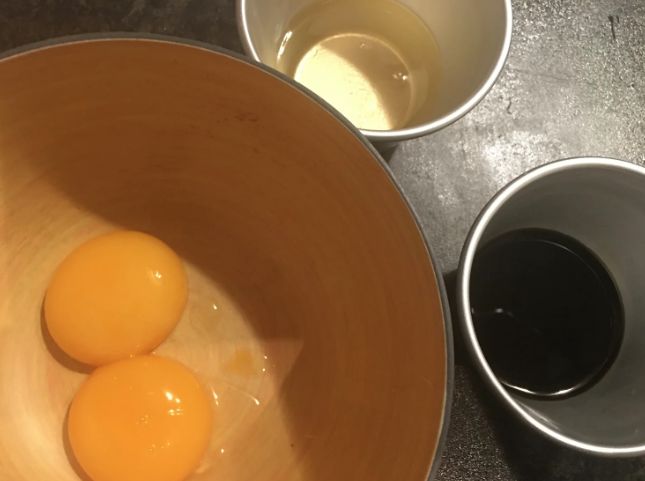
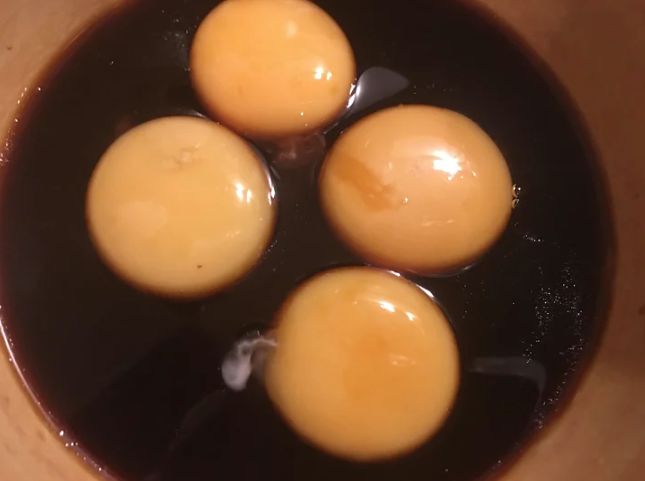
3. Whilst we wait on the broth we now want to make up the soy egg yolks, you can either do this with raw egg yolks or soft boiled peeled eggs. In a small bowl add 50ml of light soy and 50ml of mirin. Mix well then divide 4-5 egg yolks from the whites then add the yolks to the soy and mirin. Allow the egg yolks to cure until we are ready to serve.
Duck Chicken Mince:
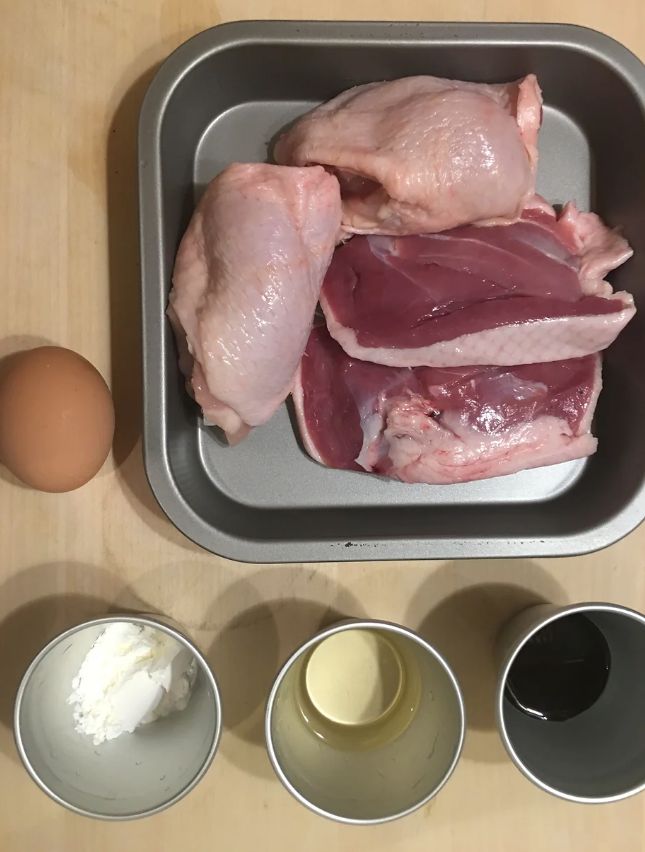
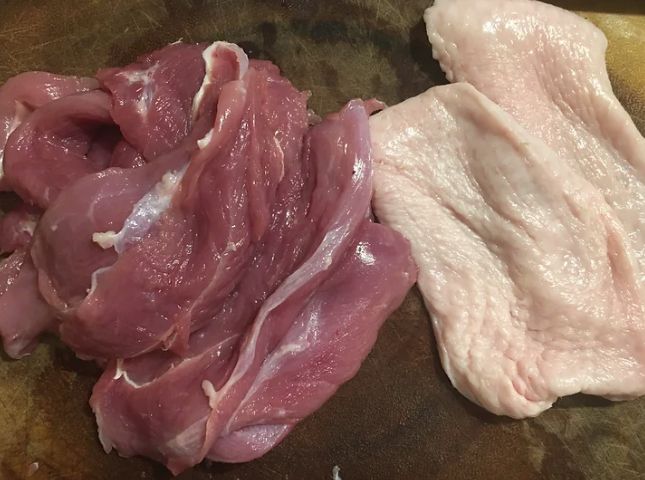
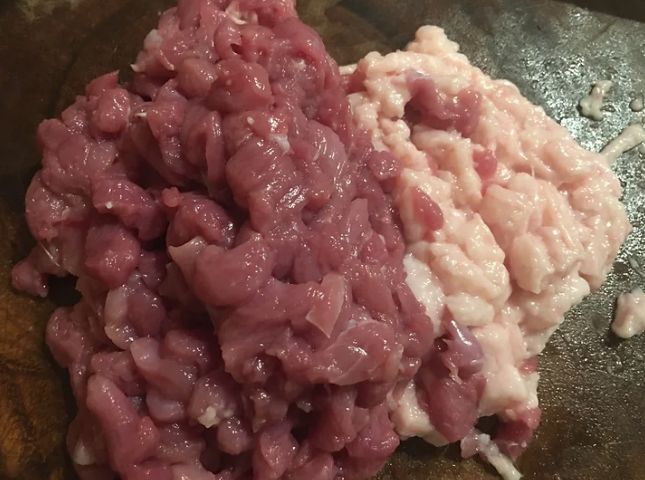
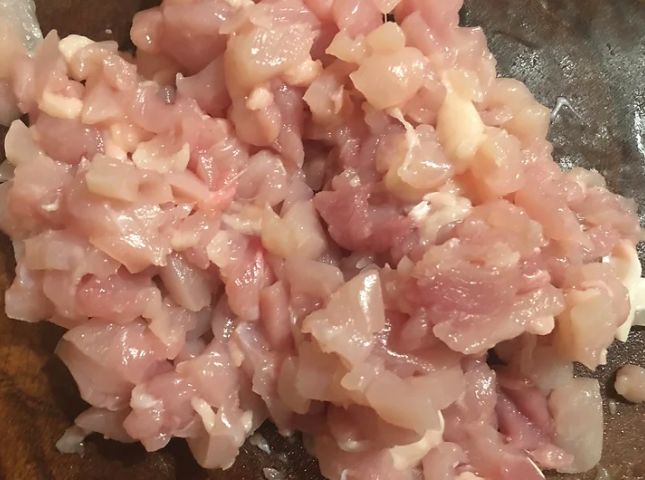
4. The last component we want to make is the main topping of minced duck and chicken. We want to mince by hand to enable a bit more texture to the mince. Begin with the duck, remove the skin from two duck breasts then start by slicing the skin into strips then into as fine as a dice as you can. For the breast slice into slithers, then into strips and again dice as fine as you can then place the minced duck into a mixing bowl. For the chicken we want to remove the skin and thigh bones and discard these. Mince the chicken thigh in the same way as the duck then place along with the duck mince.
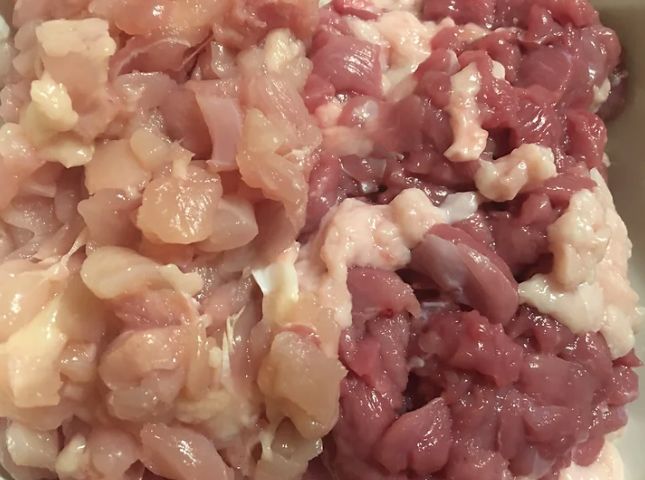
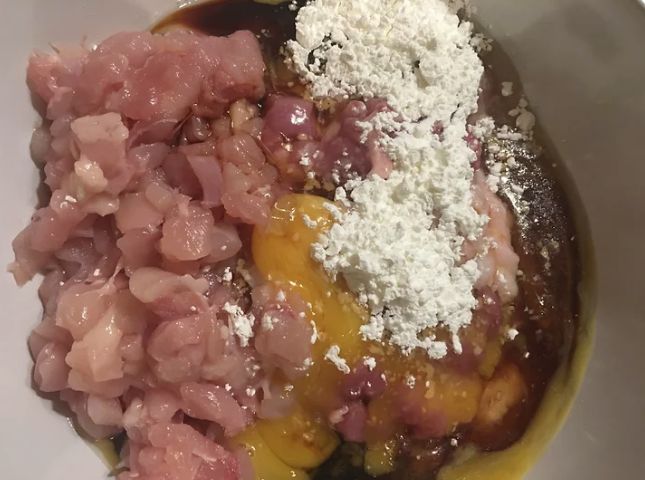
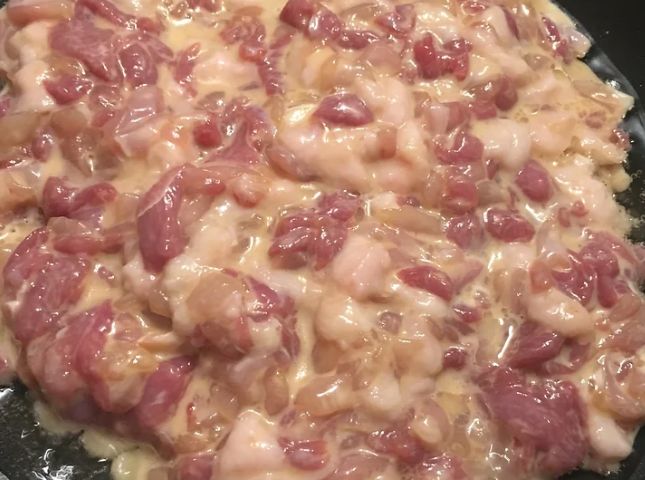
5. Now to marinade the duck and chicken, for this I use the chinese method of velveting to make the mince incredibly tender and silky. Mix the duck and chicken together well first then add 1 whole egg, 1 1/2 tbsp cornflour, 1 tbsp light soy, 1 tbsp dark soy, 1 tbsp mirin, 1 tbsp sesame oil and a pinch of salt and black pepper. Mix well with chopsticks or a spoon mixing in one continuous direction. Continue mixing until the mince become velvety, then allow to marinade until we are just about to serve.
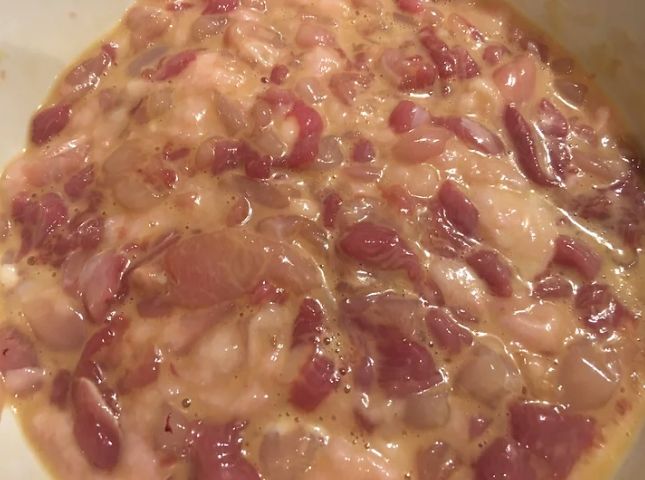
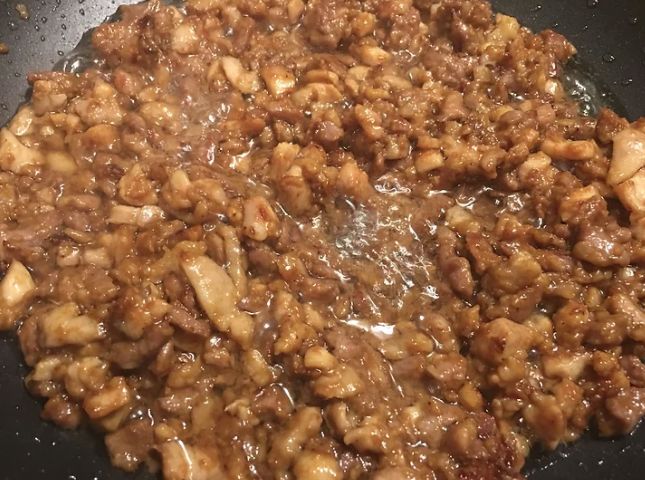
7. Back to the duck and chicken, to cook place the mix into a large cold frying pan then place onto a medium heat. We want to render the duck fat in the mix so slowly cook away until the duck fat starts to render adding additional oil if needed. Continue to cook for approximately 15 minutes or until the mince become golden and crispy. When ready check and adjust the seasoning if needed by adding additional soy or sesame oil. Drain off any excess oil then place the mince to one side and then all that’s left is to cook the noodles and make up the bowls.
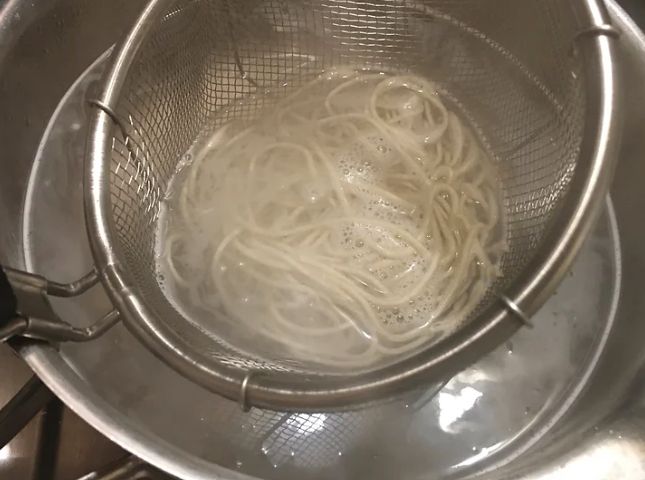
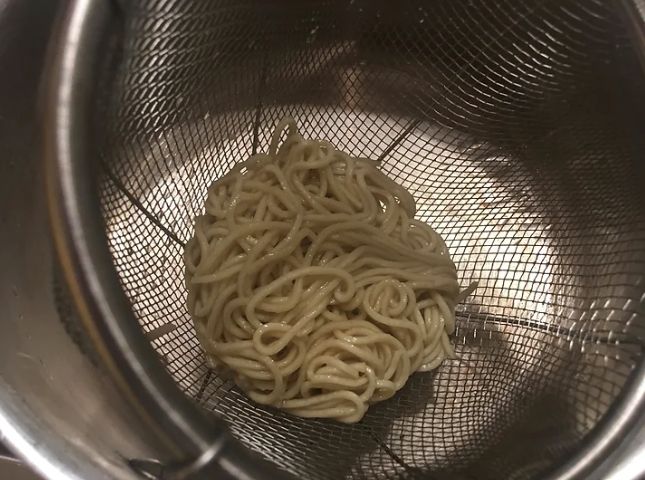
8. Cooking the noodles should pretty much be the very last thing to do before serving, I usually do this at the same time as adding the broth to the bowls but to make it easier to follow we will start finishing the dish with the noodles. Place a saucepan fill with water onto a high heat. When boiling you can either use a tebo (noodle strainer) or just add the noodles per serving to the boiling water then fish out. When the water is boiling add the fresh noodles made the day before and literally cook for 1-1 1/2 mins or until you get the texture you prefer. When the noodles are cooked drain well as we do not want any water to dilute the flavour of the broth.
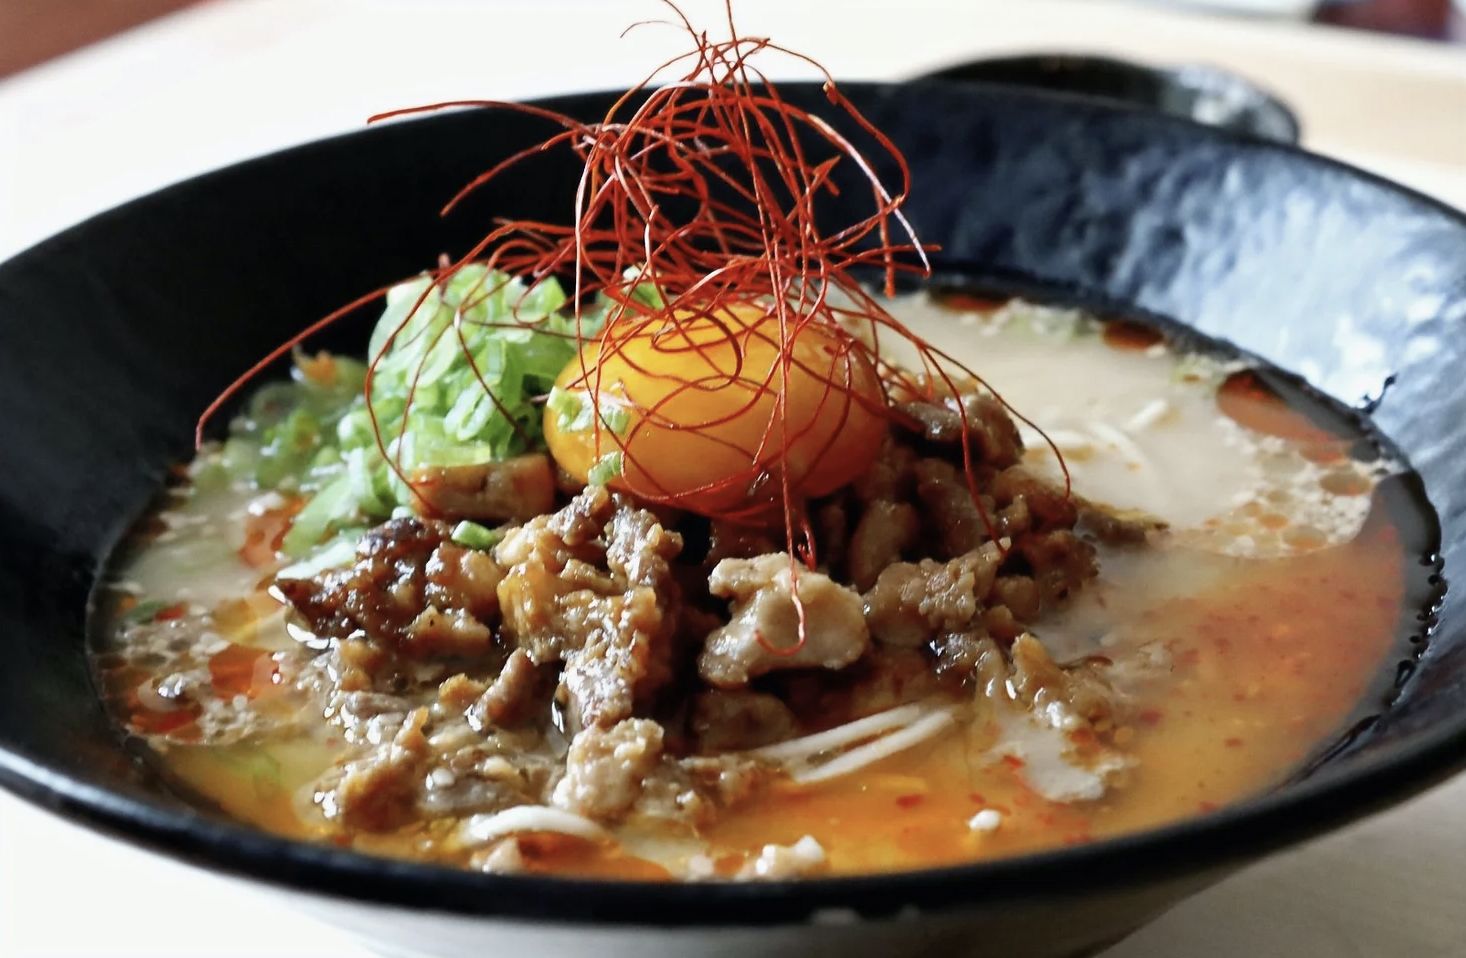
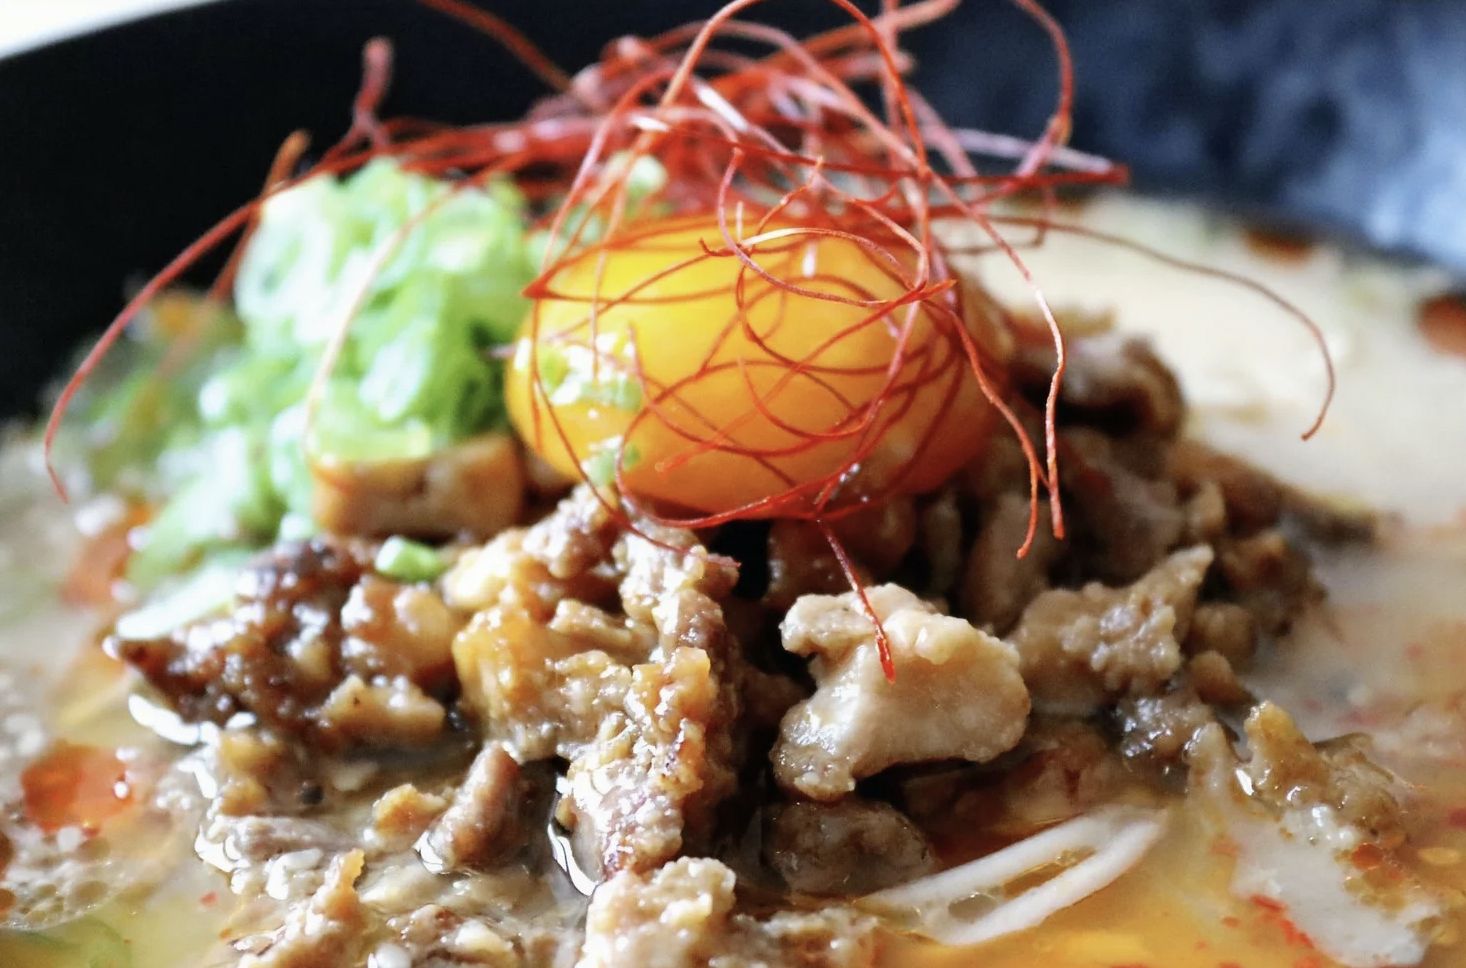
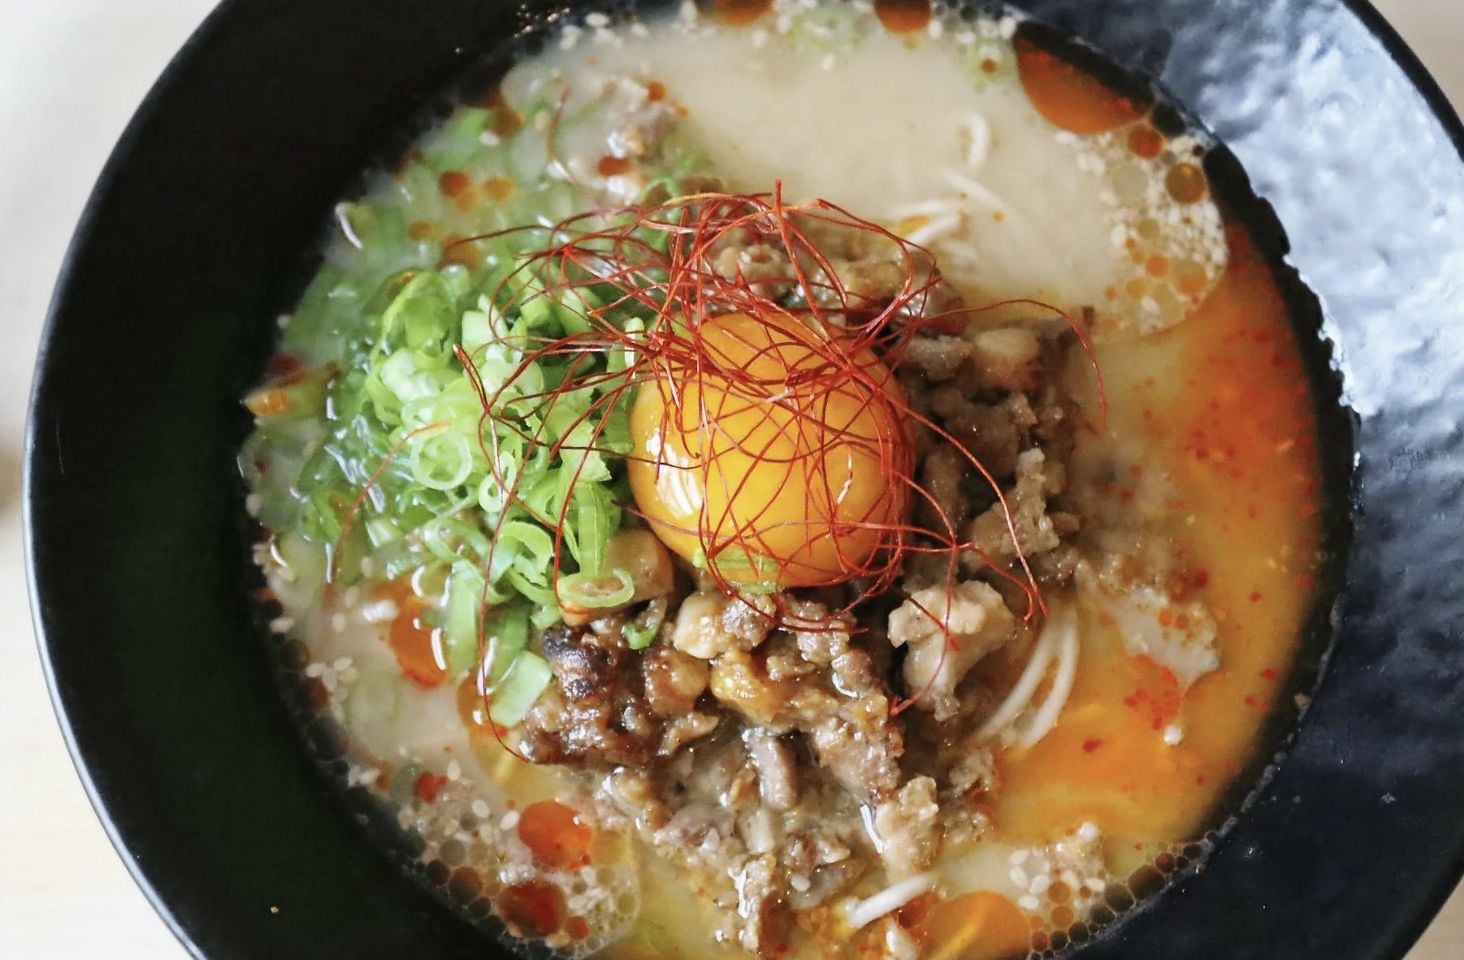
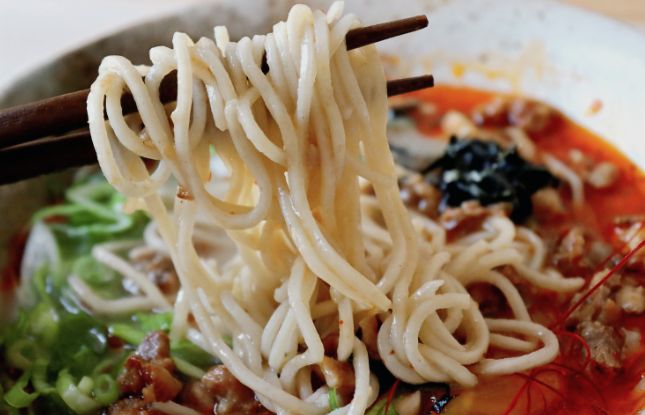
9. Now to make up the bowls, as said previously you kind of want to cook the noodles as you’re making up the bowls. In each bowl add approximately 20ml of miso tare then add approximately 200ml of the hot broth. Mix well then adjust the taste by adding additional miso tare if needed. Carefully add the noodles to each bowl, then fold over the noodles to create a platform for the toppings. Next add a spoonful of the mince into the centre then drizzle around the bowl with some of the chilli aroma oil. Finish with a handful of sliced spring onions then place the cured egg yolk right on the top. Take a deep breath and chase that noodle dream! Hope you enjoy this the process of this lengthy, yet delicious spicy tonkotsu ramen!
Additional notes
I almost don’t want to add any additional notes as this recipe is so damn long already! However, as for the noodles you can make life much easier by simply buying dried ramen noodles but they will never taste as good as home made! For the tonkotsu broth use a pressure cooker to speed things up if you prefer and for the toppings you can alternatively use chashu or minced pork. The whole ramen process is ridiculously lengthy but I sometimes enjoy the whole process and serving rather than eating it myself…This bowl was delicious and I’m sure when you try it you will realise that it was all worth the effort and that you have become a ramen nerd! Have fun and peace!

