Intro:
Method:
Udon Noodles:
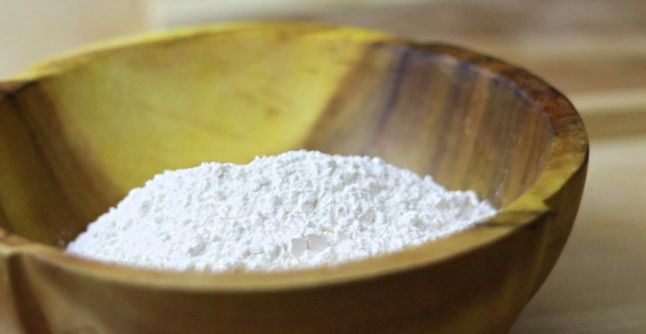
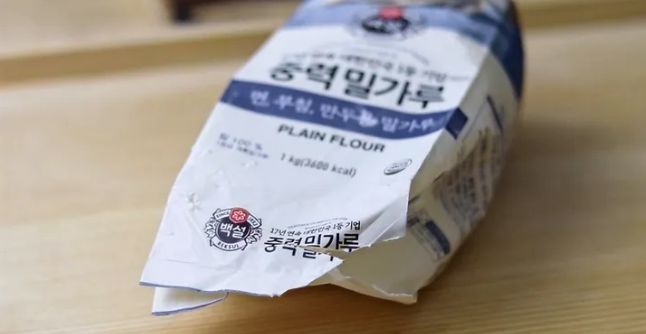
1. To make the noodles, the flour I used for making this batch of udon was a Korean branded all purpose flour which worked perfectly for udon. I prefer using niche types of flours for noodles as I find store bought flour is sometimes dyed and does not do the noodles justice, however, store bought plain flour will still work just fine. I will leave an image of the flour below as I would highly recommend using this brand if you can get hold of some. To begin making the udon, in a small measuring jug add 170ml of cold water then to the water add 15g of salt and whisk well until all of the salt has dissolved.
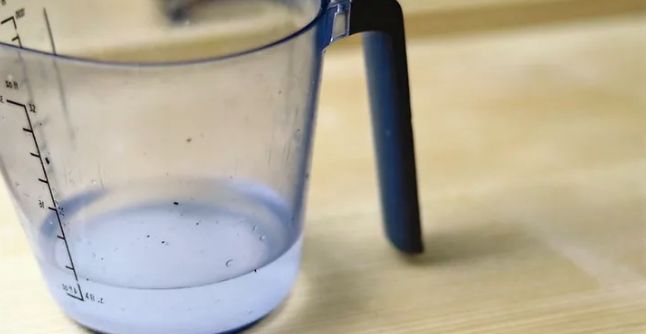
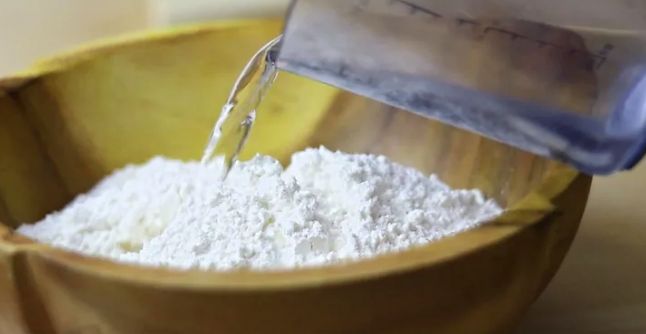
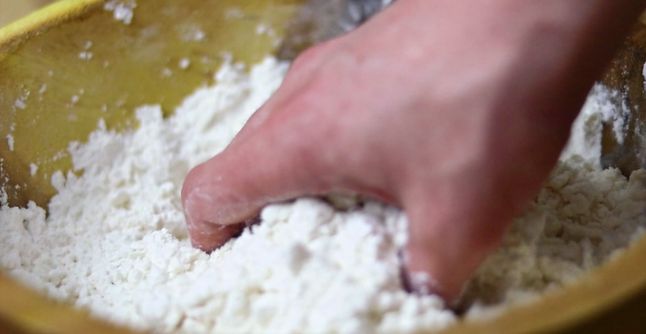
2. Next in a large mixing bowl add 400g of plain flour then slowly add the salt water mixture whist constantly mixing vigorously with your hands. Continue to mix well until all of the salt water is added to the flour. We want to gradually add the liquid to the flour as this will enable all of the flour to become well hydrated. When ready begin to kneed the dough by hand for 10-15 minutes until 1 cohesive ball of dough is formed.
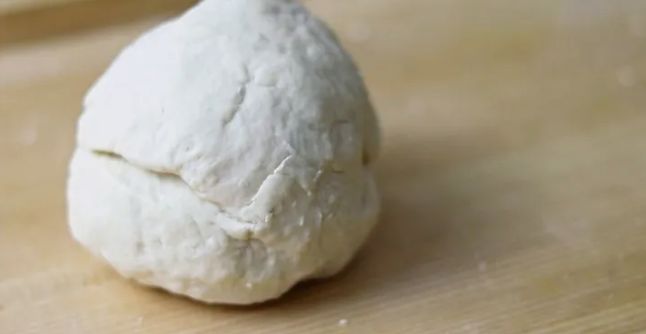
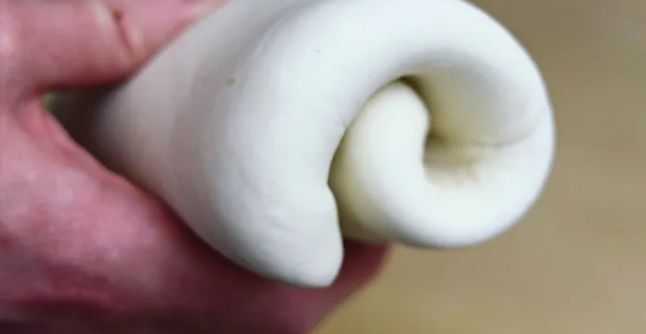
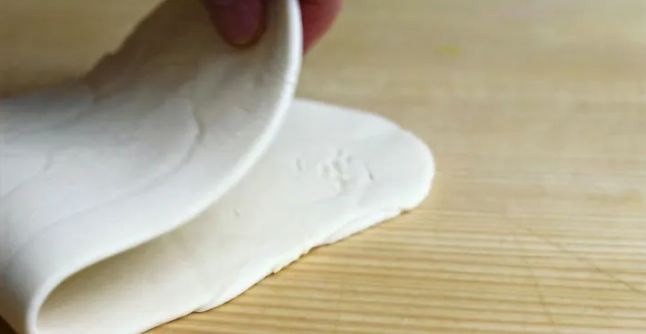
3. Now that we have a cohesive ball of dough cover with cling film and allow to rest for 30 minutes. After 30 minutes place the dough onto a worktop then roll out to form a fairly flat piece of dough. When flat roll up the dough into a roll of dough then roll out flat again, this time rolling from the opposite direction. Roll out the dough flat again and repeat this process 3-4 times. By rolling out the gluten in the dough this way will enable us to have a much Bouncier udon in the end. When ready roll into a cylinder one last time then cover again allow the dough to rest for 2 hours.
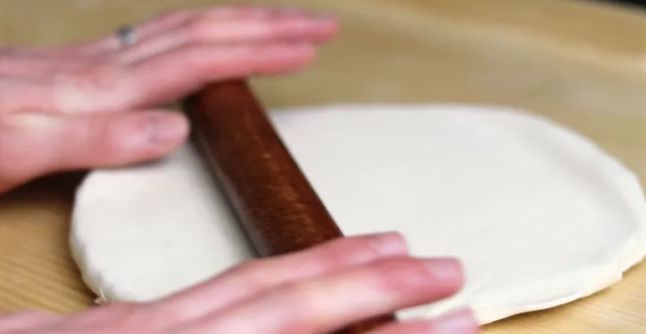
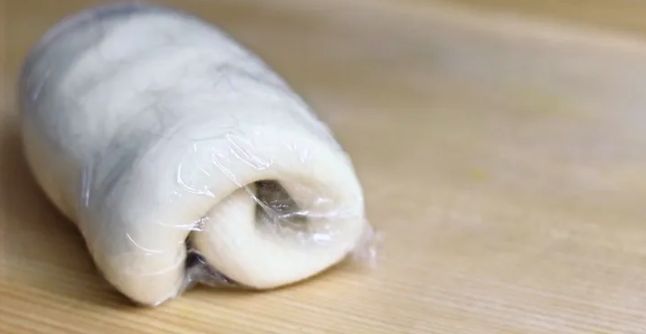
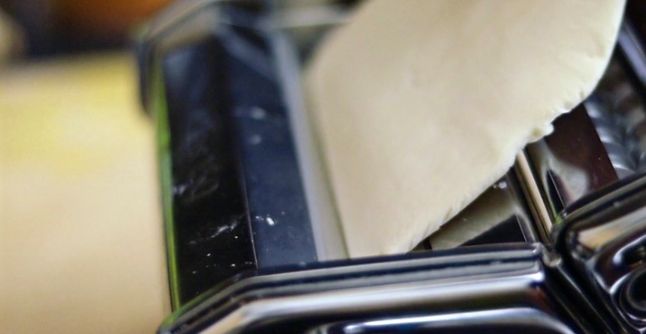
4. After 2 hours of resting we can now begin to roll out the dough. To aid in this I opted to use an atlas pasta machine to make things easier, however, the dough can also be rolled out with a rolling pin. If using a pasta machine start by placing the dough onto a worktop then briefly knead for 3-5 minutes to form a ball of dough. Next, divide the dough into 3-4 equal sized pieces then roll each piece into flat pieces of dough wide and flat enough to fit through the pasta machine.
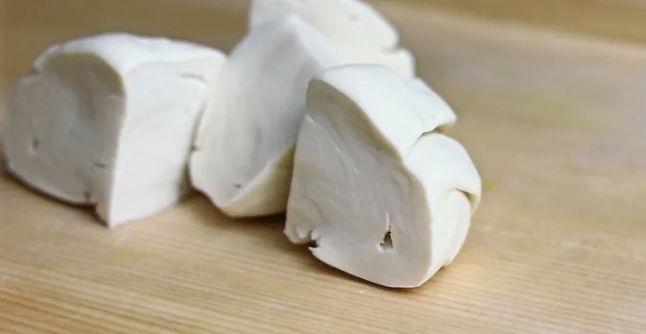
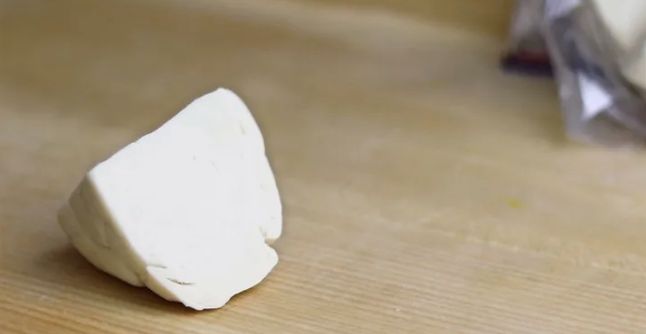
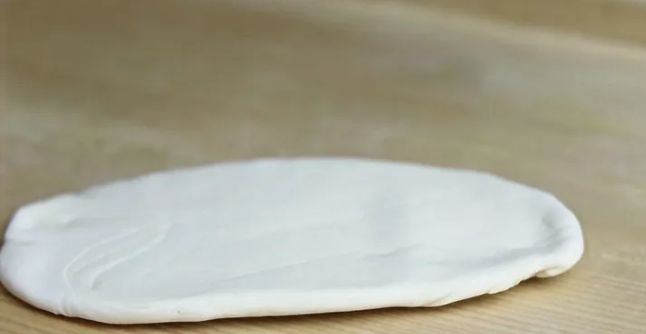
5. When ready, pass the flat piece of dough through the largest setting of your pasta machine (Atlas no. 0). Next fold the dough in half lengthways then roll out the dough flat again. Doing this is known as laminating the dough and again will help ensure a much bouncier noodle. Pass the laminated dough through the widest setting one more time then continue to work through the settings one by one. We are looking for a sheet of dough that is approximately 3mm in thickness.
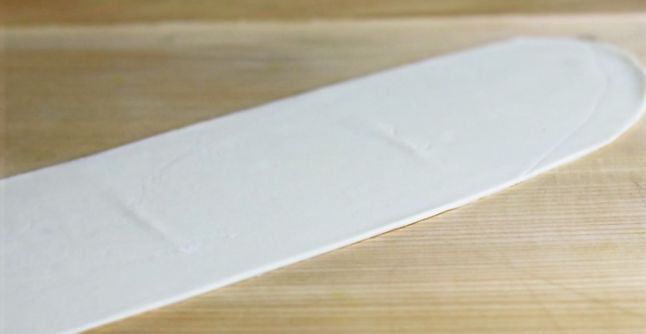
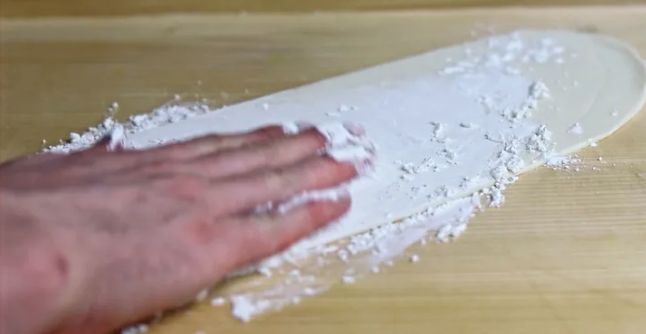
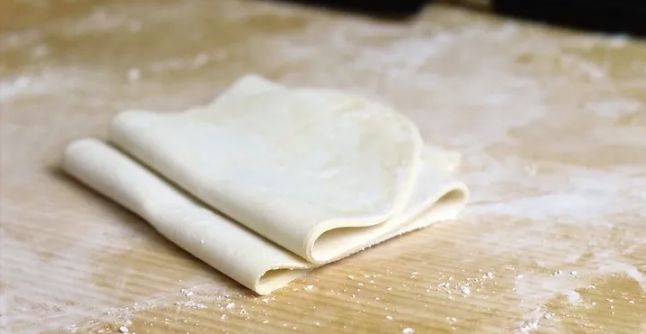
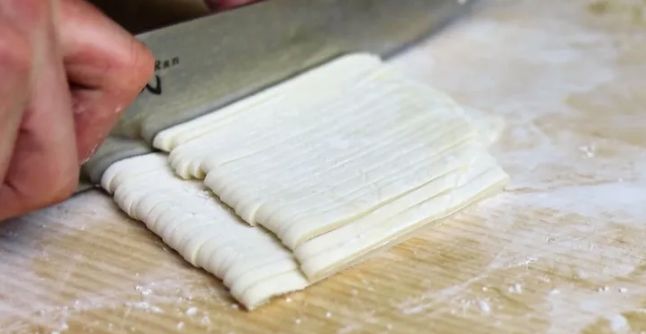
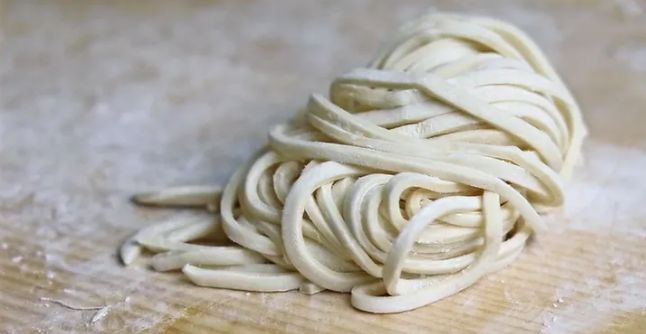
6. At this point the dough is just about ready to be cut into udon. Before cutting, coat both sides of the dough generously with cornflour. Next fold and over lap the sheet of dough 3 times then cut the dough into your desired sized udon. I usually cut the udon slightly thinner as they will expand when we boil the noodles. When cut store the noodles in a container lightly dusted in cornflour and cover. Place the noodles to one side and we can now make up the broth.
Dashi Stock:
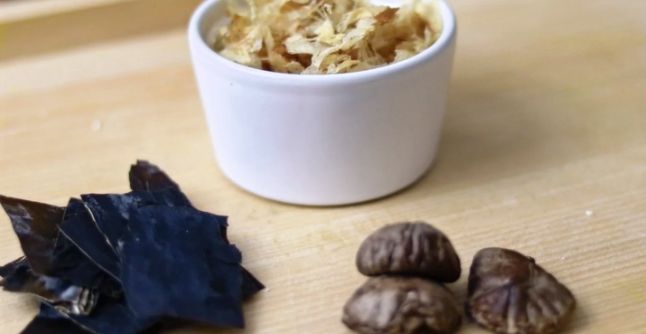
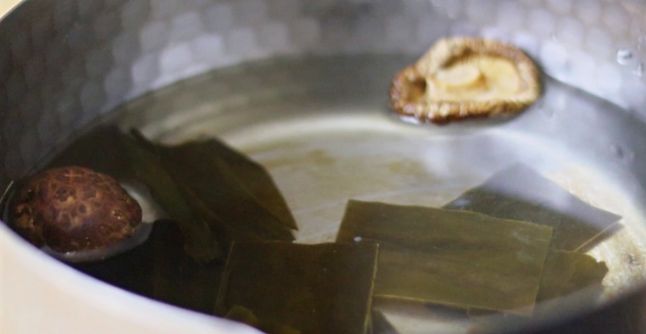
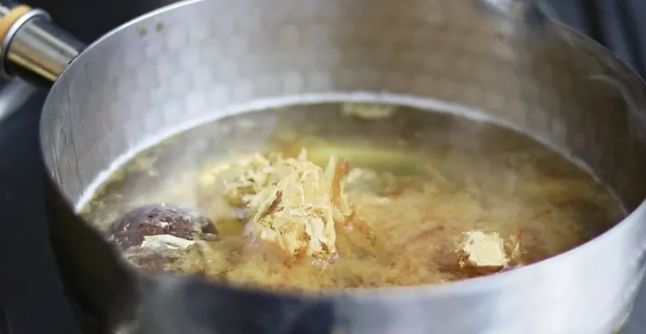
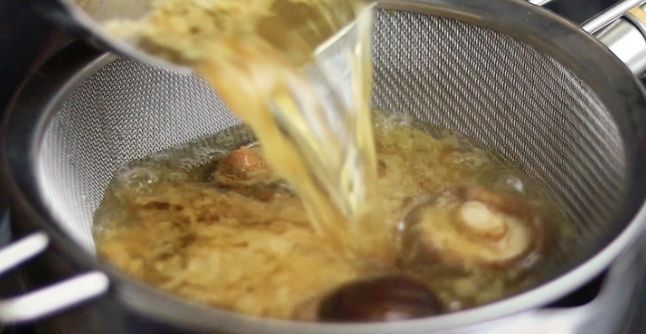
7. Now to make dashi, the dashi will form the base to the curry broth. Add 20g of kombu and 4 dried shiitake mushrooms to a pan then add 400mls of water. Allow the kombu and shiitakes sit in the water for 15 minutes then place onto a medium heat. Slowly bring the stock up to 70°c then when ready remove the kombu from the pot. Next add 20g of bonito flakes then bring the stock up to a simmer. Simmer for 5 minutes to infuse then pull the stock from the heat and allow to sit for 10 minutes to steep. Finally, pass the stock through a fine sieve into a container and place the dashi to one side for now.
Curry Broth:
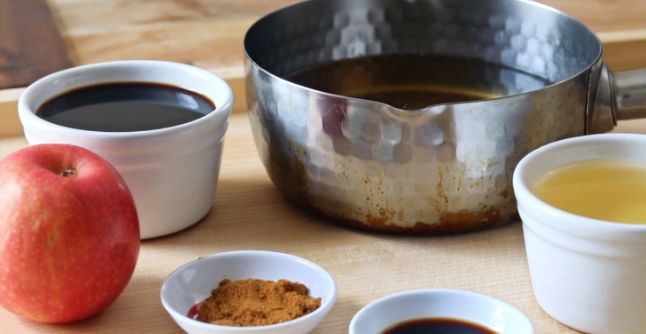
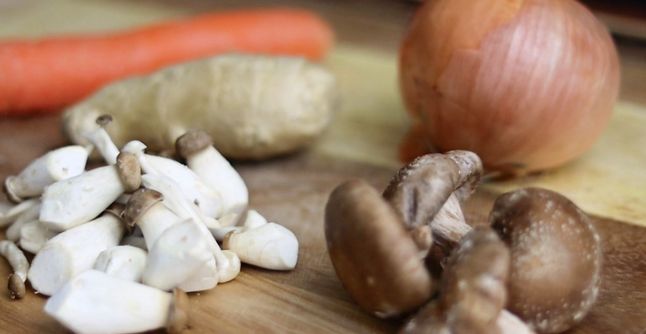
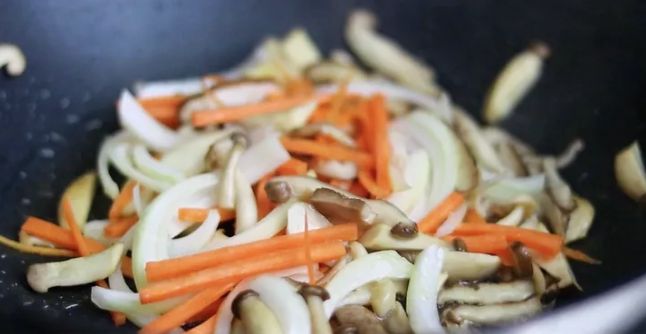
8. Now that the dashi is made up we can move onto finishing the curry broth. Start with the vegetables, slice 100g of various wild mushrooms into bite sized pieces, roughly slice 1/2 white onion, cut 1 carrot into a julienne and mince 10g of ginger.
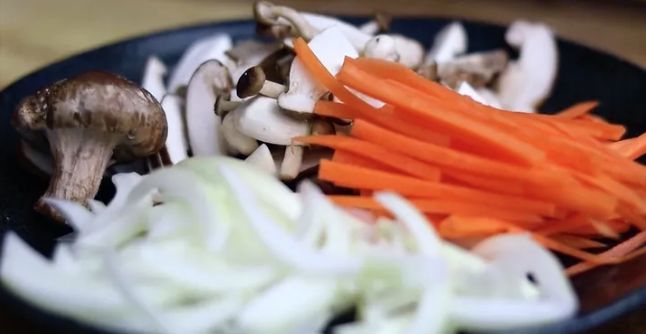
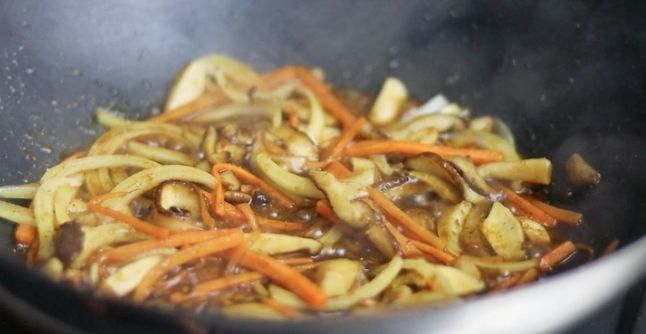
9. Next, place a large saute pan onto a high heat then add a touch of oil. First add the mushrooms and fry until golden. Now add the sliced onion, carrot and ginger and continue to fry for a further 2-3 minutes. When ready add 1 tbsp mild curry powder, 2 tbsp of white sugar then deglaze the pan with 30ml mirin and 30ml of light soy. Finally add all of the dashi stock made earlier then bring the broth up to a boil.
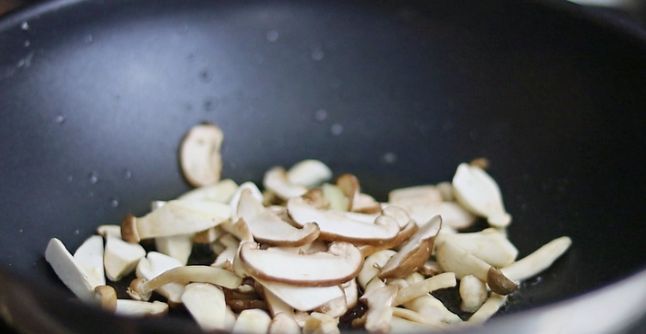
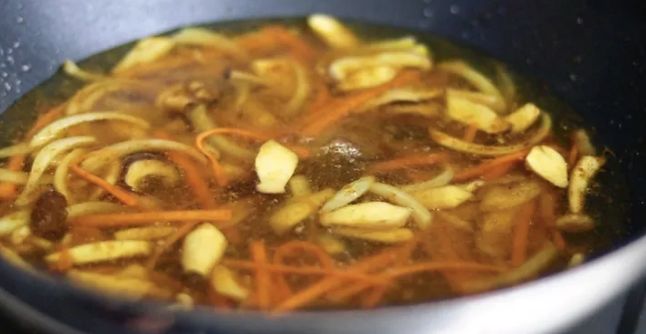
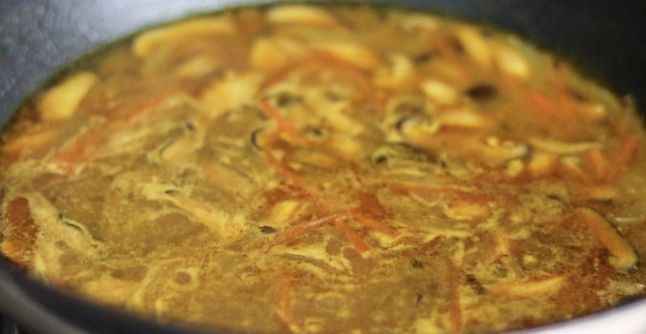
10. When boiling turn the broth down to a low heat then slowly simmer and skim when needed for 20 minutes. After 20 minutes finish the broth by adding 1 grated apple and 1 tbsp of white miso paste. Mix well to emulsify the miso broth then keep the broth is ready.
Soy Eggs (Optional)
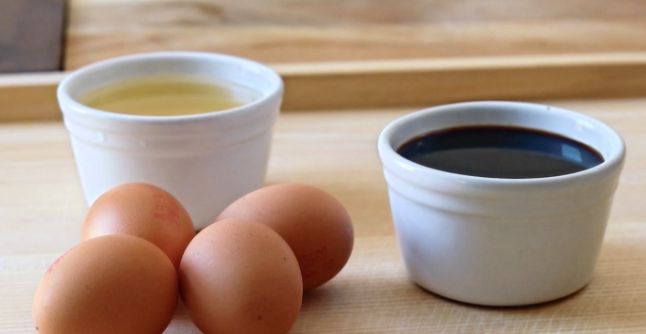
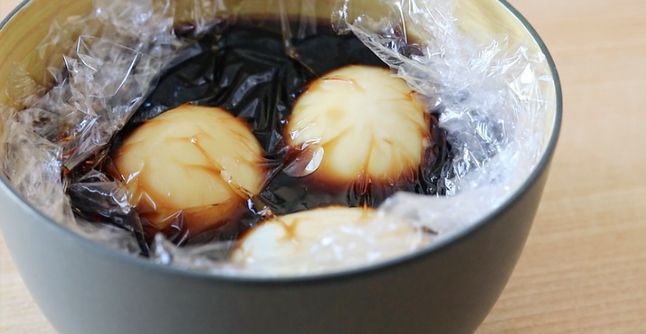
11. This next stage in the recipe is totally optional as various toppings can be used for Kare udon. Start by adding 4 eggs to boiling water and cook for 6 minutes. When cooked chill the eggs in ice water and completely chill. When ready peel the eggs then add to a small bowl then cover with 75mls of light soy and 75mls of mirin. Cover with cling film and ensure the eggs are complete submerged. All the eggs to cure from 30mins to 4hrs depending on how far you want to cure the eggs.
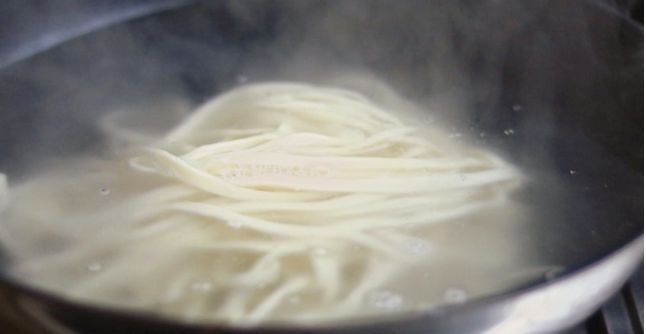
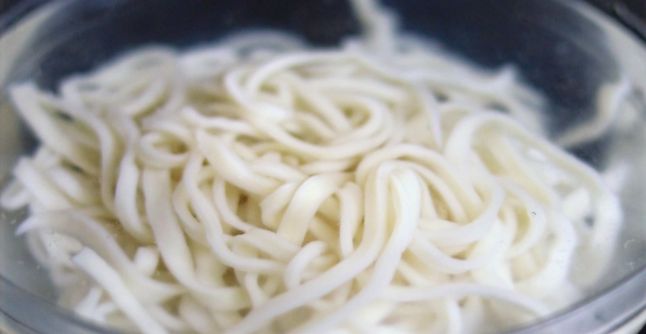
12. All that’s left to do now is to cook the noodles, add the udon in batches to a large pot of boiling water then cook for 8-12 minutes thickness depending. Ensure to occasionally stir the noodles whilst cooking then when ready carefully remove and wash the udon in ice water. This step will help remove some of the salt content and to stop the cooking process. When ready drain the noodles and briefly reheat and we are now ready to serve.
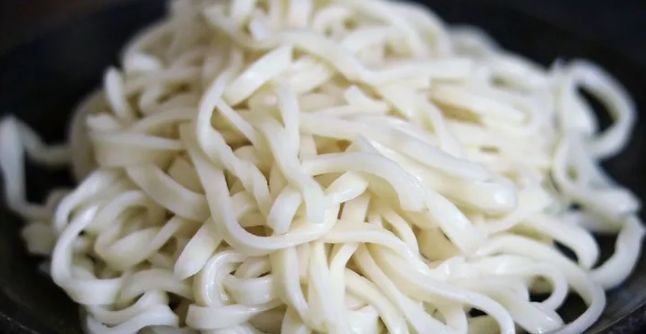
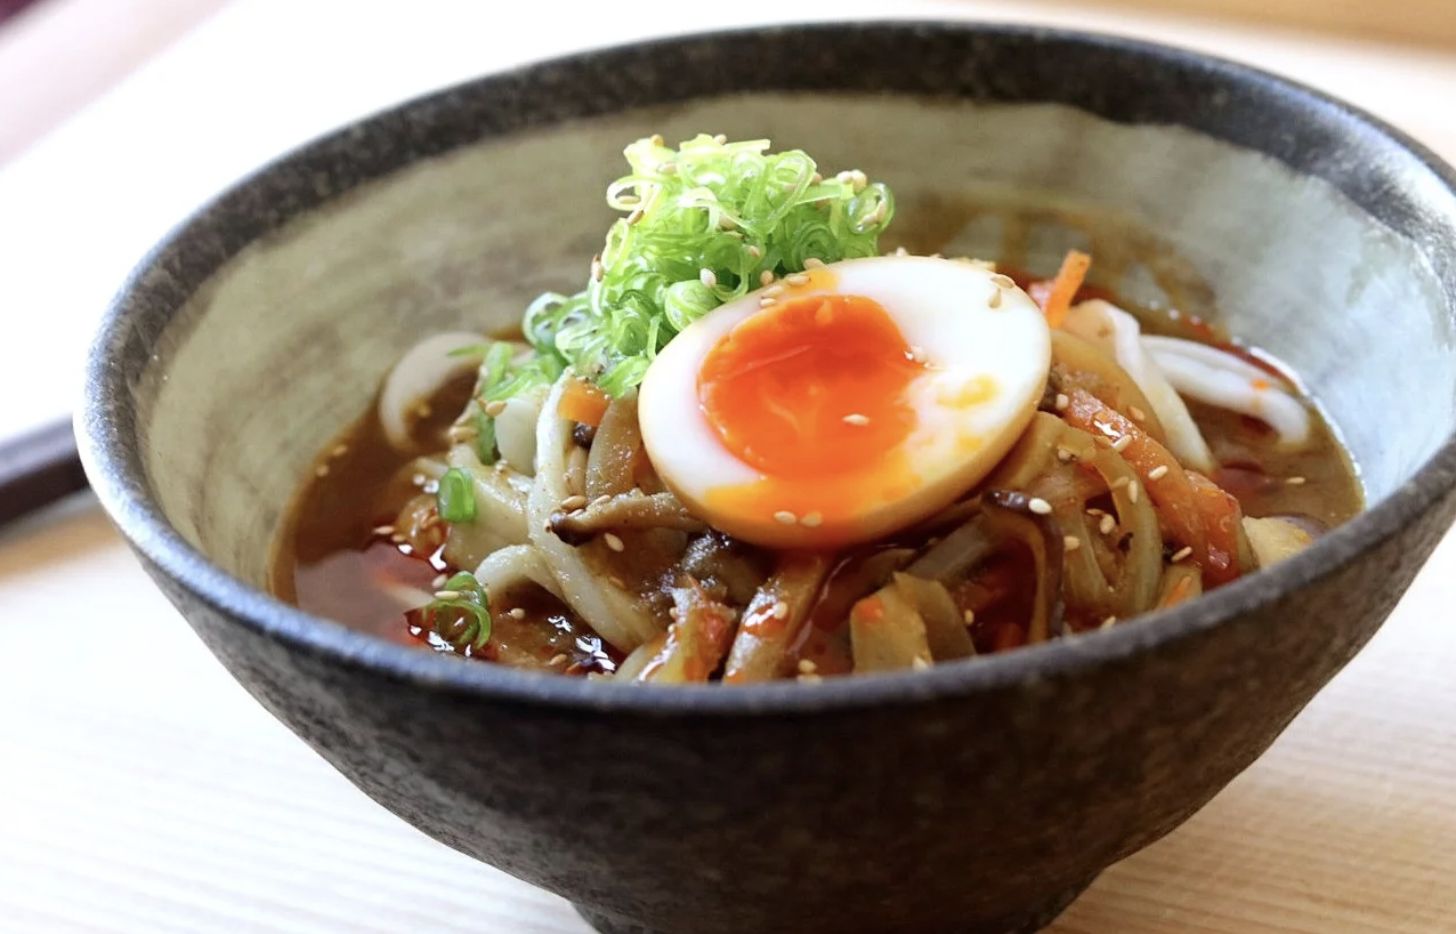
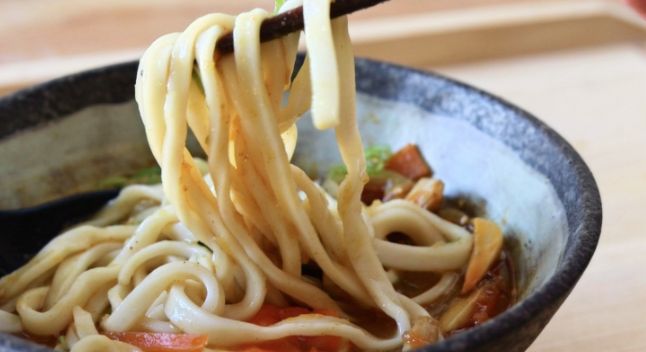
13. To serve divide the udon into bowls then generously ladle the curry broth over the top. Finish with a soy egg, some sliced spring onions, sesame seeds and I personally like a drizzle of chilli oil…
Additional notes
Naturally you could skip the whole noodle making process down and simply by store Brough udon if you wish. As for the broth, then various proteins or other vegetables could also be used and instead of dashi as a base then chicken, veg or even fish stock would also work just as well. I hope you like this recipe and as always peace!

