Intro:
Method:
Filling:
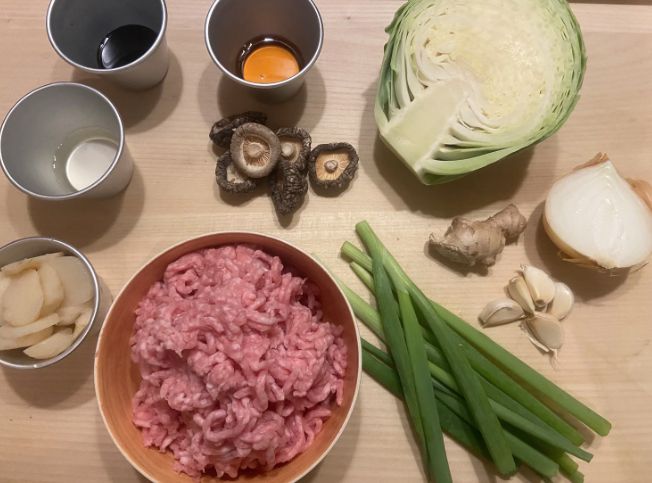
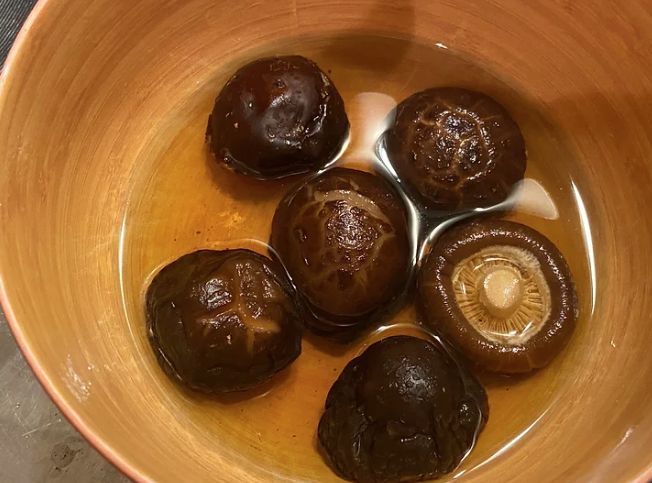
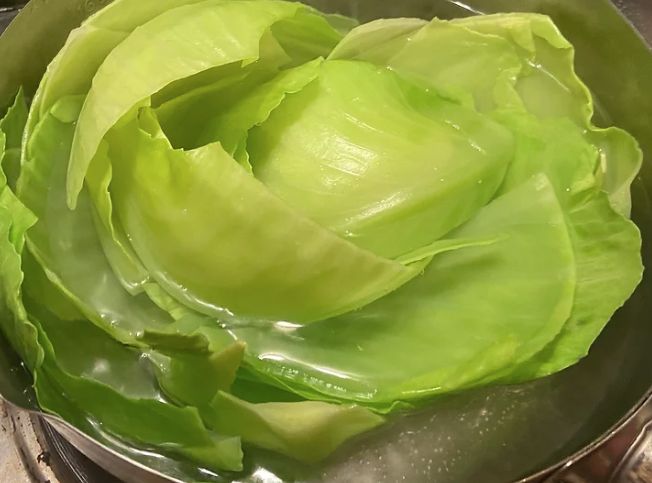
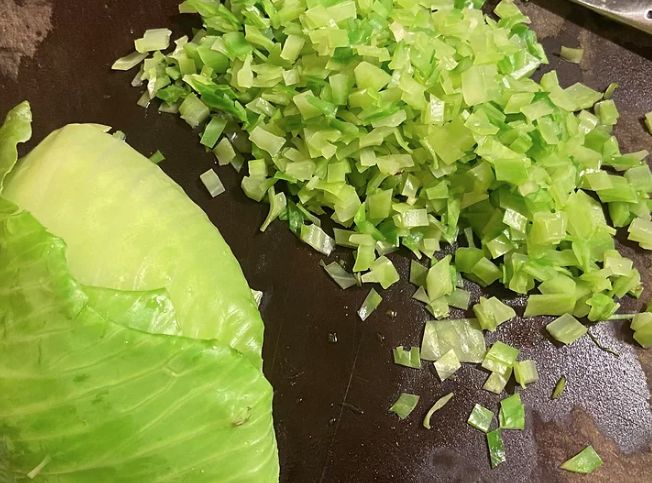
1. Let’s start off this recipe by making up the filling for the gyoza. As for fillings then gyoza is extremely flexible as to what to add to them, however, for this recipe I went with a simple pork and cabbage filling with the addition of a little texture coming from some water chestnuts and some shiitakes for an umami hit. Start by adding 8 dried shiitake mushrooms to approximately 100ml of hot water to hydrate. Another ingredient to prepare before making up the filling is the white cabbage. As raw it is quite tough to add to the filling, remove each of the cabbage leaves then add to a a pan of boiling water and blanch for 1-2 minutes to soften. When ready chill to refresh then slice the cabbage leaves into a small dice. When the shiitakes become hydrated, dice these also, saving the water we soaked them in and we can now make up the filling.
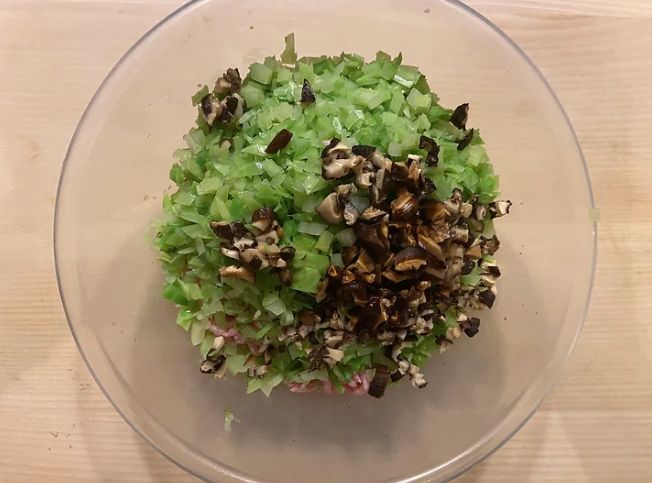
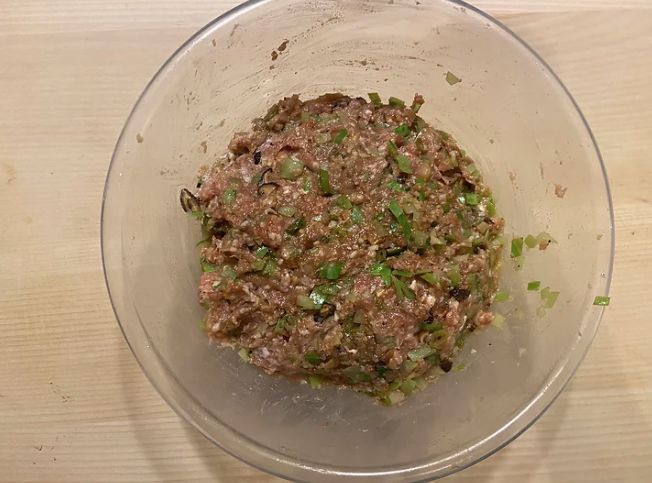
2. Now add 300g of pork mince to a large mixing bowl, add the diced shiitakes, 1/2 finely sliced white onion, all of the diced blanched cabbage, 5 minced garlic cloves, 5g minced ginger, 5 minced spring onions and 100g of minced water chestnut (optional). Next season the filling with 2-3 tbsp light soy, 2 tbsp sesame oil, 2 tbsp sake and a pinch of salt and black pepper. Mix the filling well then gradually add the shiitake stock or water to make the filling slightly looser. We are looking for a filling that is neither too wet or to dry to make a more juicy dumpling (refer to image below). When the filling is ready cover and store in the fridge until ready to use.
Gyoza Wrappers:
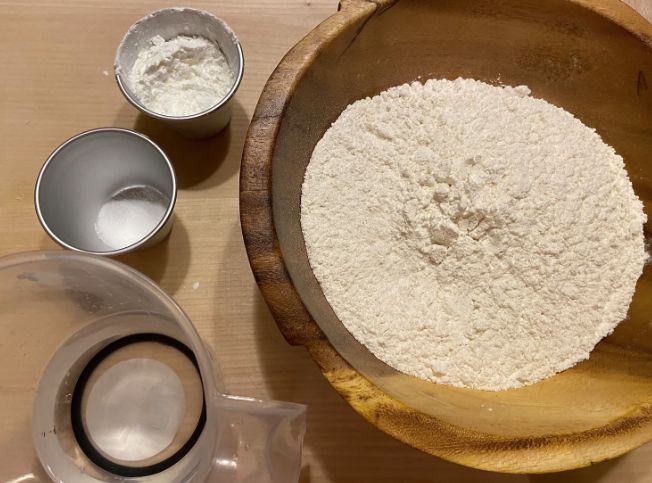
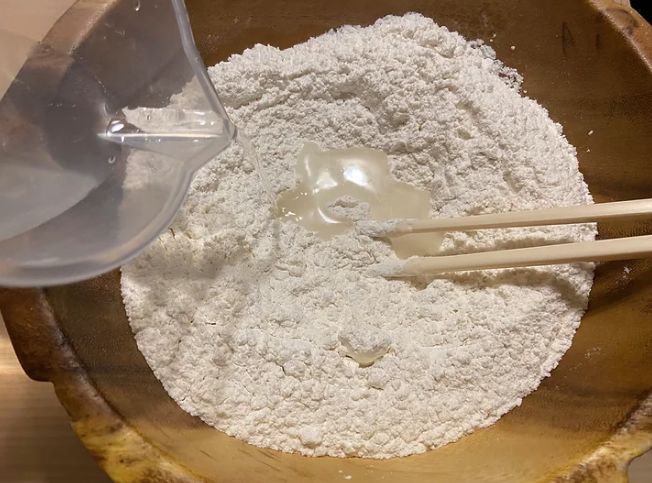
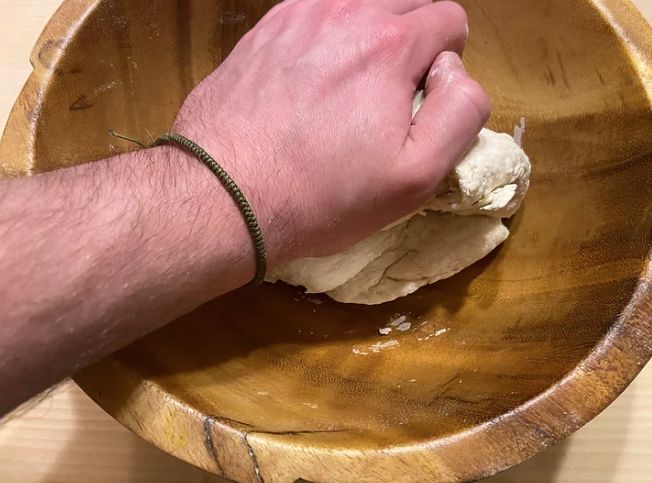
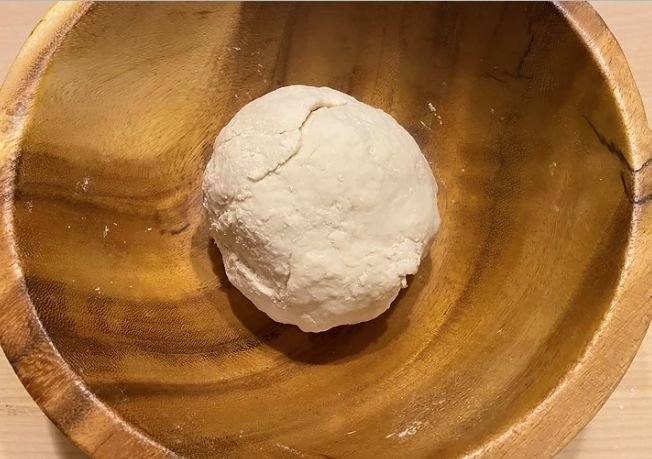
3. Now that we have our filling we can move onto making the gyoza wrappers. You can use frozen round wrappers if you like, however, this is how you make them and the texture is way better homemade. Start by adding 400g of dumpling flour or a high protein flour such as breadflour to a large mixing bowl. Next in a separate jug add 210g of water and 1 tsp of salt then whisk until the salt dissolves. Now gradually add the water to the flour whilst mixing constantly (I like to use chopsticks for this). When all of the water has been added, begin to knead the dough together by hand until a rough cohesive ball of dough is formed. When ready cover the dough in cling film and allow to rest at room temperature for 60 minutes.
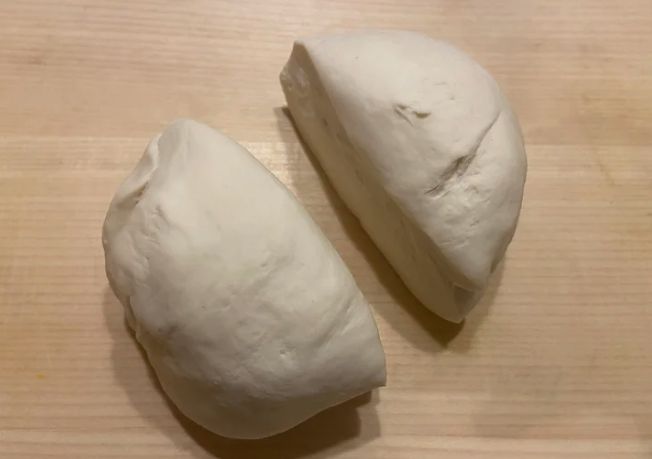
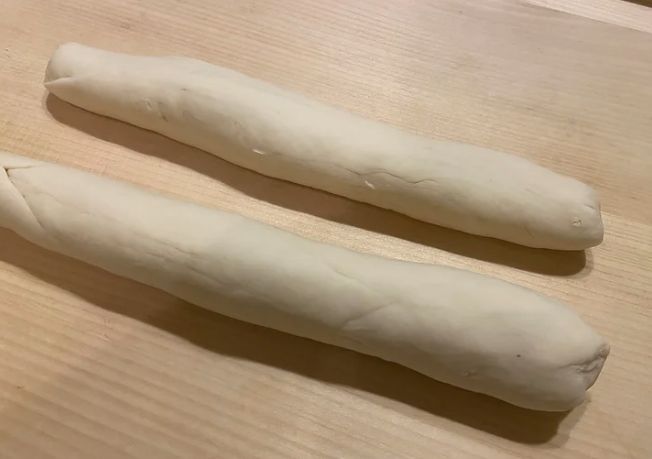
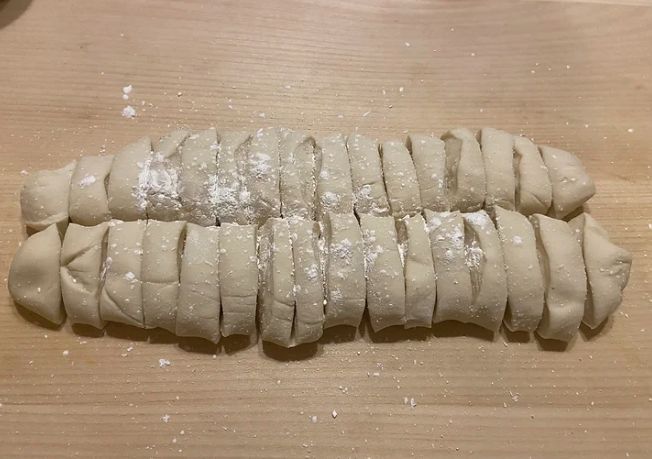
4. After 60 minutes of resting the gluten in the dough should be much more active making it easier to make up the wrappers. Remove the dough then place onto a worktop. Briefly kneed the dough again for 5 minutes until completely smooth. Now divide the dough into two equal pieces then roll each of the pieces into 2 equal sized logs of dough approximately 1 inch in diameter. Then using a knife cut the dough into 32 equal pieces, each one weighing approximately 16-17g each. When cut, dust the dough with cornflour then cover with clingfilm and place to one side and we can now start to make gyoza.
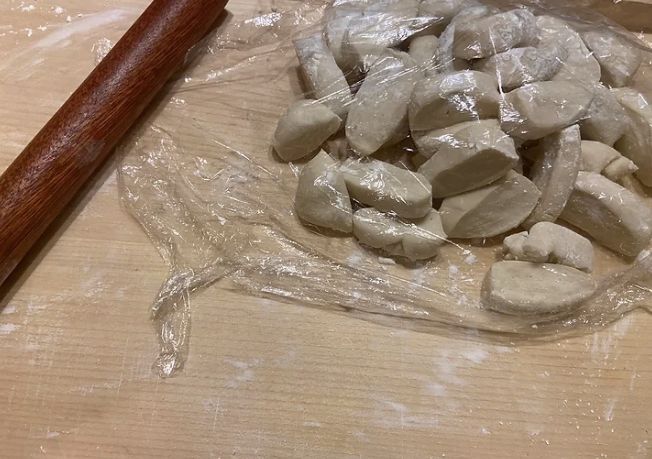
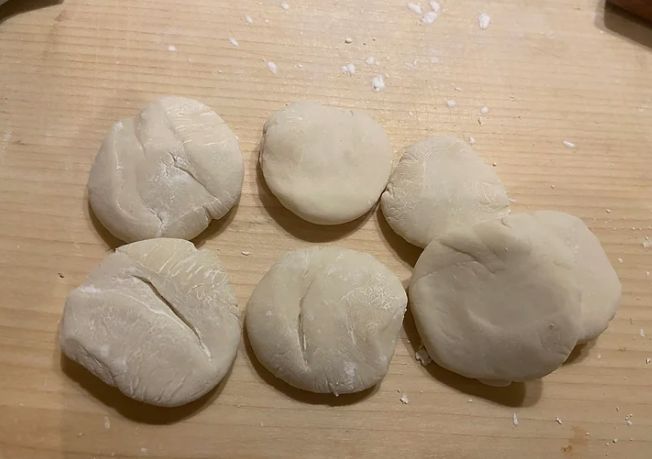
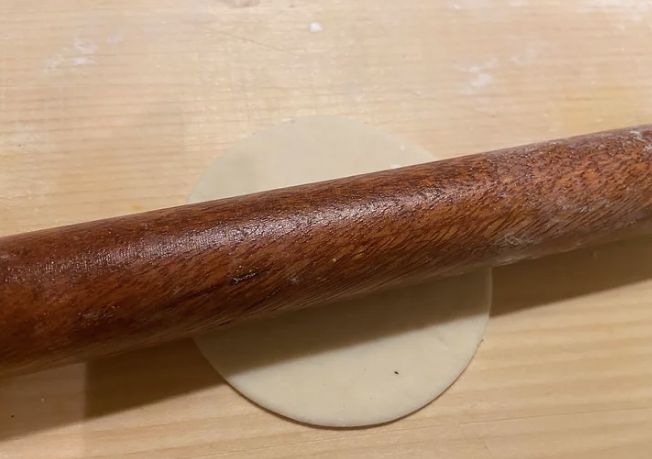
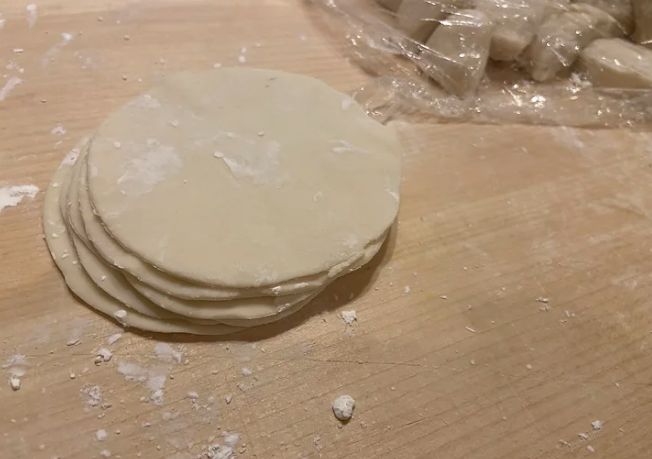
5. When making gyoza I like to make up a bunch of wrappers at time then fill and fold them, however, if your new to folding gyoza make 1 up at a time and after a few you will soon get the hang of it. Take out a hand-full of the small pieces of dough then shape each one into a small ball. Flatten each piece of dough using your palm to form flat disks. Now working with one disk at a time use a small rolling pin to roll out the dough to form a thin circular piece of dough that is approximately the size of your palm and we now have our wrapper. Repeat this for each piece then stack a bunch of the wrappers on top of each other dusting each one lightly with cornflour.
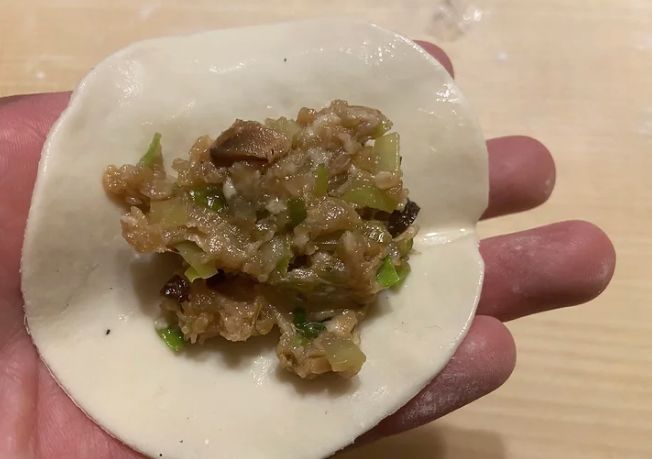
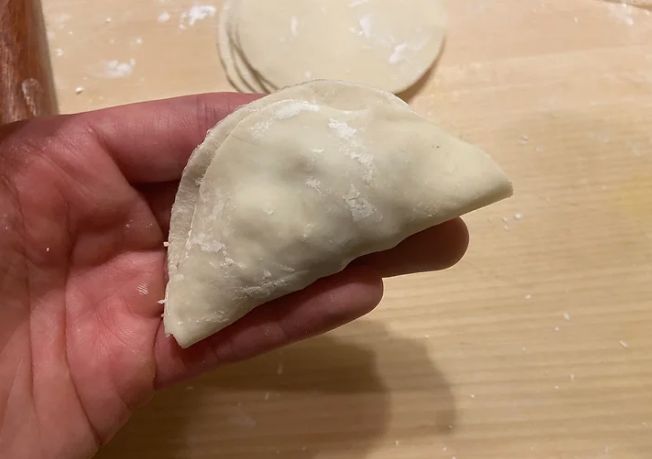
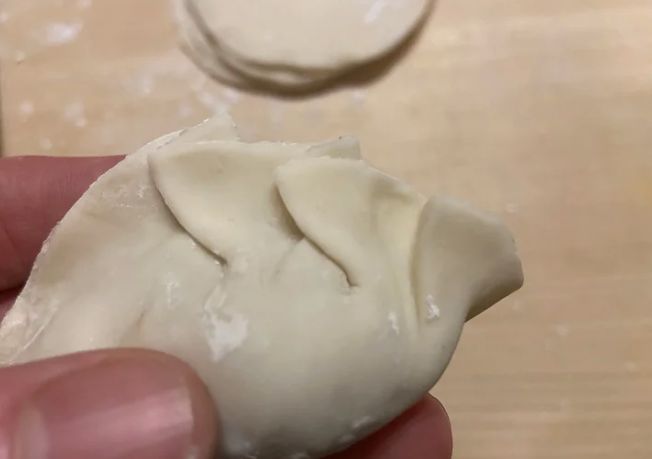
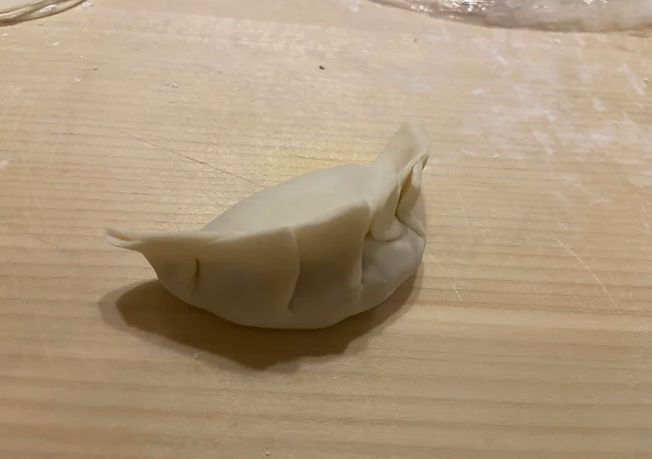
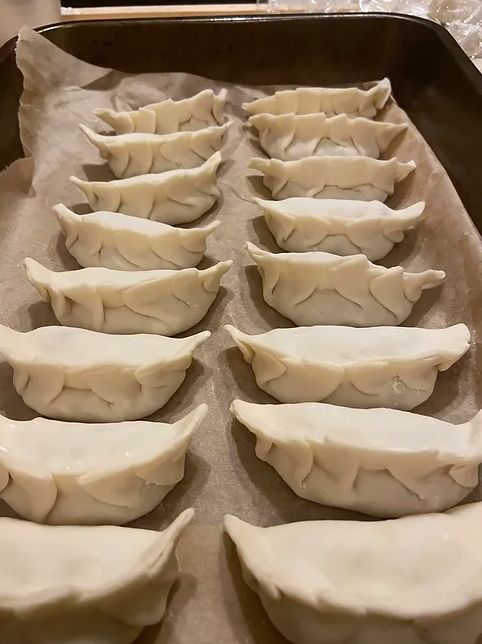
6. To fold the dumpling simply take one of the wrappers and place approximately 2 tsp of filling into the centre. Next using a touch of water wet your finger and brush around half of the dumplings border making it easier to pleat. Fold the dough in half to form a crescent then using your two thumbs and index finger make 6 even pleats going along the opening so that it seals together (refer to image below). When ready shape the top of the pleated side to make that infamous gyoza crescent shape then we have our gyoza. If pleating dumplings is new to you then simply pinch and seal the wrapper together rather than pleating to make things easier. Ensure there are no openings within the wrapper and it is tightly sealed then place the gyoza onto a tray. Repeat this process for all of the wrappers and im sure after 32 attempts you will get the hang of it.
Sesame Dipping sauce:
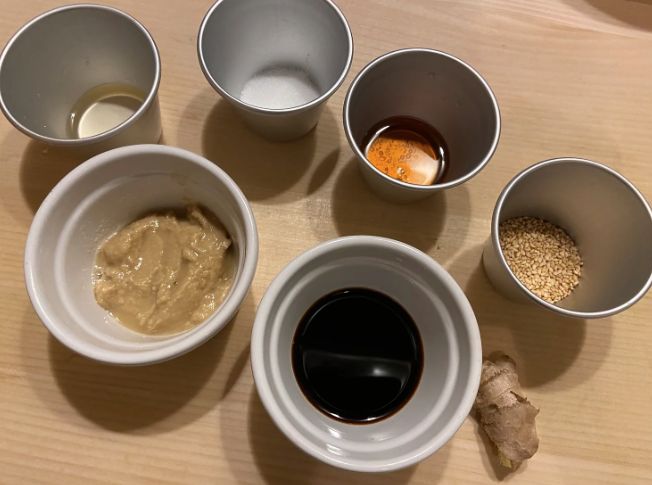
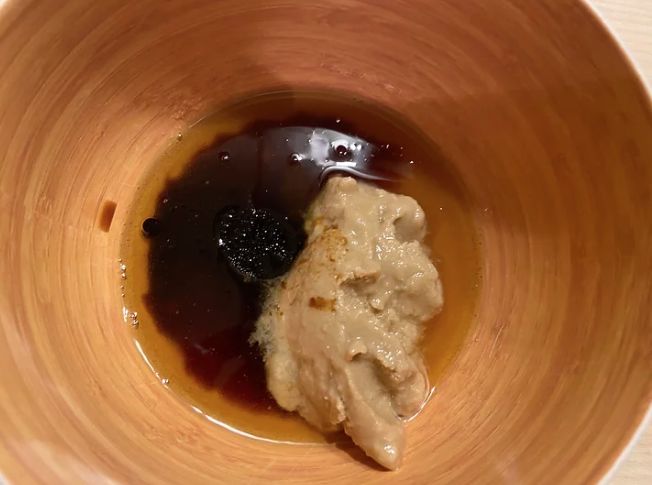
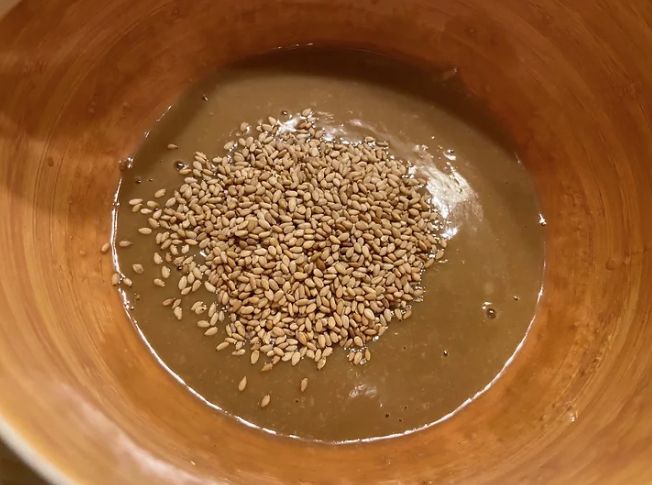
7. As for as dipping sauces go, then there are so many to choose to serve with gyoza. Soy based, sesame based, chilli oil, vinegar etc…For this recipe though i wanted to create a zingy, rich sesame based sauce using tahini as its base. Honestly this sauce went beyond my expectations and will also work with with lots of various other dishes as well as the gyoza. In a small mixing bowl start by adding 1 tbsp white sugar, 1 1/2 tbsp of sushi vinegar or rice vinegar and 2 tbsp of sesame oil. Whisk well until the sugar dissolves then add 2 tbsp of tahini, 1 tbsp light soy, and 3-4 tbsps of hot water to loosen up the tahini. Next whisk in the tahini until a smooth sauce is made adding additional water if too thick. Finish the dipping sauce by adding 1 tbsp of toasted sesame seeds then adjust the seasoning if needed by adding additional soy, sesame oil and sushi vinegar. When satisfied place to one side and the dipping sauce is ready.
Gyoza Wings:
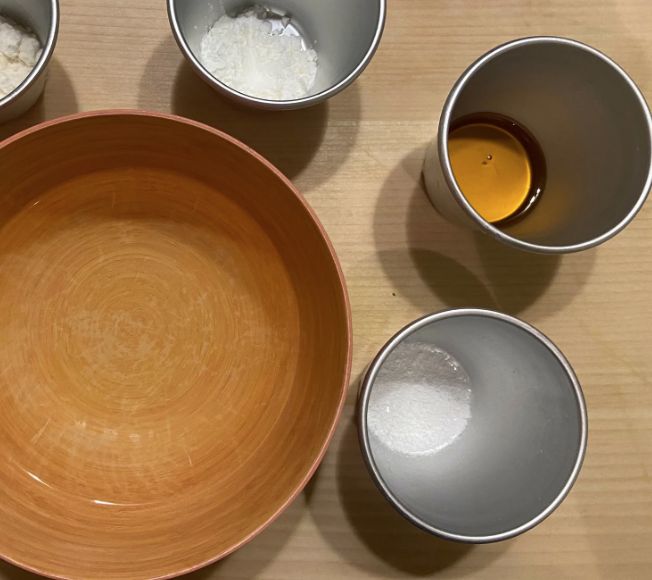
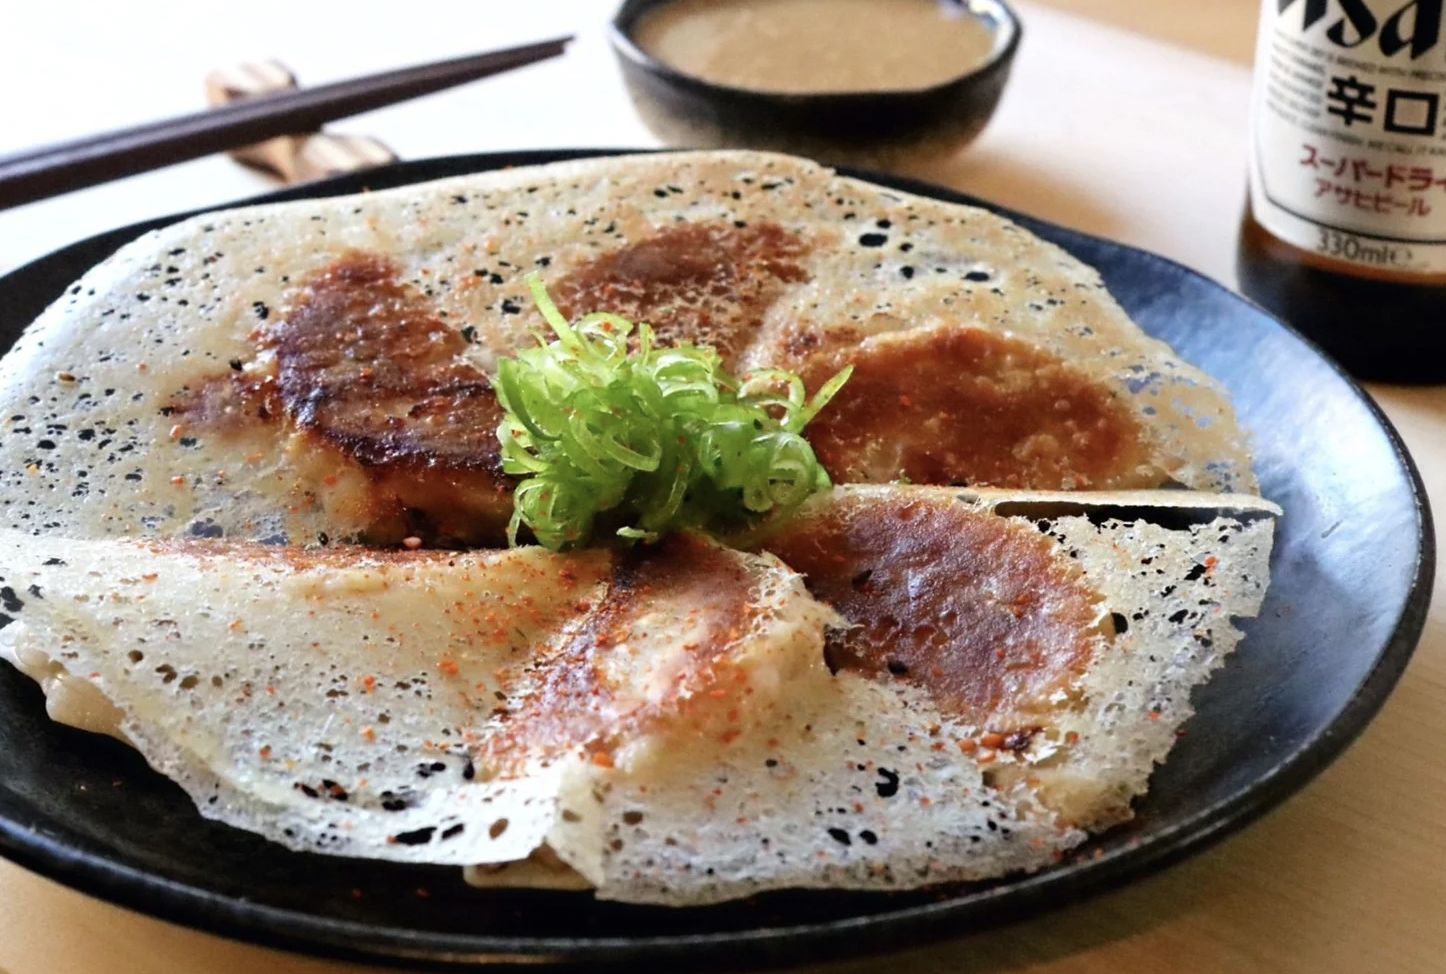
8. Just before we begin to cook the gyoza we want to make up the slurry flour mix that will give the gyoza its wings. In a small bowl simply measure and add 200mls of water, 2 tbsps of plain flour, 3 tbsps of cooking oil or sesame oil and a pinch of salt. Mix well until all of the flour incorporates into the water then set to one side. For a more dense crisp, add a touch more flour and for a more lacy effect add a touch more water and oil. Super simple yet super effective!
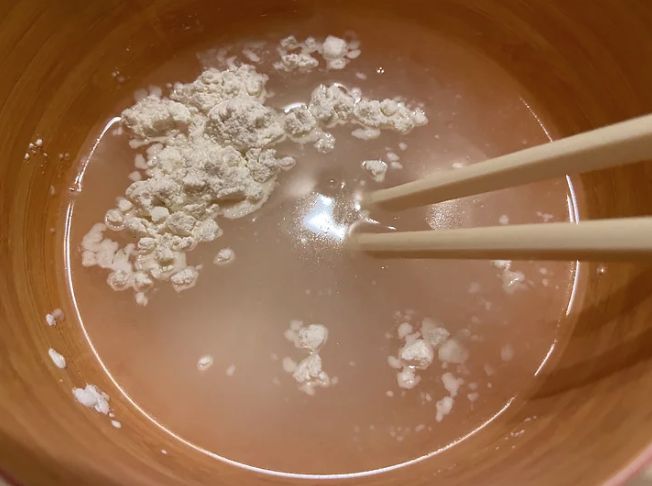
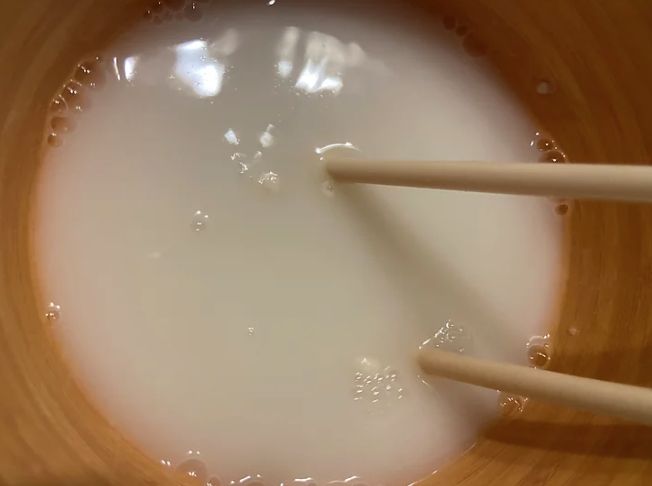
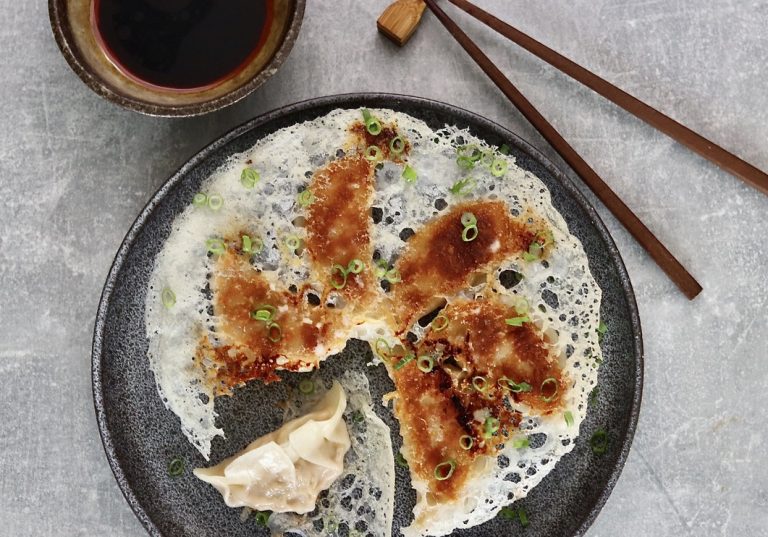
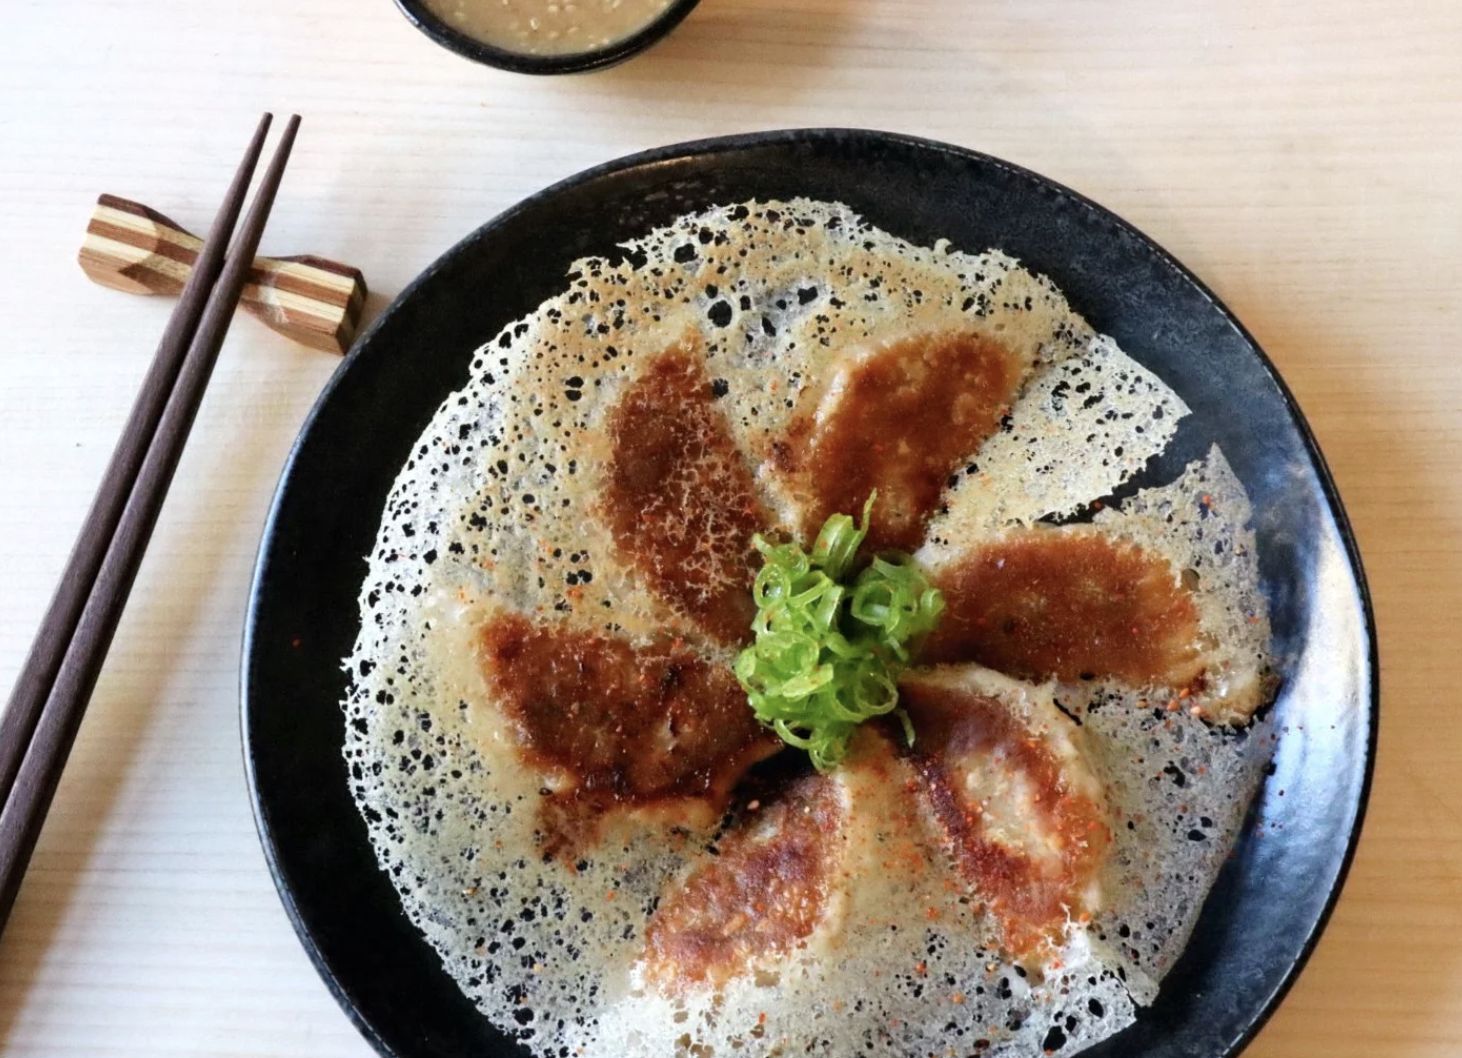
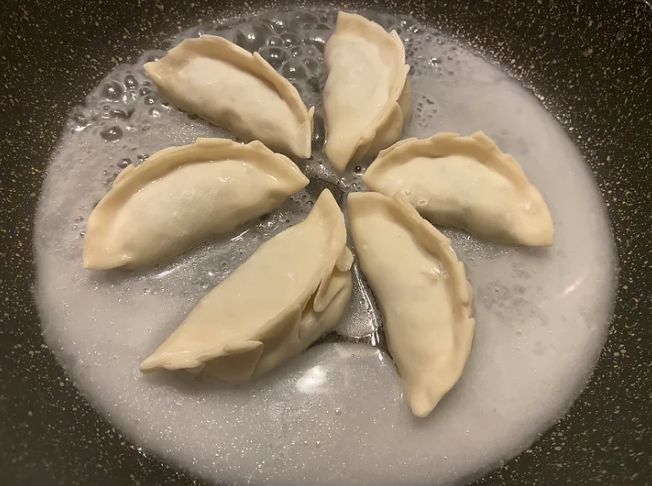
9. Now all that’s left is to bring the gyoza to life, start by placing a large nonstick pan onto a medium to high heat. When hot add a drizzle of oil then add 6-8 of the gyoza flat side down in an arranged star like pattern. Pan fry flat side down for 2-3 minutes or until the base becomes crispy golden brown.
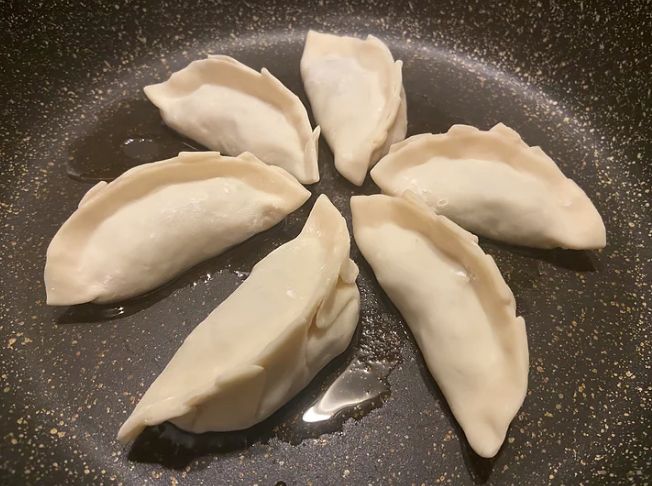
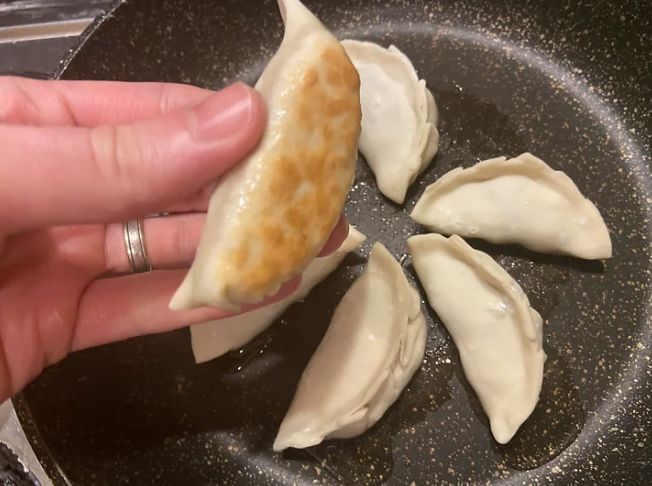
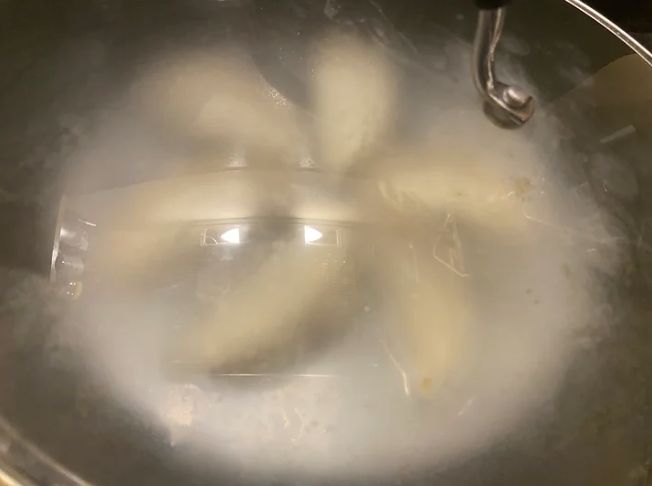
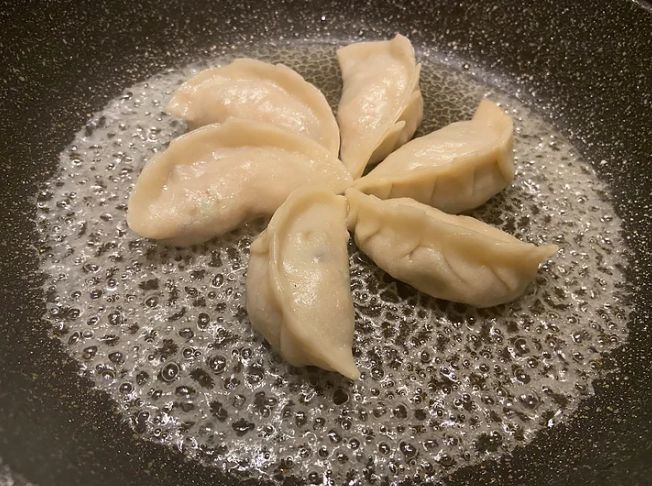
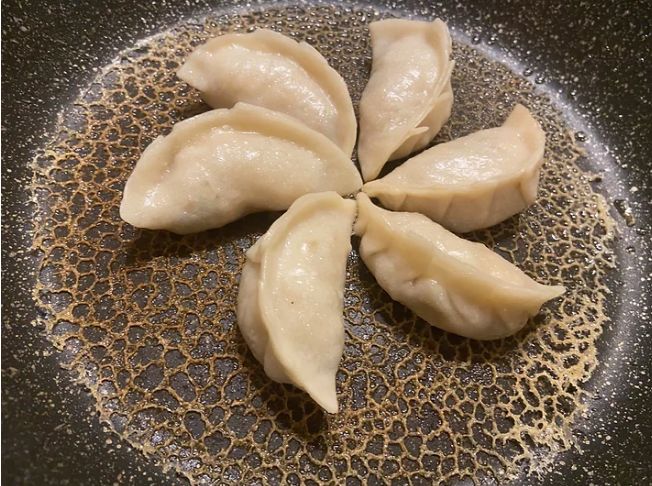
0. When golden, give the slurry of flour a final whisk then when emulsified add some of the slurry around the gyoza to form a thin sheet on the base of the pan. Place a lid over the top of the pan and cook the gyoza for 5-6 minutes. When ready the gyoza skin should be just cooked and slightly shrivelled. Keep the lid off the pan and continue to fry so that the slurry mix begins to crisp up to form a crispy sheet. The slurry may look as if its split but this is a good thing and it will begin to dry and crisp. You can check to see when base is ready by carefully easing it away from the pan using a spatula. When ready the batch of gyoza is ready and we are ready to flip out onto a plate and serve.
Additional notes
To speed things up significantly you can simply use store brought frozen dumpling wrappers or even frozen ready-made gyoza, however, I’d always recommend making up your own. When making up the gyoza also it’s always useful to have some helping hands to assist to speed up the process. As for fillings then you could make up tofu, shrimp, seafood, chicken, and vegetables also. I think as long as the mix is not too wet or dry and is suited to the gyoza theme then it will work. If you make up too many gyoza they freeze really well also meaning they can be made well in advance to make things easier! Have fun making these gyoza and peace as always!

