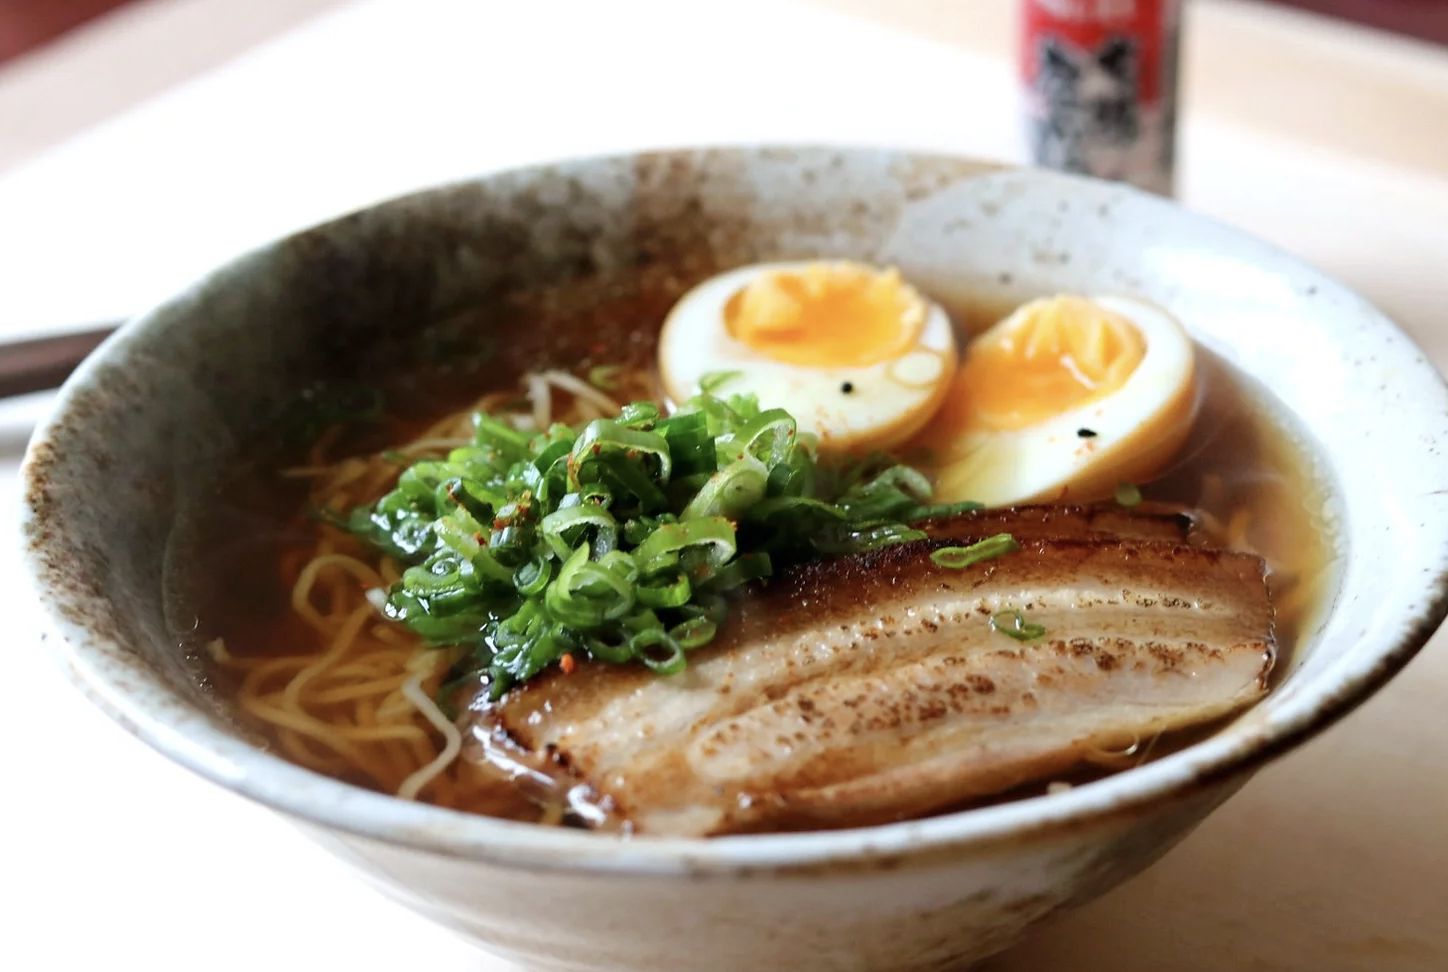
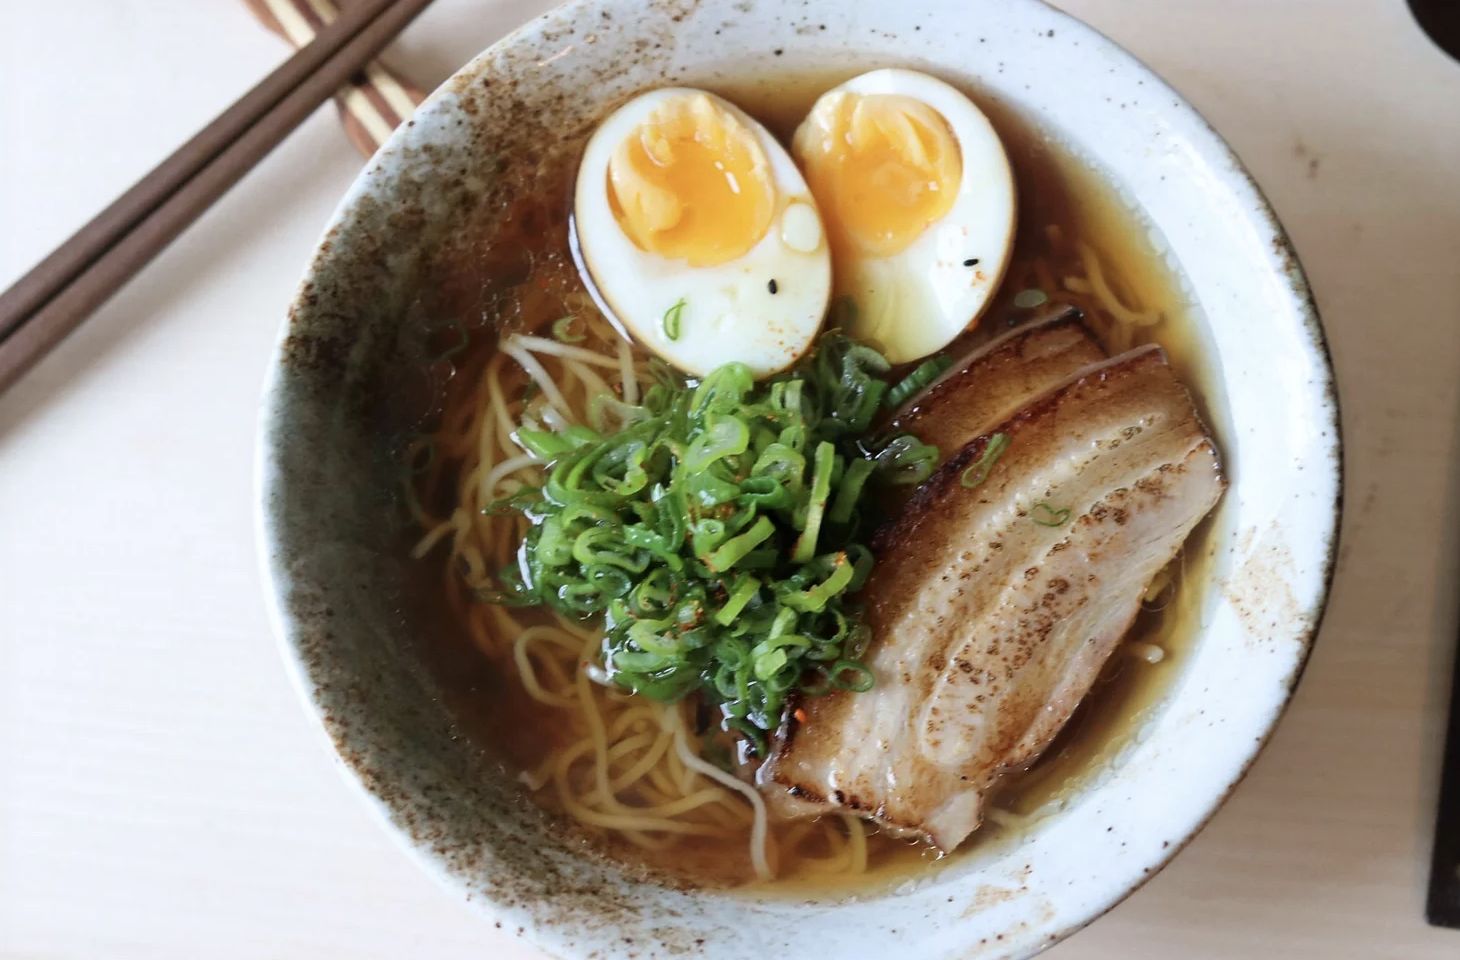
Intro:
Method:
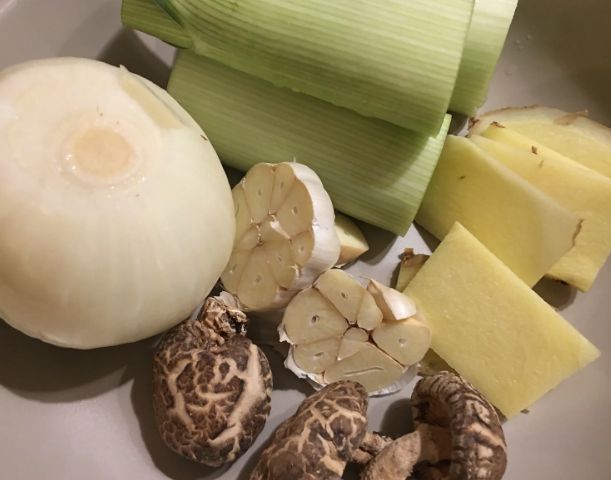
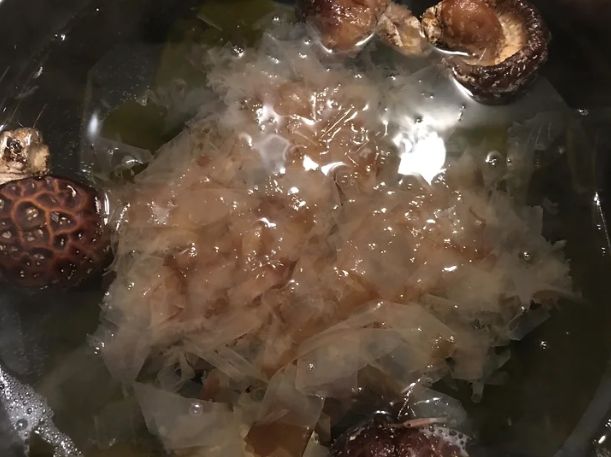
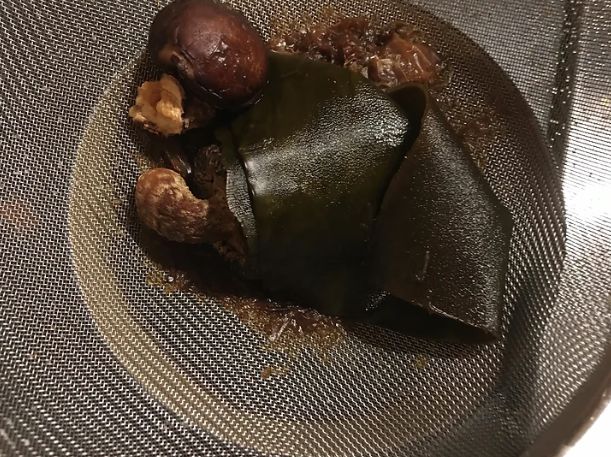
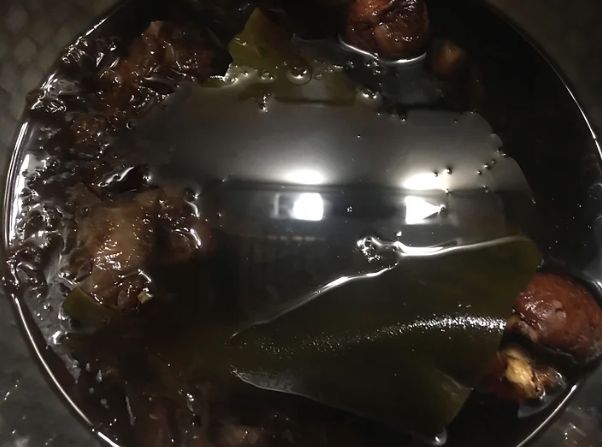
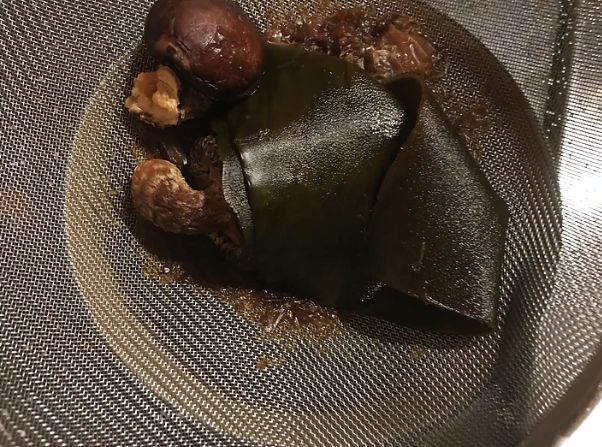
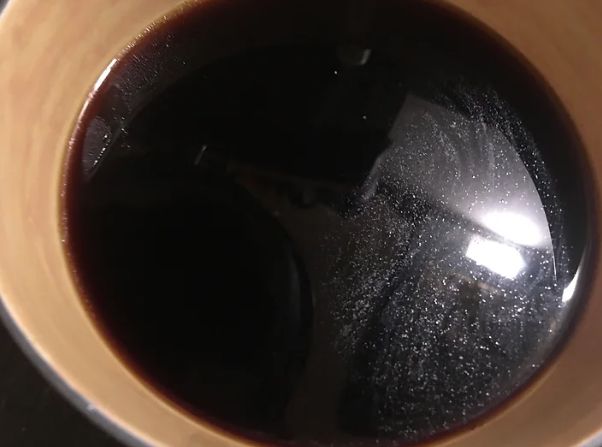
1. Before we begin, if you decide to make the ramen noodles from scratch you can find the full recipe here…these should also be made the night before to give the noodles time to rest. Before we get to the broth we need to make dashi, In a pan add 800ml water, 15g kombu and 3 dried shitake mushrooms. Allow to sit for 20 minutes off the heat then place onto a low heat when the time has elapsed. Gently bring up to a low simmer then add 15g of bonito flakes when the dashi reaches approximately 70°c. Remove from the heat again and allow to steep for 20 minutes. When ready drain the stock into a bowl and place to one side.
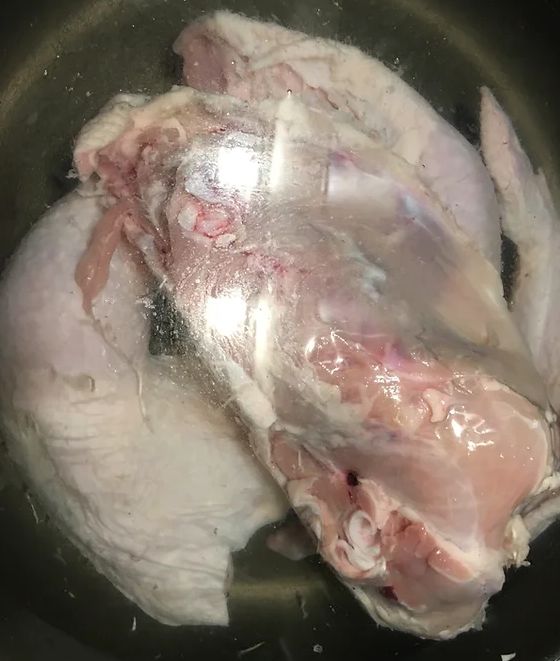
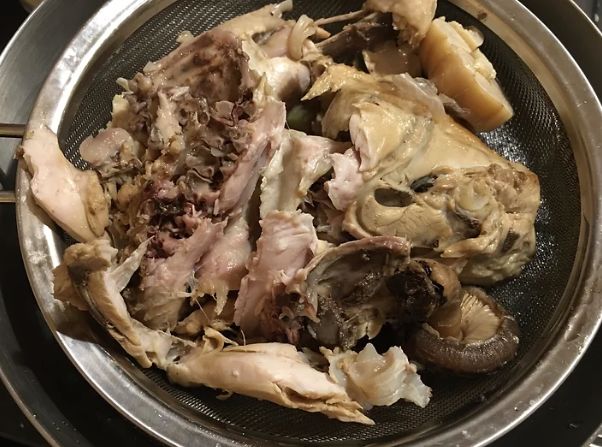
2. Now let’s begin by making the broth for the ramen, place a large pot half full with water onto a high heat and bring up to the boil. When boiling add approximately 800g of chicken carcass bones and boil for 10 minutes. Next drain from the water and clean under cold running water to remove of any impurities.
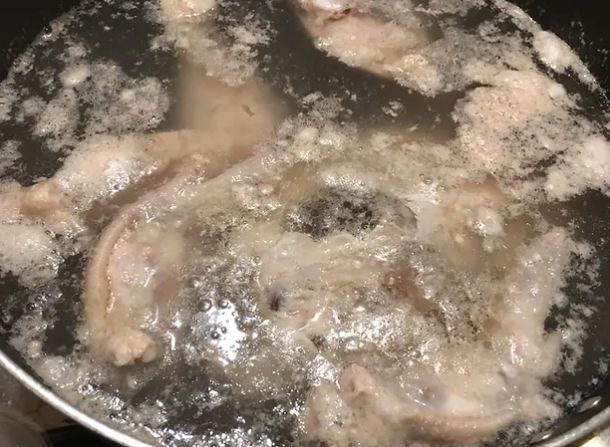
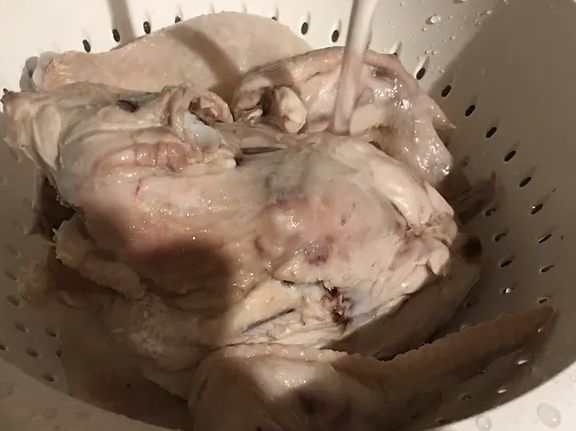
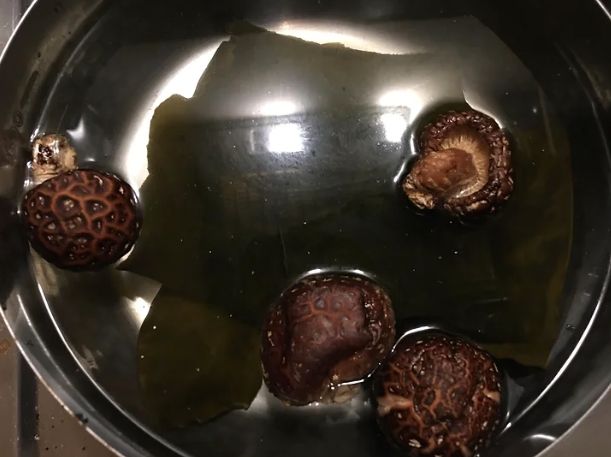
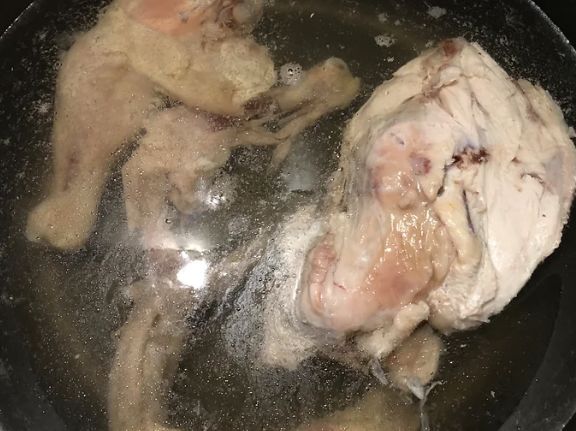
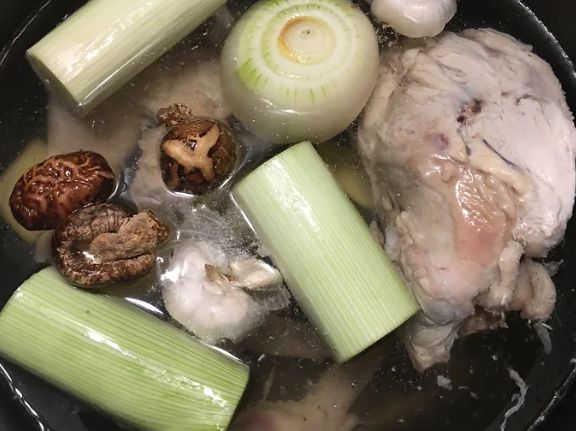
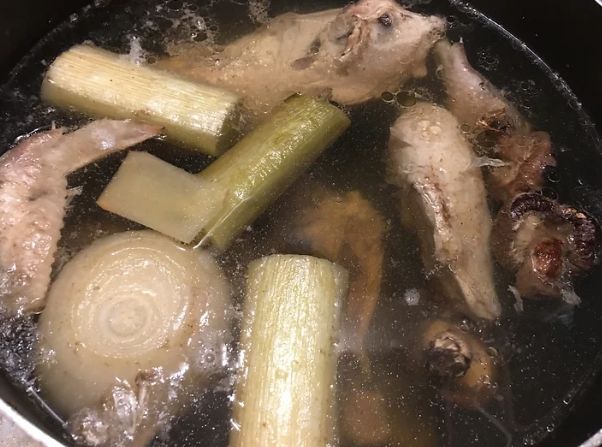
3. When the bones are clean add to a fresh large pot with 800ml water and 800ml of the dashi stock. Place the pot onto a high heat then add 1 whole chopped leek, 1 peeled white onion, 1 garlic bulb cut in half, 30g sliced ginger and 4 dried shitake mushrooms. When boiling turn the heat down to a simmer and allow the broth to rip for 6 hours without a lid on skimming occasionally if needed. If the broth reduces too much then top up with water to the same approximate level it was before.
Shoyu Tare:
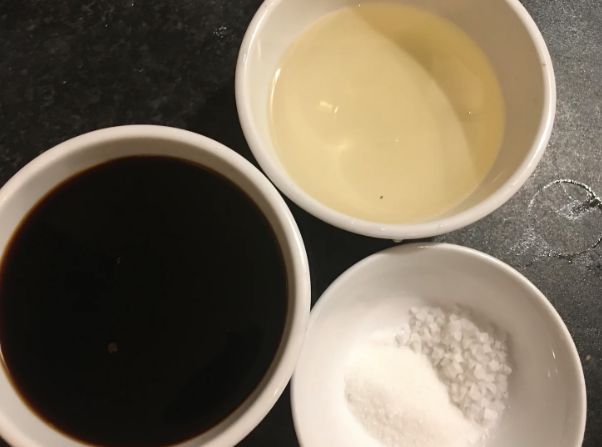
4. While waiting for the broth to cook let’s make up the tare. In a pan add 100ml light soy, 50ml mirin, 20ml sake, 5g kombu, 5g bonito flakes, 2 dried shitake mushrooms, 1 tsp sugar 1 tsp salt and finally 75ml of water. Allow to sit off the heat for 1 hour then when ready place onto a medium heat and bring the tare up to a low simmer aprroximately 70°c. Cook the tare on low for 10 minutes then pass the tare through a fine strainer into a bowl and allow to cool. When ready store in the refrigerator and the longer left the better the tare will become.
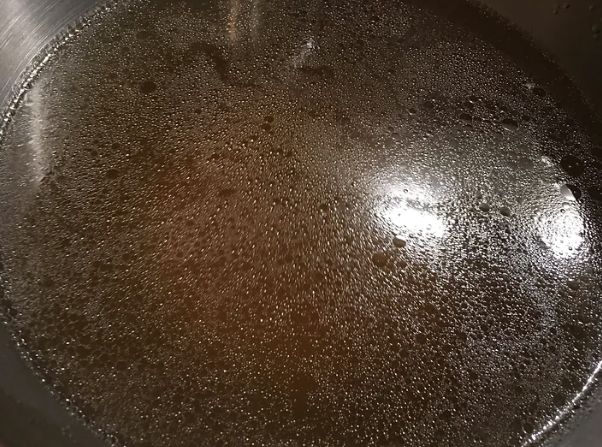
5. Now back to the broth, after a good 6 hours of cooking we should have extracted alll that was needed from the bones and aromats. The broth at this point will be fairly bland so we need to add salt. Season generously as it will take a decent amount of salt, however, we want the taste to be fairly neutral as this is the role of the tare when we add everything together. (Its hard to explain but we want salt to intensify the flavour of chicken without being properly seasoned). When satisfied pass the broth through a fine sieve into a fresh pan and allow to cool. When chilled cover with clingfilm and store in the refrigerator overnight.
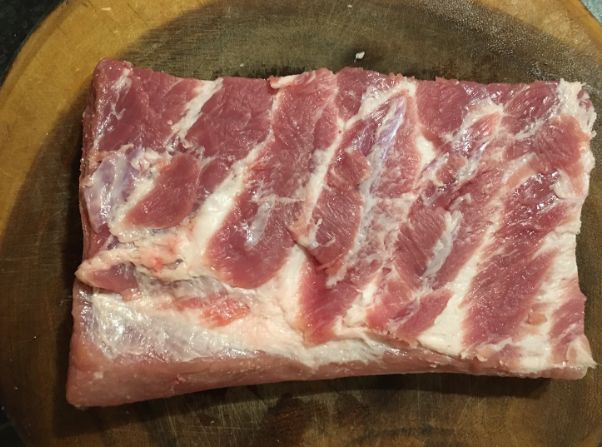
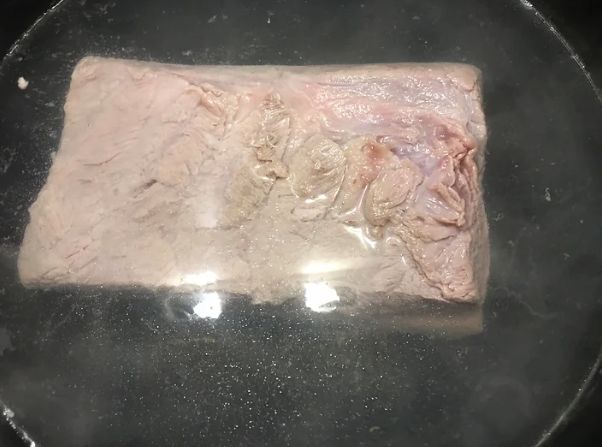
1. For the following day the last few components left to prepare is the chashu, chicken oil and the toppings. For the chashu place 500g of porkbelly slab into a large plan of boiling water. Boil for 5-10 minutes to remove any impurities then drain and wash with cold running water and place to one side.
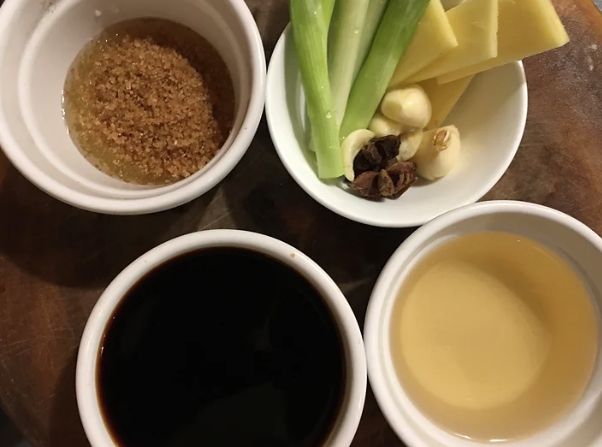
2. Now to braise, in a deep pan large enough to fit the belly pork add 125ml light soy, 50ml mirin, 3 tbsp honey, 2 tbsp dark brown sugar, 2 chopped spring onions, 4 peeled crushed garlic cloves, 2 star anise and 10g of sliced ginger. Place onto a high heat and bring up to the boil, add the blanched pork belly and enough water so that the pork becomes fully emerged. Turn the heat down to medium and cook for 1 1/2 – 2 hours.
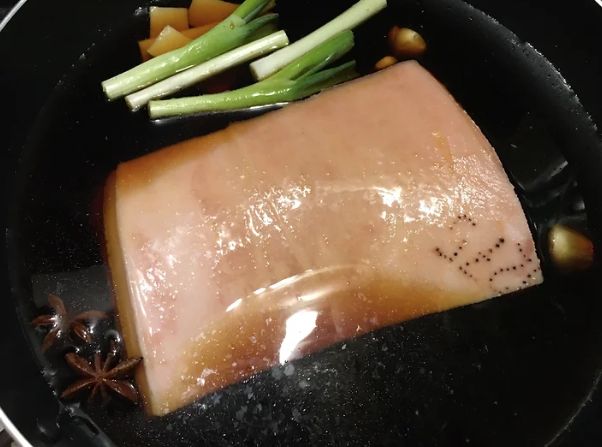
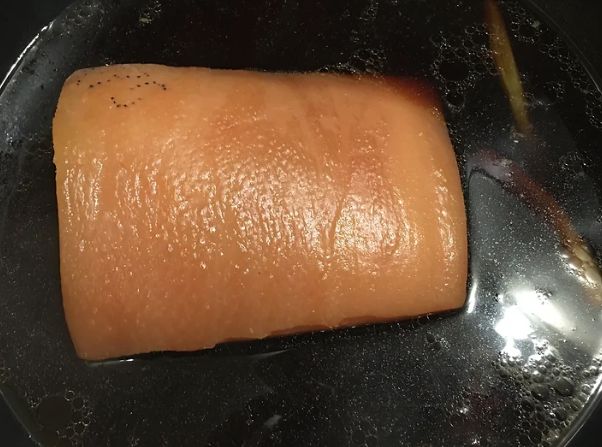
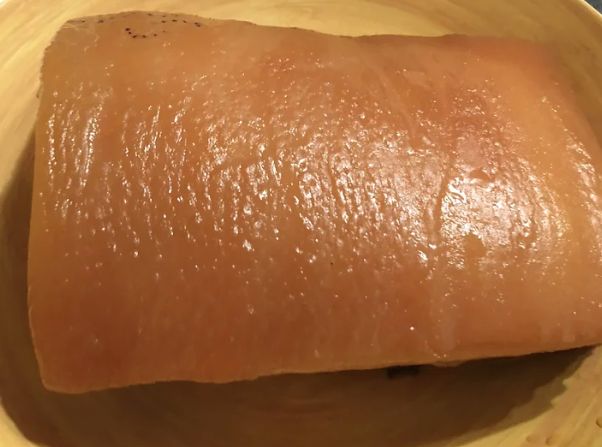
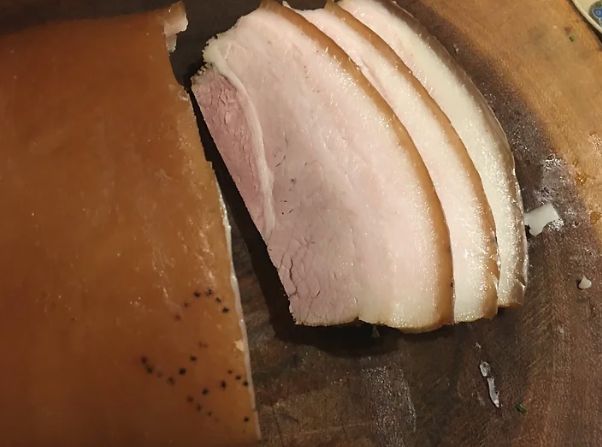
3. The best way to tell if the chashu is ready is to check to see if it has a slight jiggle when you lift out the pork. We want a little texture to the pork belly but still be able to slice but still be soft. When ready place the pork belly onto a tray and allow to chill. We want to chill this as quick as possible to make it easier to cut into slices. As for the braise keep to one side and allow to cool as we can use this to make soy eggs also. When the pork has chilled cut into thin slices and place to one side.
Chicken oil:
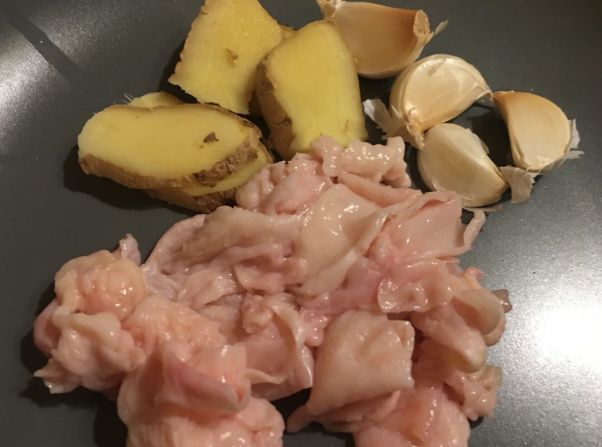
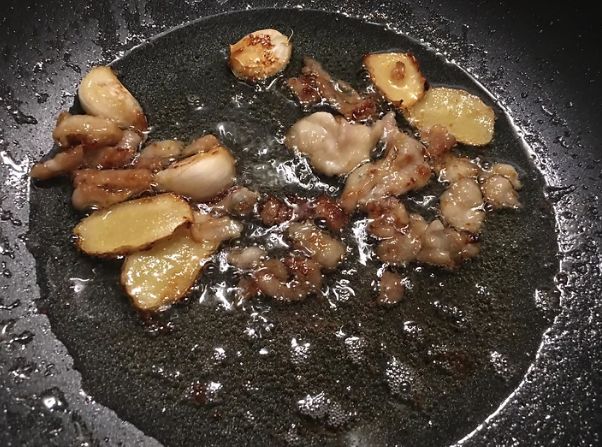
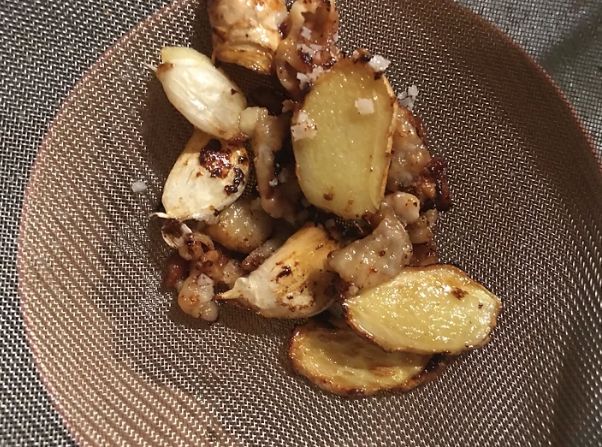
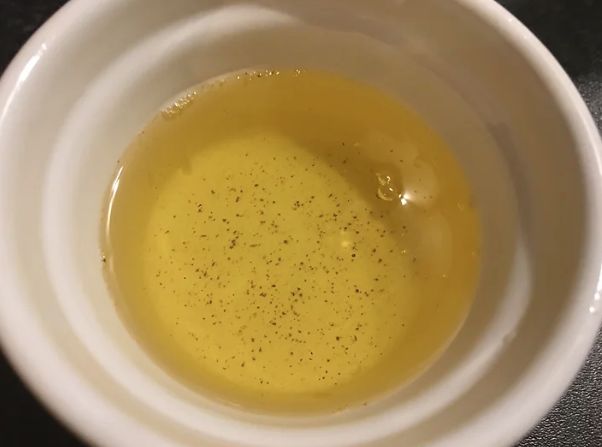
4. For the chicken oil begin by roughly slicing the skin from the whole chicken we used to make the broth. Add to a dry pan and render down the skin on a medium to low heat. We want to extract as much oil from the skin as possible, depending on how much oil we get we can also top up the chicken fat with additional cooking oil if needed. When the skin starts to crisp add 3 garlic cloves, 5g ginger and a pinch of salt then continue to render until infused. When ready drain the oil into a small bowl and set to one side.
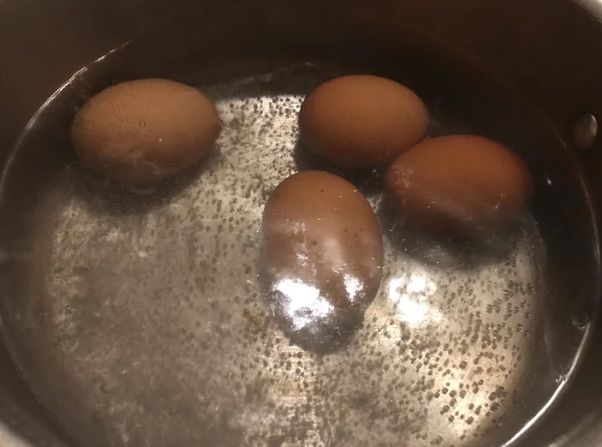
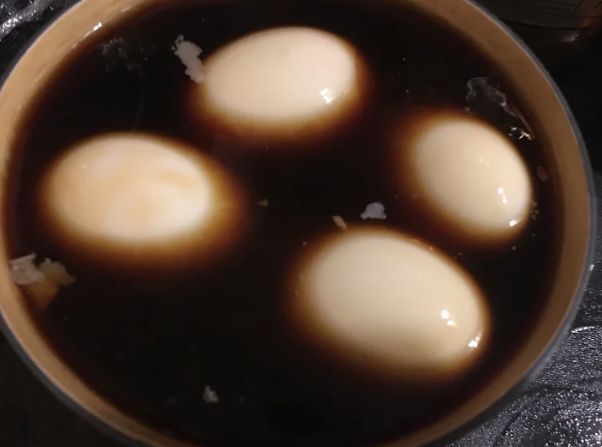
6. Last of the toppings is the chashu, now sliced, either char with a blowtorch to heat or place onto a baking tray and grill until caramelised.
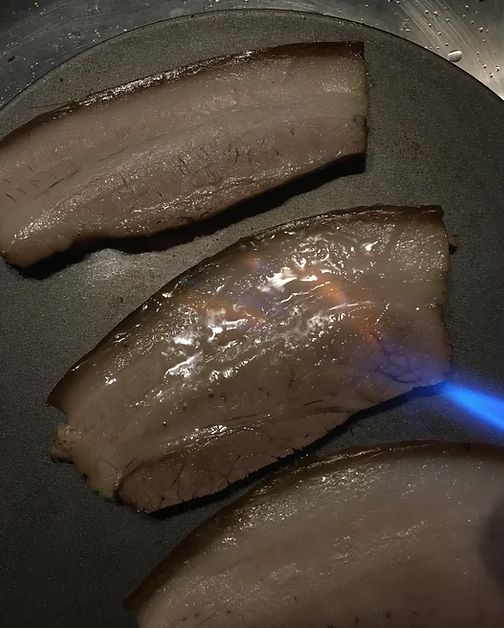
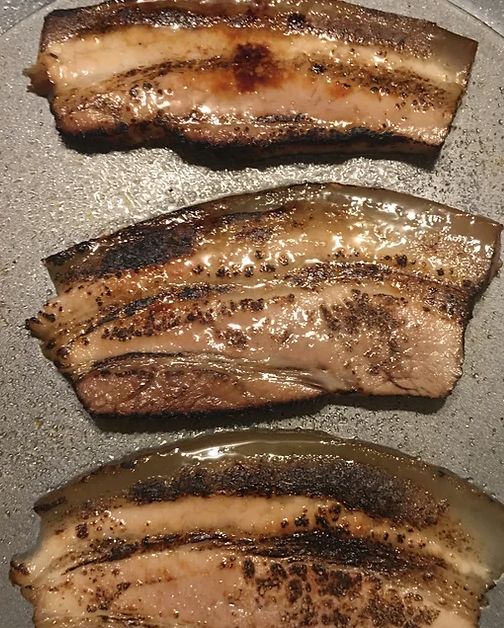
7. Now we are finally ready to build up the ramen, Ideally everything should be finished together in a smooth motion. Start by removing the layer of fat that would have risen to the top of the broth. Place into a pan and heat, next place a separate pan full of water onto a high heat and bring up to a boil. When boiling add the cooked noodles and cook for literally 45-60 seconds depending on thickness. When cooked drain well as we do not want the boiling water to dilute the broth.
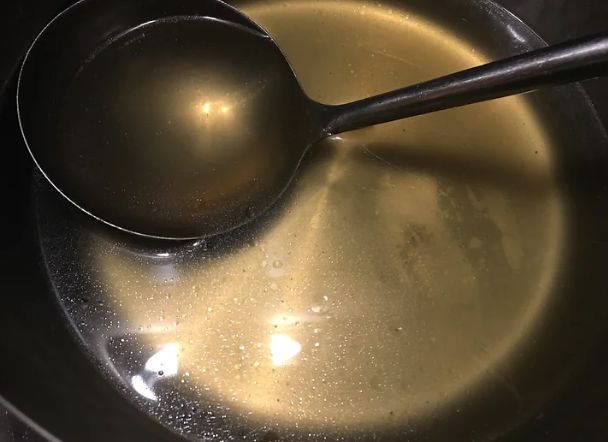
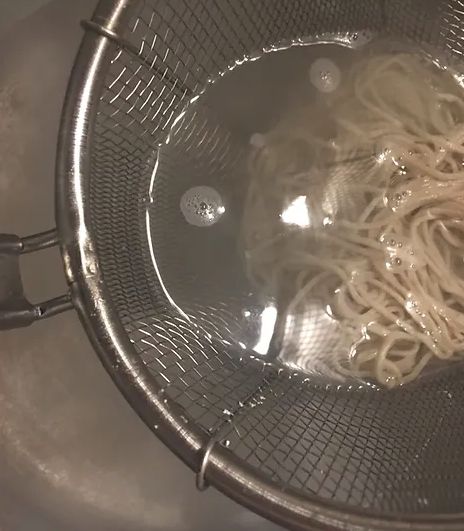
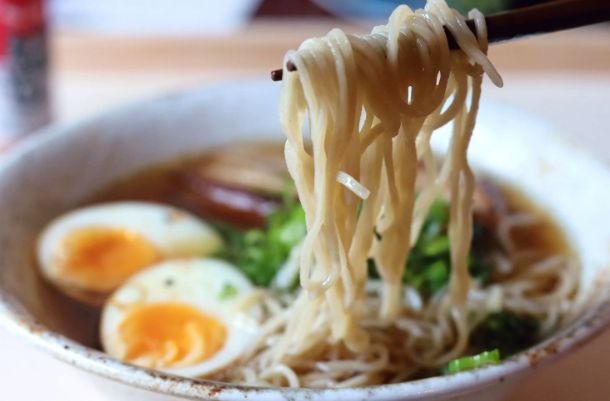
8. Let’s serve, I personally like to do a pre ratio test with the broth and tare to ensure the broth is perfectly balanced. I find that usually a 4:1 ratio of 4 broth to 1 tare works but test first to see. Now begin by adding 1 ladle of the tare to a serving bowl followed by 2 tbsp of the chicken aroma oil. Now add 4 ladles of broth then add the cooked noodles and arrange into the centre of the bowl. Top the ramen with the soy egg, a few slices of charshu and finish with some sliced spring onion. Have fun making ramen and I hope you like this 101 recipe!
