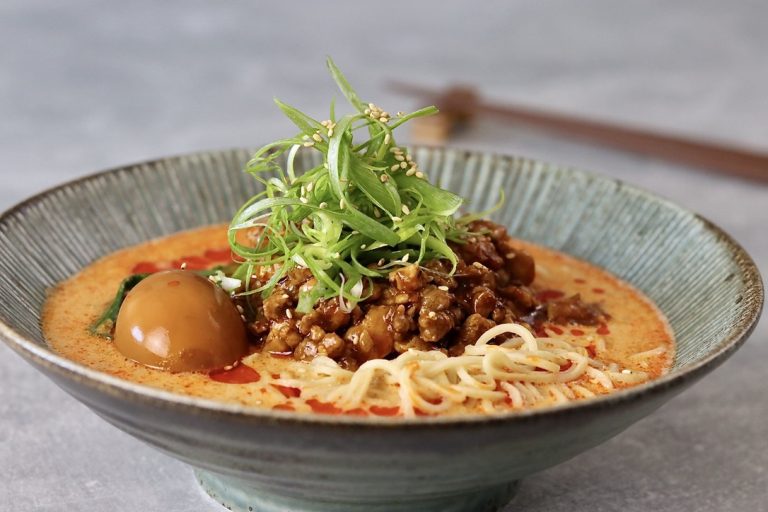
Niku Udon is a relatively simple dish to make that is packed full of great texture from the udon and lots of umami from the broth! As simple as it looks this humble bowl of noodle soup is incredibly complex and when you focus on the fine details, Niku Udon becomes something far more greater than what it seems. Throughout the whole process of making this bowl I couldn’t help but think of Japanese venders hundreds of years ago selling noodle soup whilst roaming the streets of the edo period with the broth in a bucket on a stick. With that in mind I think its the right thing to pay homage to those venders and do things the right way. This is more of a recipe on classic technique opposed to simply just cooking a bowl of noodle soup…I will break this recipe up into day 1 and 2 as there is a lot of resting time involved. Let’s get straight into it!
Method:
Day 1:
Dahi Stock:
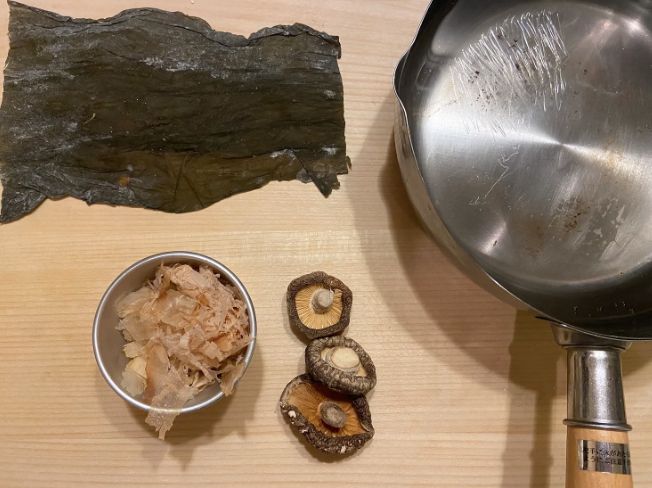
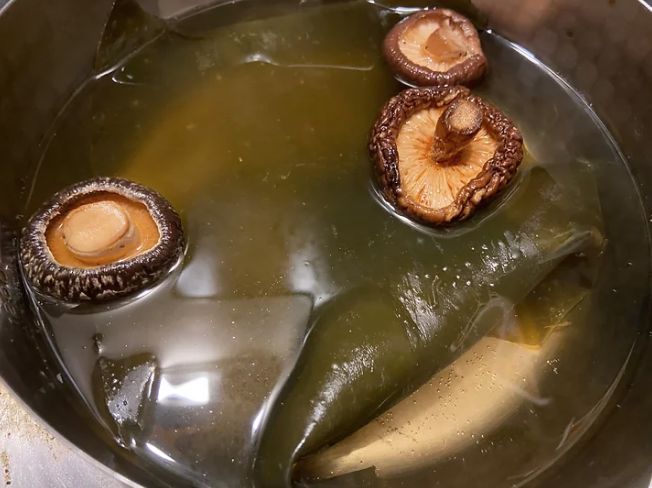
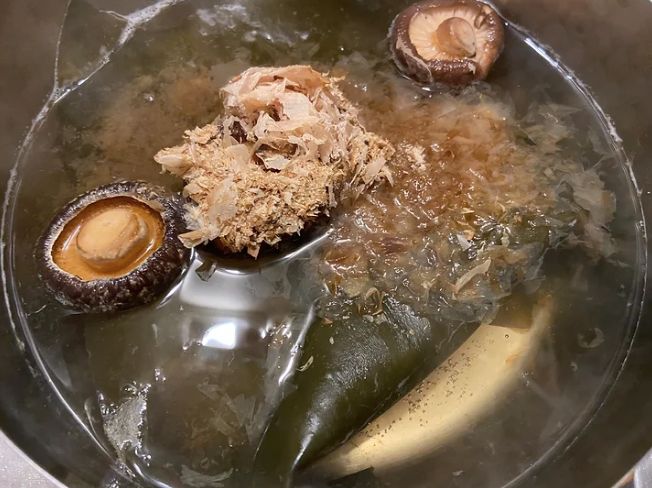
1. Before we begin, the night before making this recipe we want to soak some of the key dashi ingredients in water to extract as much umami as possible. In a small saucepan add 1500ml of water then add 20g of kombu and 4 fried shitake mushrooms. Cover with clingfilm and soak at room temperature overnight or at least 6 hours before starting this recipe.
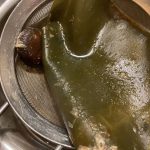
2. The next point should be completed the following day, however, I will write the next step for the dashi here. The following day you will notice that the water has been able to extract all of the flavour from the kombu and dried shiitakes. Place the stock onto a medium to high heat and bring up to a temperature of no more than 70°c. When ready add 30g of bonito flakes and remove the dashi from the heat. Allow to cool then steep for 20 minutes. Pass the dashi through a fine sieve into a fresh saucepan. Keep the dashi to one side and we can move onto making the Udon.
Udon Noodles:
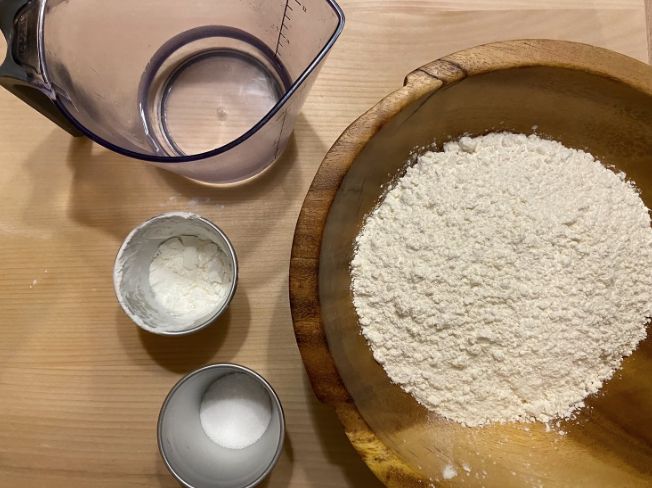
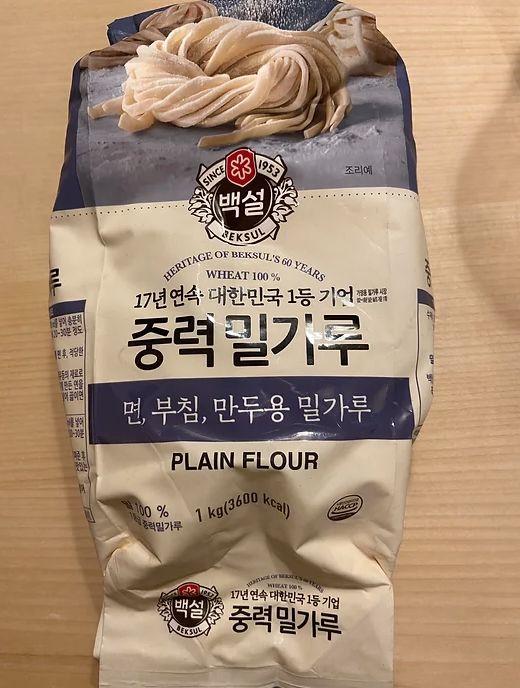
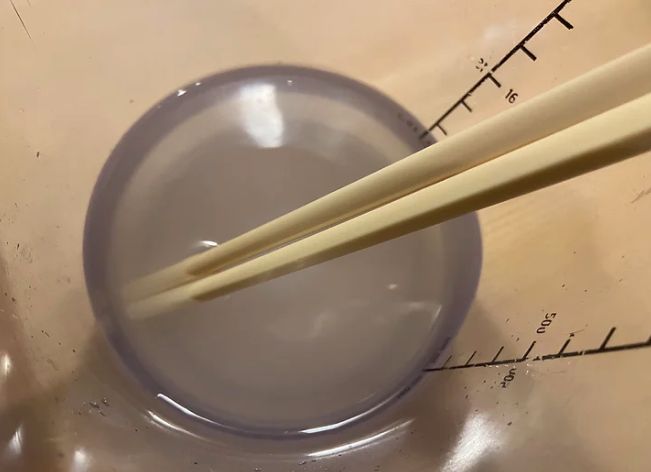
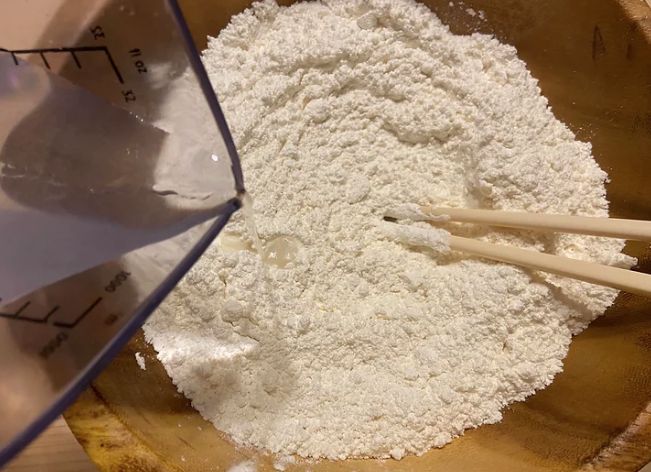
3. Now to make udon, the flour I used for making this batch of udon was a Korean branded all purpose flour which worked perfectly for udon. I prefer using niche types of flours for noodles as I find store brought flour is sometimes dyed and doesn’t do the noodles justice, however, store brought plain flour will still work just fine. I will leave an image of the flour below as I would highly recommend using this if you can get some. To begin making the udon, in a small measuring jug add 170ml of cold water then to the water add 15g of salt and whisk well until all of the salt has dissolved.
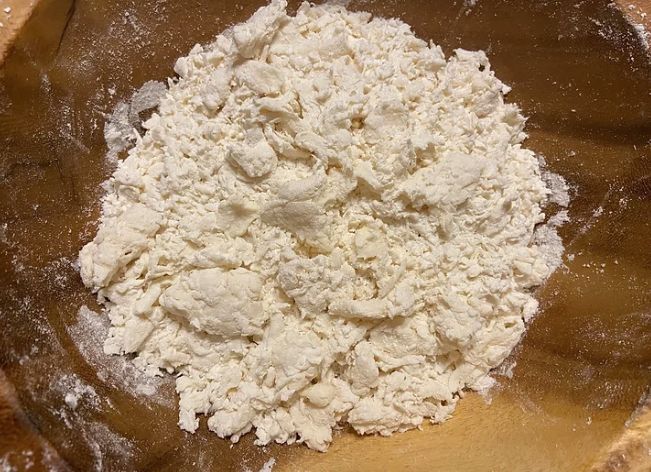
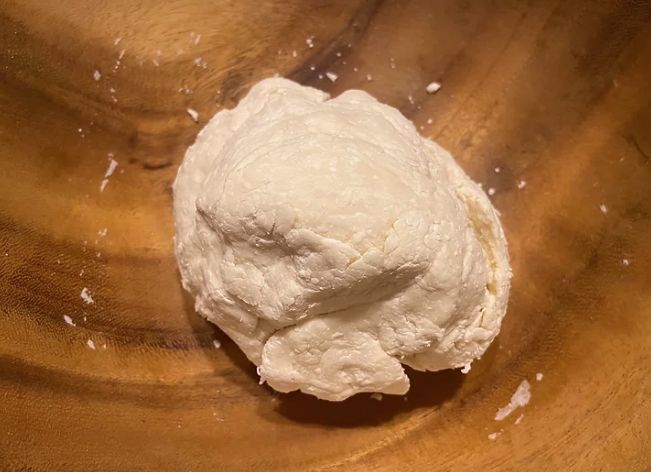
4. Next in a large mixing bowl add 400g of plain flour then slowly add the salt water mixture whist constantly mixing vigourasly with chopsticks. Continue to mix well until all of the salt water is added to the flour. We want to gradually add the liquid to the flour as this will enable all of the flour to become well hydrated. When ready begin to kneed the dough by hand for 10-15 minutes until 1 cohesive ball of dough is formed.
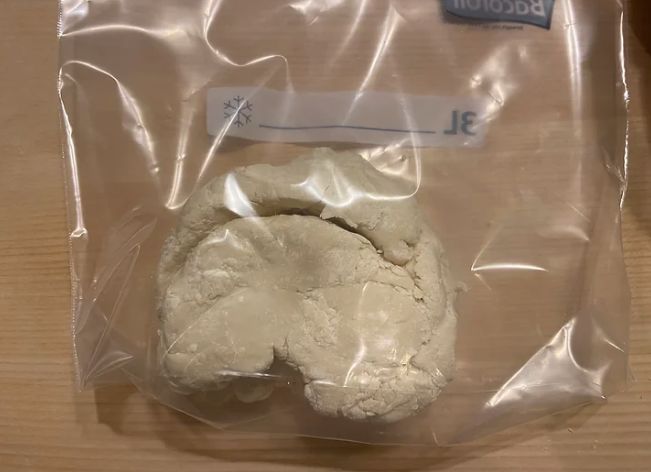
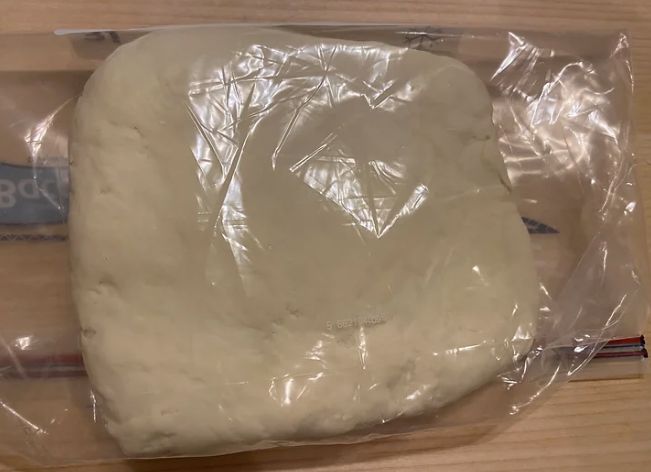
5. At this point after briefly kneading I’m sure you will be aware of how tough the dough is. The easiest and traditional way to further knead from here is to use our feet. As strange as this sounds we now want to place the ball of dough into a ziplock bag and place a towel over the top. Knead the dough by stepping over until a flat rectangular piece of dough is formed.
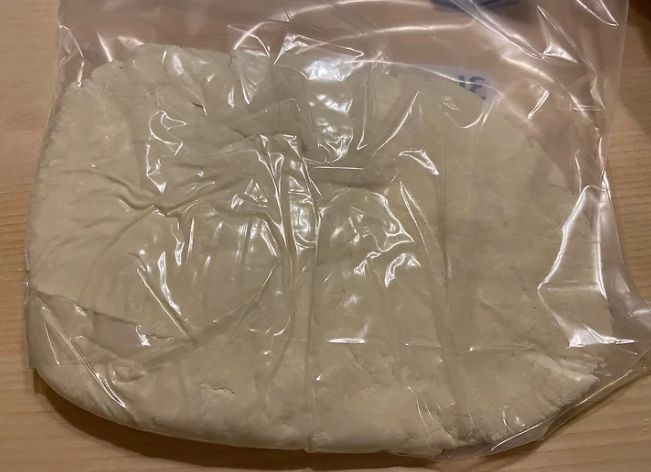
6. When flat, remove the dough from the ziplock bag and roll the dough together starting widthways to make a cylinder. Place back into the ziplock bag and again step over the dough until flat. Repeat this process 3-4 times rolling up the dough lengthways and widthways as this will create shorter gluten strands which is perfect for udon. On the last roll, shape the dough into a flat square and store back in the ziplock bag. Allow the dough to rest for 1 1/2 – 2 hours at room temperature.
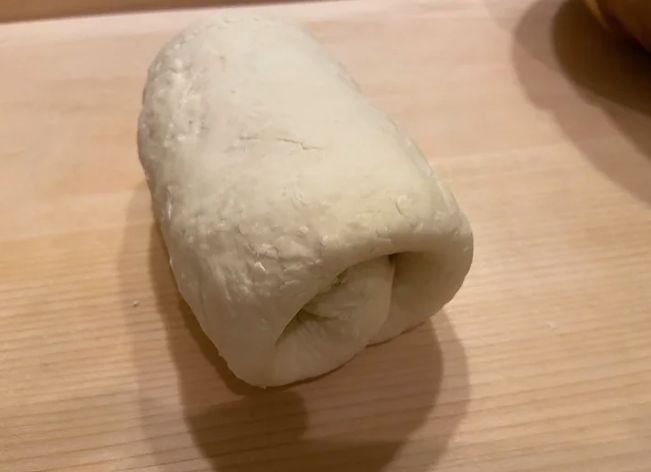
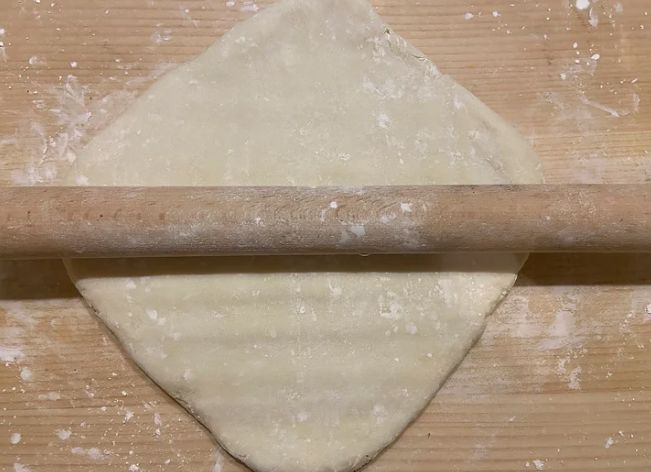
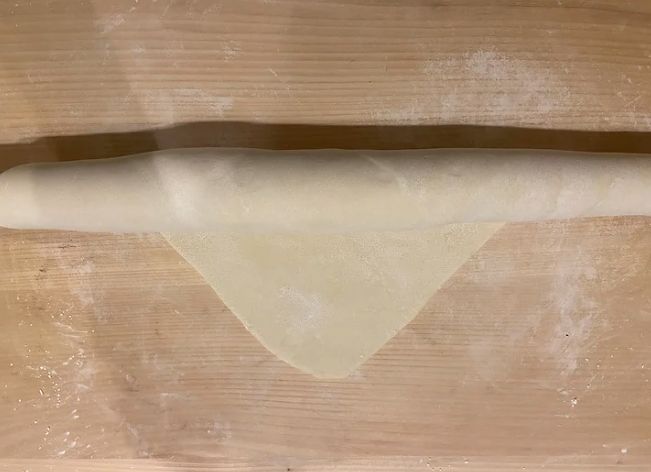
7. When the dough has rested we are now ready to begin to roll out the dough. Place onto a work surface and lightly dust with cornflour. Next place the flat squared piece of dough at an angle to form a diamond. Using a large rolling pin, roll the dough starting from the centre and rolling towards the top edge of the dough. Repeat this towards the bottom edge then rotate the dough 90° and repeat this process to stretch out the dough until trippled from its original size. To roll the dough even larger the best technique to use from here is to roll the dough onto the rolling pin, starting from one of the corners then roll out the dough whilst on the rolling pin dusting both sides generously with cornflour if needed. Continue rolling out the dough until the thickness of the dough gets to approximately 1/8 of an inch thick. Unravel the dough from the rolling pin and we should be left with large squared piece of dough.
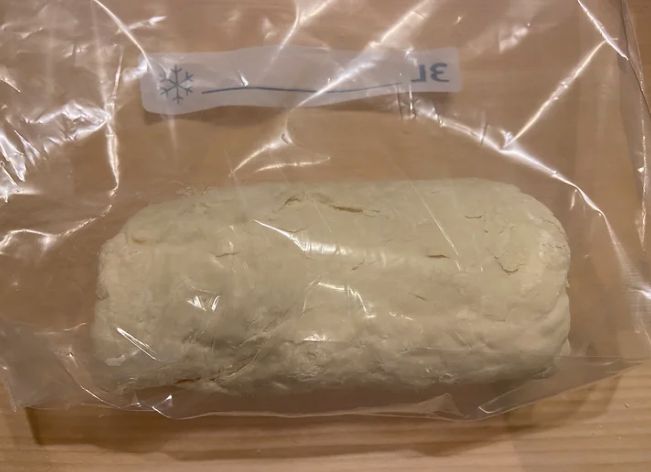
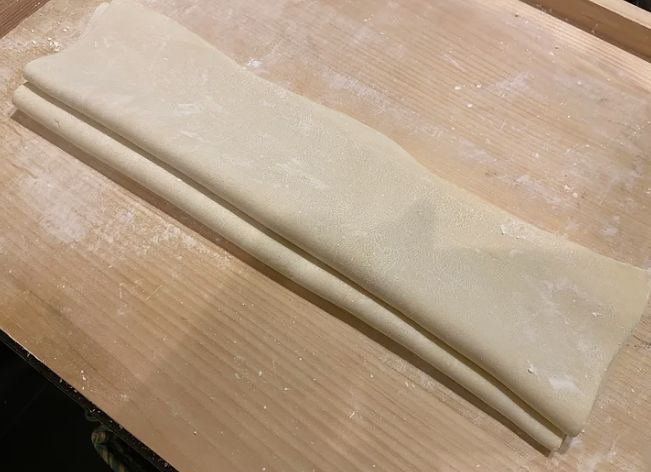
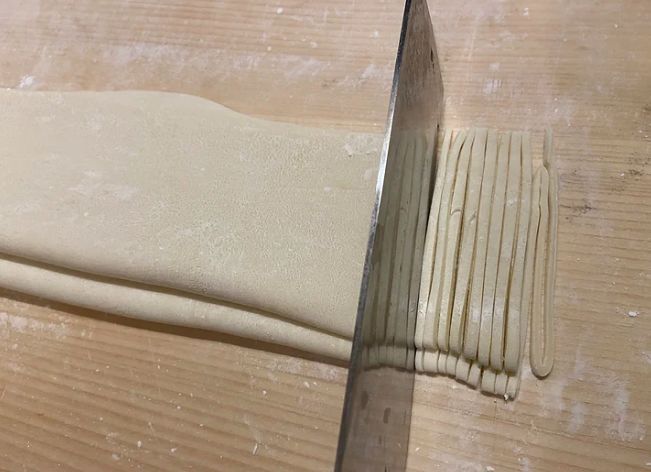
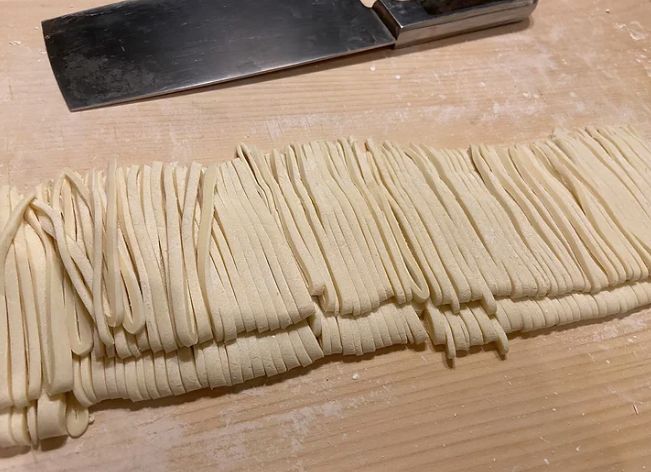
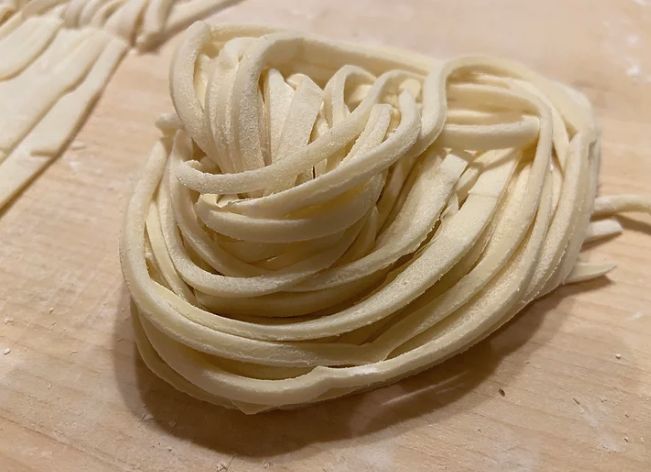
8. To cut the dough, start dusting again with cornflour on both sides then fold the dough onto itself to make 3 overlapping folds. Next use a large sharp knife and cut the dough using swift strokes taking care not to apply too much pressure. You can cut the noodles into which ever thickness you prefer, although I went with making the noodles approximately 1/2 cm thick. When the Udon are cut, gather the noodles into individual portions and store in a container lightly dusted with cornflour and we can allow to rest over night.
Day 2:
Broth:
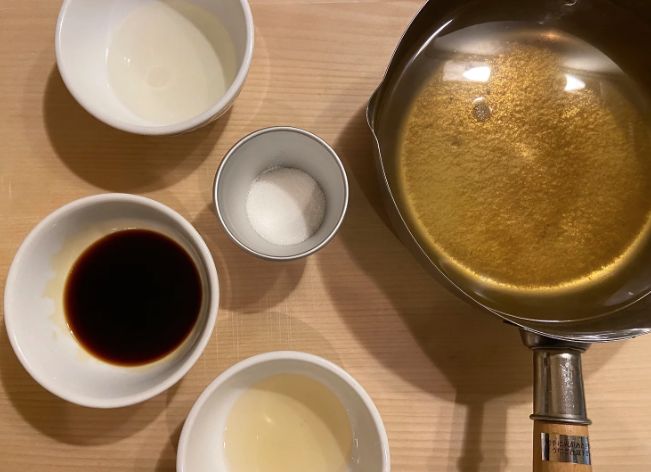
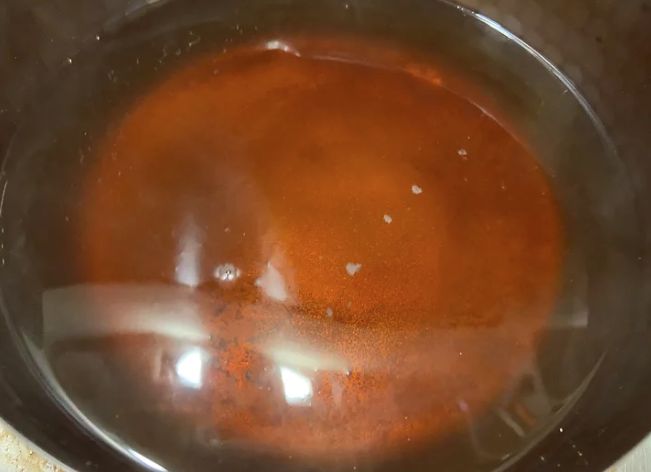
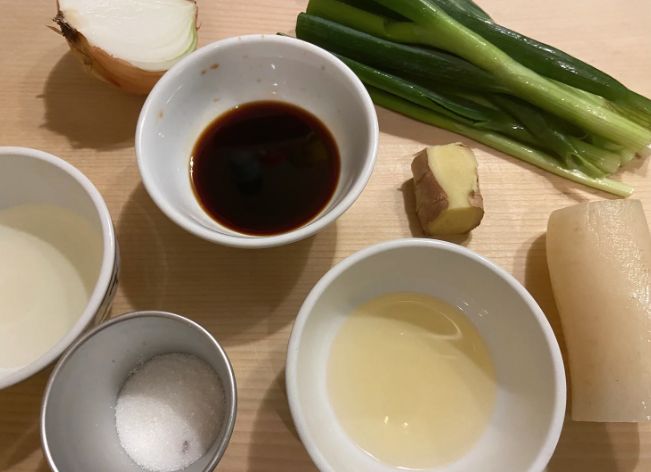
1. At this point of the recipe our udon should be ready and our dashi should be good to go packed with lots of umami. Place the dashi onto a high heat then add 50ml of sake, 50ml of light soy, 40ml of mirin and 1 tbsp of white sugar. Bring the broth up to the boil then boil for 1-2 minutes to dissolve the sugar and to also remove the alcohol content. When ready turn the heat down to low to keep warm then adjust the seasoning if needed by adding a pinch of salt.
Beef Niku:
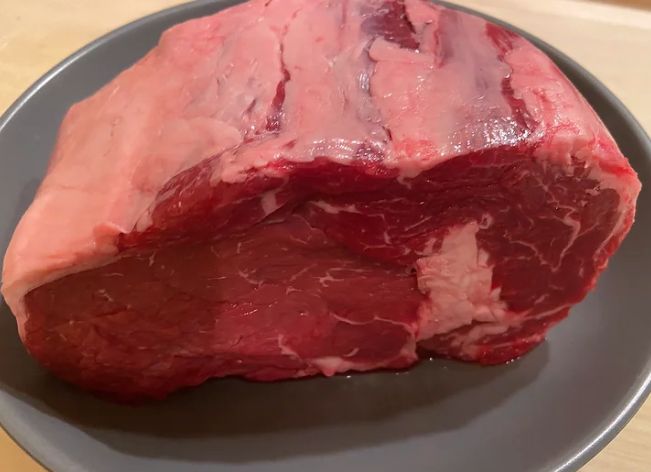
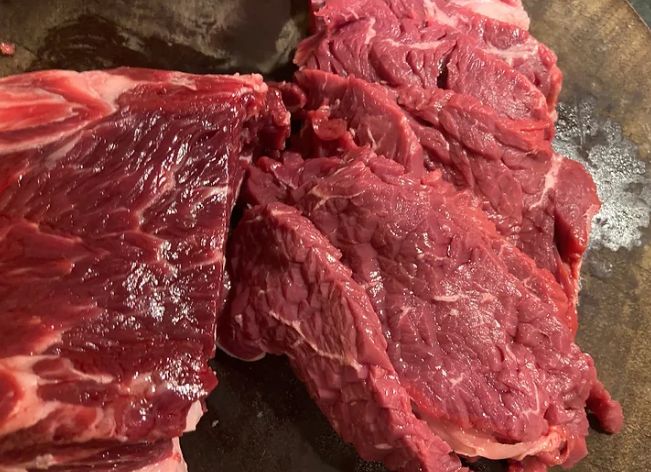
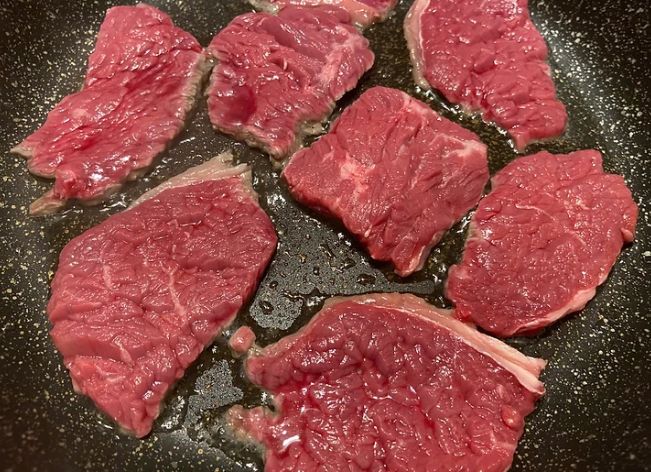
2. All that’s left now is to make the beef, for this recipe I went with a large slab of ribeye that weighed approximately 800g. Start by slicing the beef into thin strips or if you prefer your beef quite rare then slice into thicker strips. When ready place the beef to one side and we can now begin to cook.
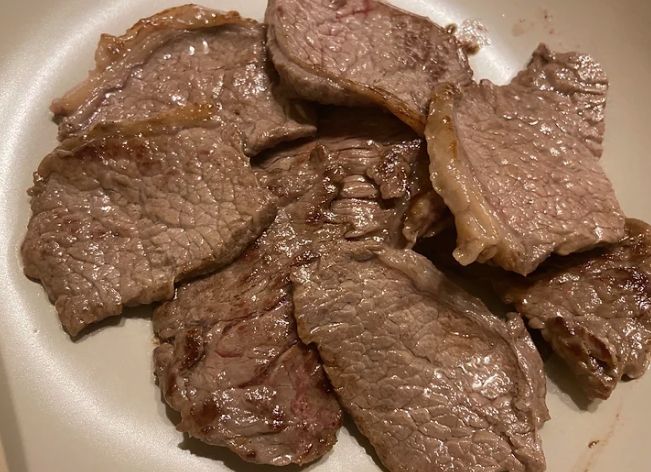
3. To cook place a large heavy pan onto a high heat then when smoking hot add a drizzle of oil then add the beef. Sear briefly on both sides for 2-3 minutes so that the beef becomes nice and charred. When ready remove the beef from the pan and place onto a plate to prevent from over cooking.
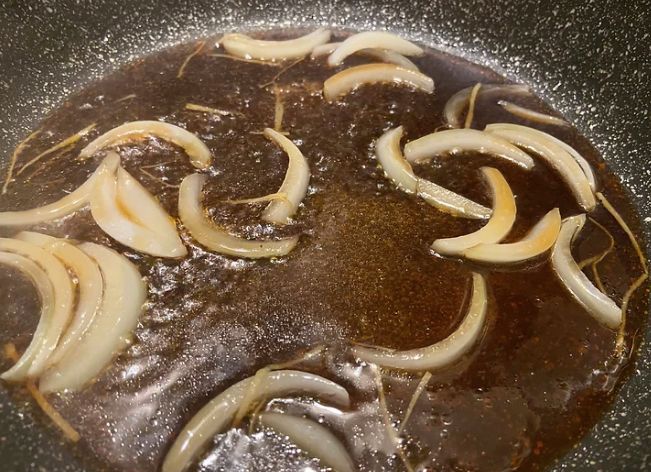
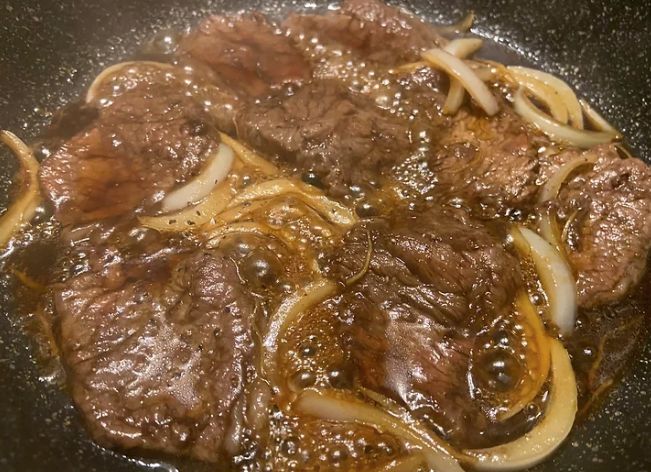
4. Next in the same pan slice 1 onion into medium sized slices then like the beef, sear for 1-2 minutes to add colour. When ready in the same pan we want to add 10g of finely sliced ginger then deglaze the pan by adding 50ml of sake, 50ml of mirin, 50ml light soy, 1 1/2 tbsp white sugar and approximately 40mls of water. Reduce the liquid by half or until it starts to thicken then when nice and glazed add the seared beef. Turn the heat down to low and allow the beef to sit in the the glaze until ready to serve.
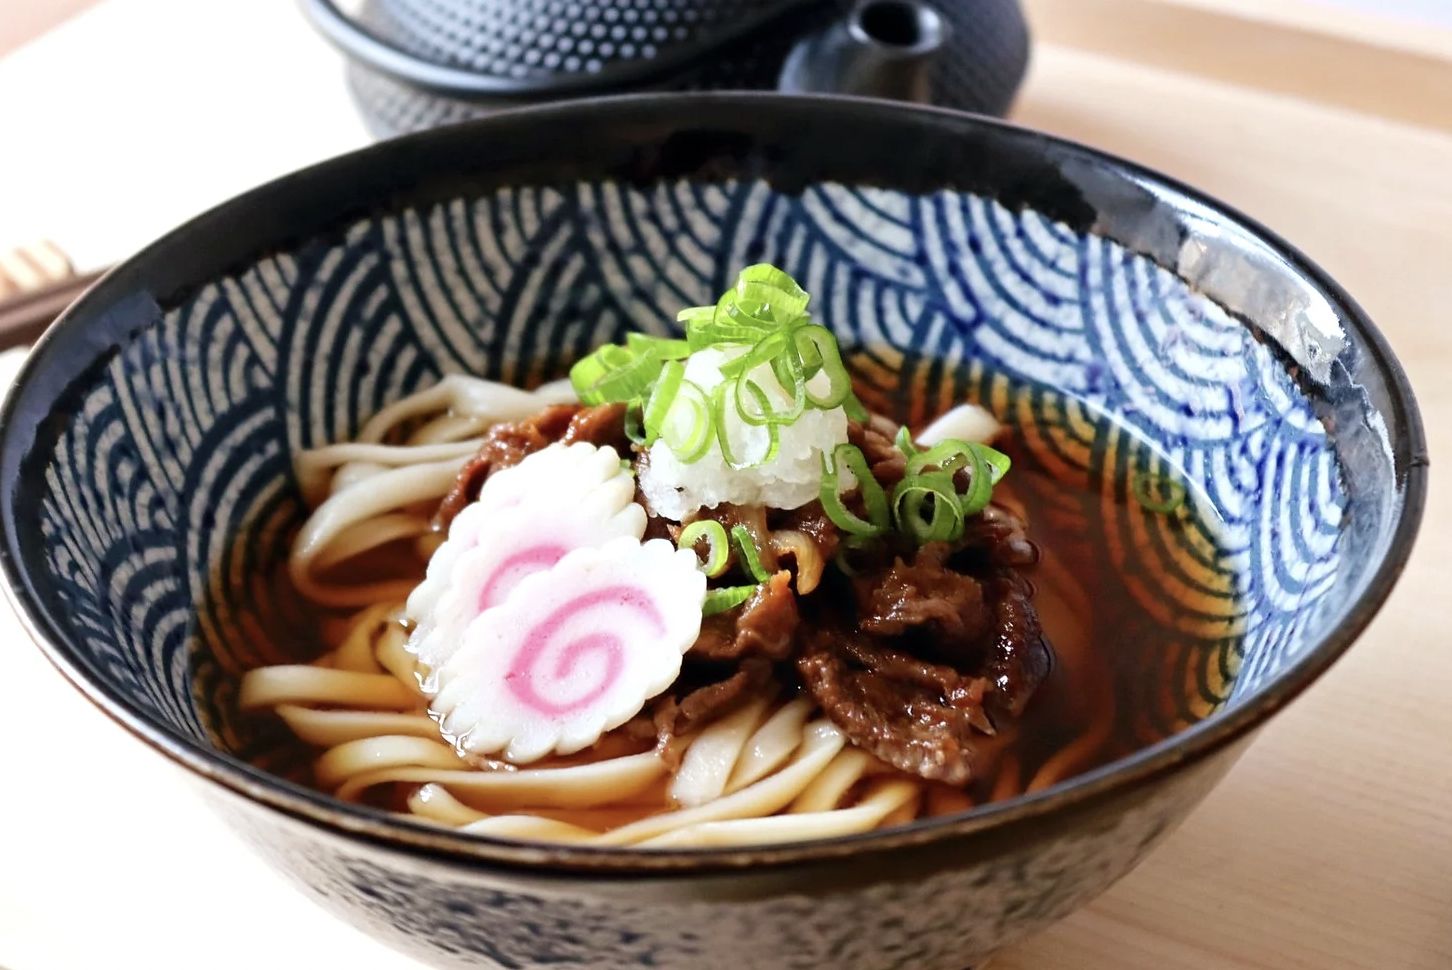
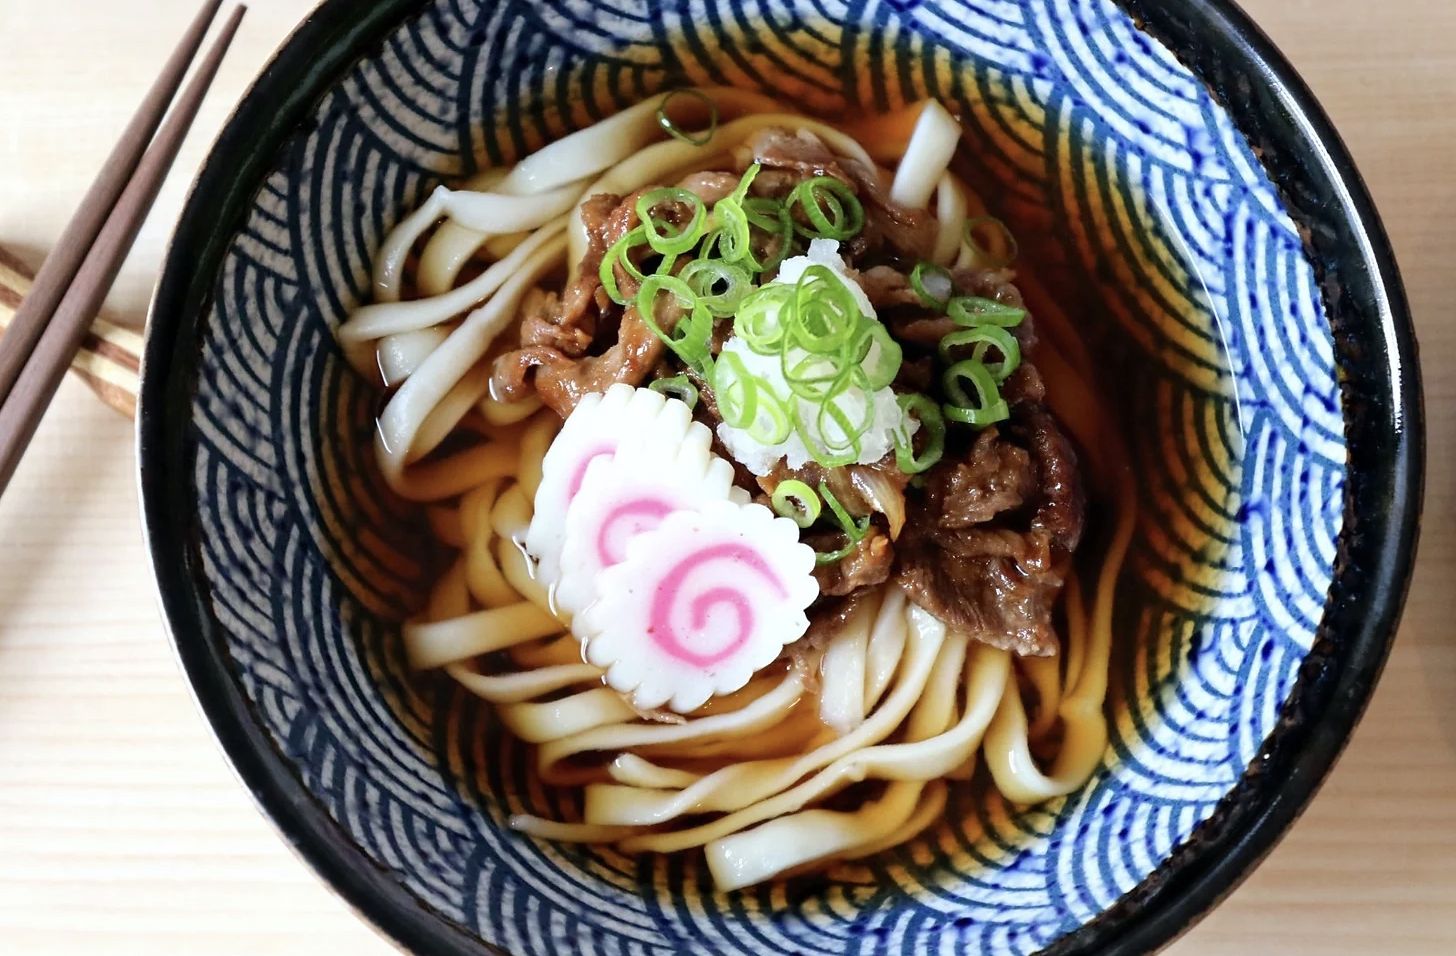
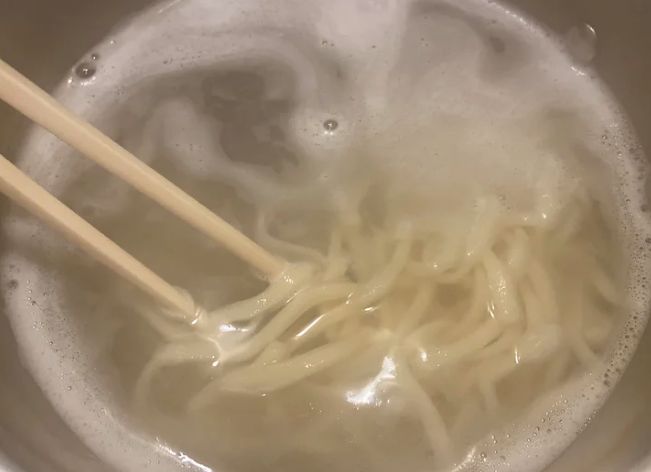
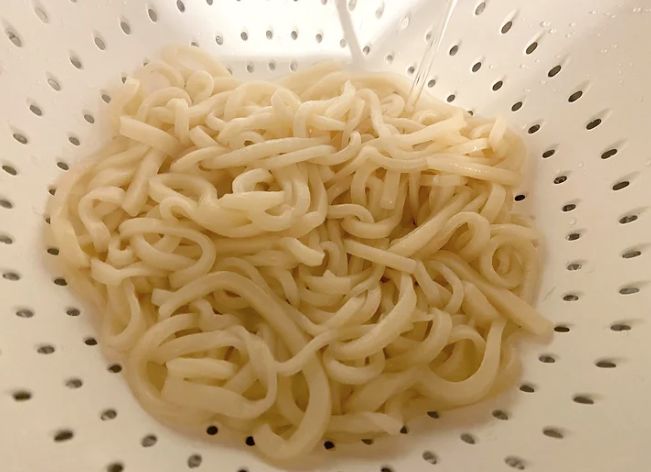
5. Final step is to cook the udon, place a large saucepan filled with water onto a high heat and bring up to the boil. When boiling add the udon and boil for 14-17 minutes depending on the thickness. Whilst boiling occasionally stir with chopsticks to prevent the udon from sticking together. Whilst the udon is cooking prepare a few toppings to finish the dish by grating 1/4 piece of daikon, finely slicing some spring onions and slicing some narutu (fish cake) if you can get hold of some. Just before the noodles are cooked we also want to place the broth that we made earlier onto a high heat and bring up to a boil ready to serve also. When the udon are cooked they should have a bouncy texture but also be cooked through, carefully drain from the hot water then gently rinse and wash with cold water to remove some of the starch content. When washed and chilled all the components are ready and we are set to serve.
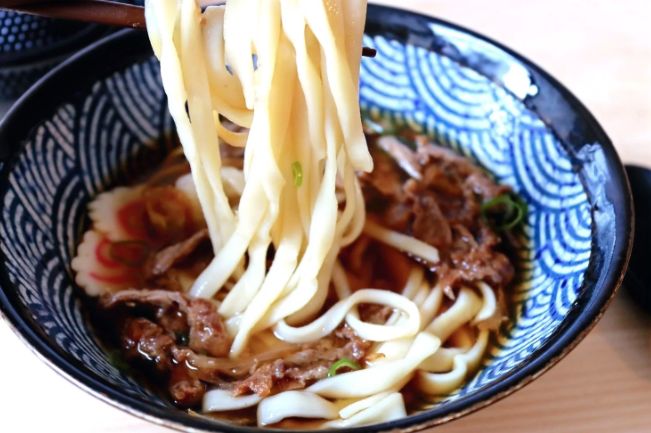
6. To serve fold and divide the chilled udon into bowls then add 2-3 ladles of the hot broth over the top. Place a generous amount of the beef on top then finish with some sliced spring onion, grated daikon and some classic Naruto fish cake! Have fun with this recipe and yes a ton of effort but when you dig into the bowl you will quickly realise that it was all worth it!
Additional notes
As for what else to add to Niku Udon then instead of beef you could use pork, lamb or chicken and cook in the same way as we did with the beef. I know this seems like a lot of effort just for a simple bowl of noodle soup, however, its taking your time with each component that really makes Niku Udon so special plus when you try fresh Udon you will never go back to using packet ones again. Have fun, enjoy the process and peace as always!
Ingredients
Prep Time 2 hours / Cook Time 30 minutes / Noodle Rest Time 2 hours